How to Overwinter Potted Plants Outdoors: 5 Methods That Work Without Bringing Them Inside
You have 12 potted plants on your patio and room for 3 inside. The other 9 need to survive winter outdoors—and many of them will struggle if their containers are left fully exposed. Unlike in-ground plants, container plants are often more vulnerable in winter because their roots lose the insulating protection of surrounding ground soil. As a result, a plant that is hardy in the ground can be less cold-tolerant in a container because the root ball is exposed to faster temperature swings.
I've overwintered outdoor potted plants in zone 6b for three years using five different methods—some free, some under $30—and I have had much more consistent results since I stopped leaving containers fully exposed. This guide covers each method, which plants it works for, and exactly how to do it.
Why Container Plants Die in Winter (That In-Ground Plants Don't)
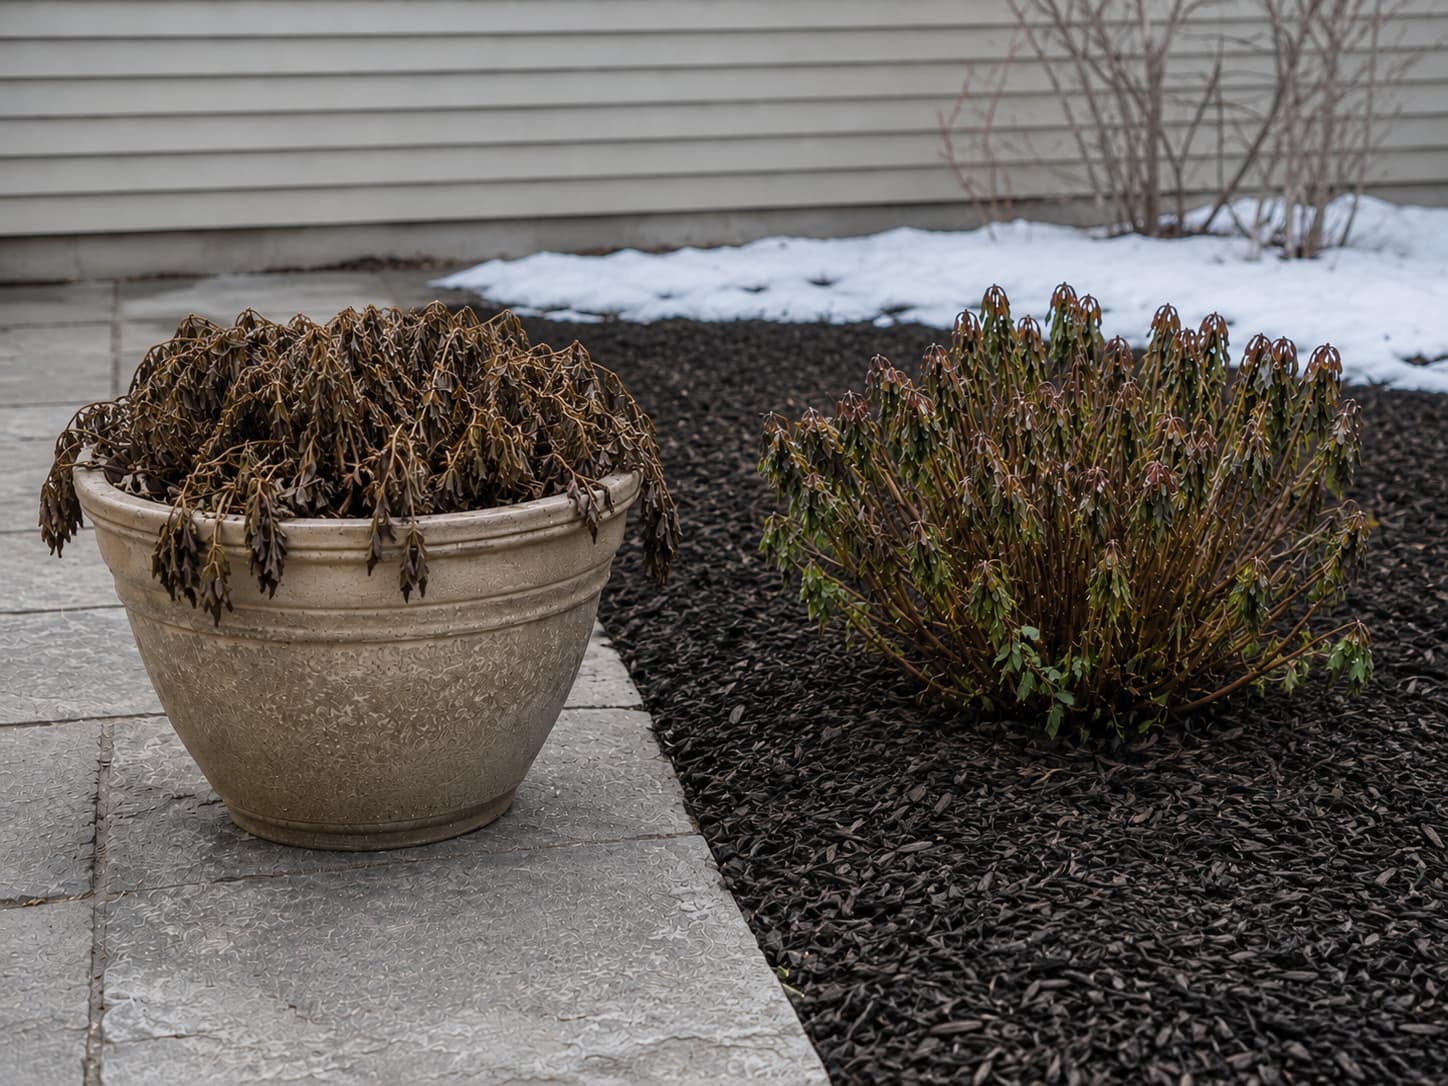
First, understanding the problem makes it easier to choose the right protection method. In particular, container plants face three winter risks that are less severe for comparable in-ground plants:
| Threat | In-Ground Plant | Potted Plant | Why It Matters |
|---|---|---|---|
| Root freezing | Ground soil changes temperature more slowly than exposed container soil | Container soil can freeze much faster during sustained cold | Frozen or damaged roots cannot supply water normally, which can contribute to winter desiccation |
| Freeze-thaw cycling | Earth's mass buffers temperature swings | Small pot volume heats up in sun and refreezes at night, repeated cycles during variable winter weather | Repeated freeze-thaw cycles can injure roots and contribute to heaving |
| Clay pot shattering | N/A | Moisture in terra-cotta pores freezes and expands, cracking the pot | Losing the pot means losing the root ball and the plant with it |
Drag the bar below or swipe horizontally to view the remaining columns.
Before You Start: Sort Your Plants into 3 Categories
However, not every potted plant needs the same level of protection. Therefore, sort them into broad hardiness groups before choosing a method:
Category A: Must Come Inside (Won't Survive Any Outdoor Method Below Zone 8)
- Tropical houseplants that spent summer outside (monstera, pothos, philodendron, croton)
- Citrus trees (unless you're in Zone 9+)
- Bougainvillea, hibiscus, mandevilla
- Succulents not rated for your zone (echeveria, most aeoniums)
In cold-winter climates, these plants generally need frost-free protection rather than the outdoor methods below. If space is limited, take cuttings where appropriate or use another frost-free location rather than assuming outdoor insulation can protect a truly tender plant. For indoor rosemary specifically, see our indoor rosemary survival guide.
Category B: Can Overwinter Outdoors With Protection (Zones 5–7)
- Rosemary (hardy varieties like 'Arp' or 'Hill Hardy' to Zone 6 with protection)
- Lavender (English lavender to Zone 5 with protection)
- Fig trees (wrapped, to Zone 6)
- Hydrangeas in pots (see our hydrangea care guide for specific variety hardiness)
- Dwarf evergreens (boxwood, dwarf Alberta spruce, juniper)
- Herbaceous perennials in pots (hostas, heuchera, ferns, daylilies)
This guide is mainly for plants in this middle group. Their chances improve when the protection method matches the plant's actual hardiness and local winter conditions.
Category C: Hardier Than Their Pot (Zones 3–5)
- Junipers, ornamental grasses, Siberian iris
- Potted spring bulbs (daffodils, tulips—they need cold to bloom)
- Columnar trees hardy to Zone 4
These are often good candidates for root-zone and container protection. The amount of top-growth protection still depends on the species and exposure.
Method 1: The Cold Frame ($25–60, Best Overall)
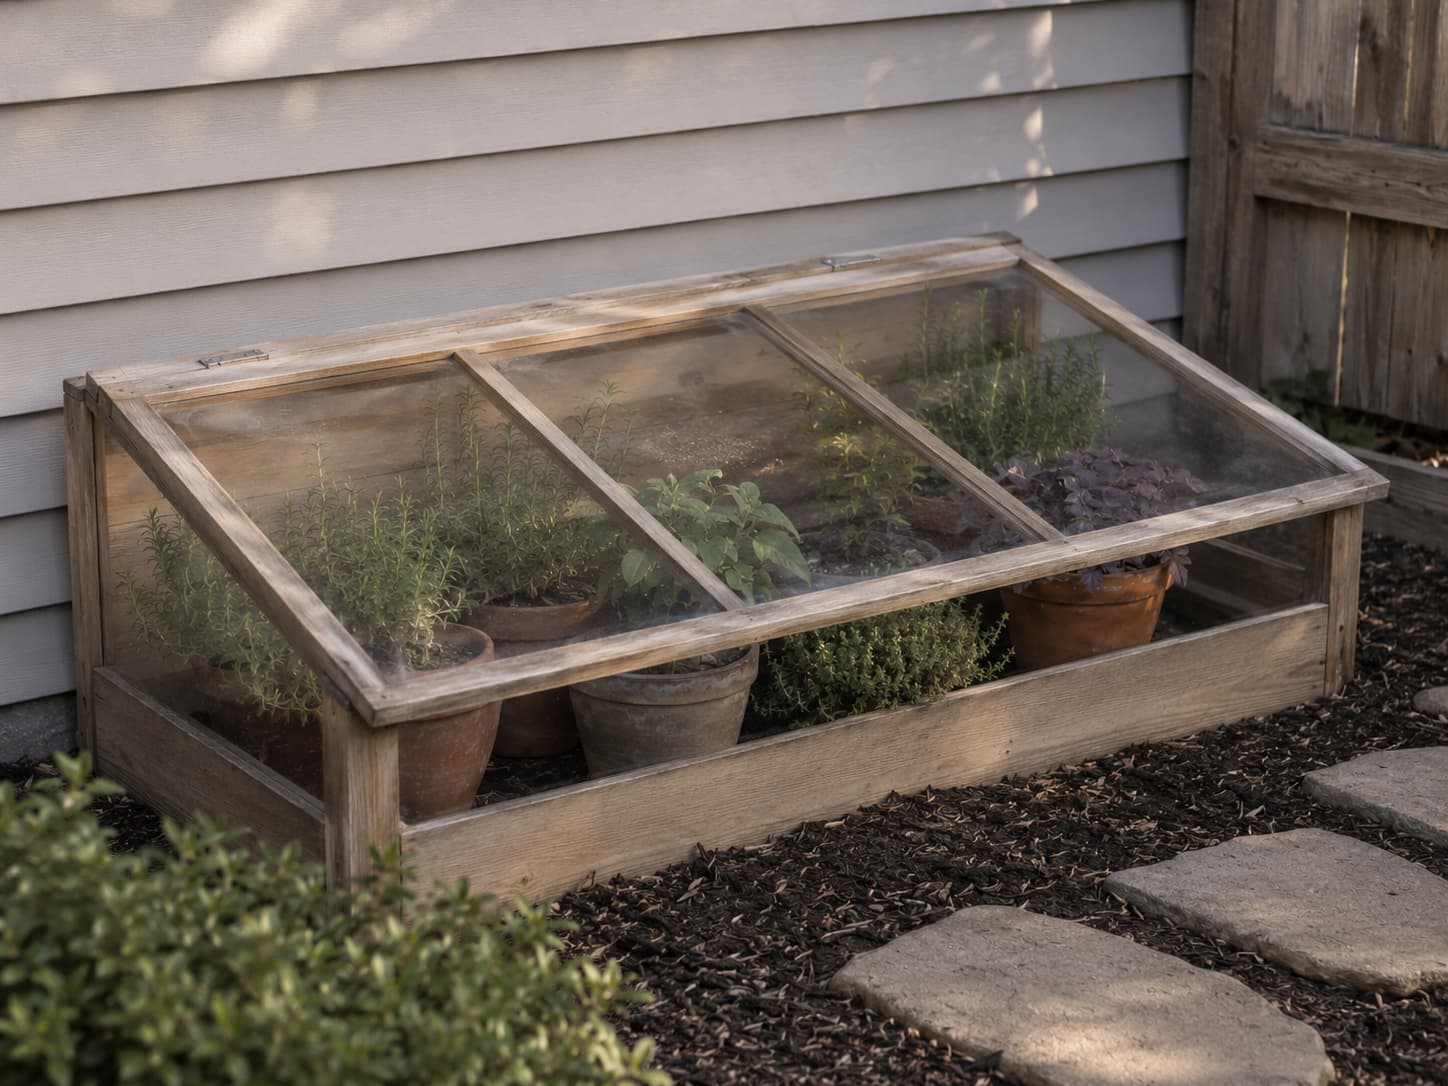
For example, a cold frame is a bottomless box with a transparent lid that captures some daytime warmth and reduces exposure at night. More importantly, it buffers containers from wind and rapid temperature swings, while a vented lid helps prevent overheating on sunny winter days.
How to Build a Simple Cold Frame
- First, get a suitable transparent lid or panel for the frame. A salvaged storm window (3×5 ft) from a reuse store costs $5–15. Alternatively, use a clear polycarbonate panel sized for the frame.
- Next, build the frame. For example, sturdy exterior lumber can form a rectangular box slightly smaller than the lid. The back wall should be 4–6 inches taller than the front wall so the lid slopes toward the sun. Then, fasten the corners securely with exterior-rated hardware.
- Position it. For the next step, place the cold frame against a sheltered wall or fence where winter exposure is appropriate. In addition, a sheltered wall can reduce wind exposure and may moderate temperature swings. The south-facing slope captures maximum winter sun.
- Move your pots inside. Then pack the pots in snugly so the group is less exposed than isolated containers. Finally, fill larger empty spaces with a suitable dry insulating material where it will not trap damaging moisture.
- Finally, vent the lid whenever sunny conditions make the interior too warm. A closed cold frame in full sun can reach 80°F even when it's 30°F outside, and that temperature swing shocks plants. Use a notched stick or a automatic vent opener ($15) to regulate temperature.
I built my cold frame in October 2024 from a free storm window and $18 of lumber. It holds six 10-inch pots of rosemary, lavender, and thyme. The soil inside the cold frame stayed above 28°F even when the outside temperature dropped to 12°F in January. All six plants survived and were thriving by March. Total build time: 90 minutes with a circular saw and drill. For a comparison of growing strategies, see our containers vs in-ground planting guide.
Method 2: The Burlap Wrap ($5–10 per Plant, Best for Shrubs and Small Trees)
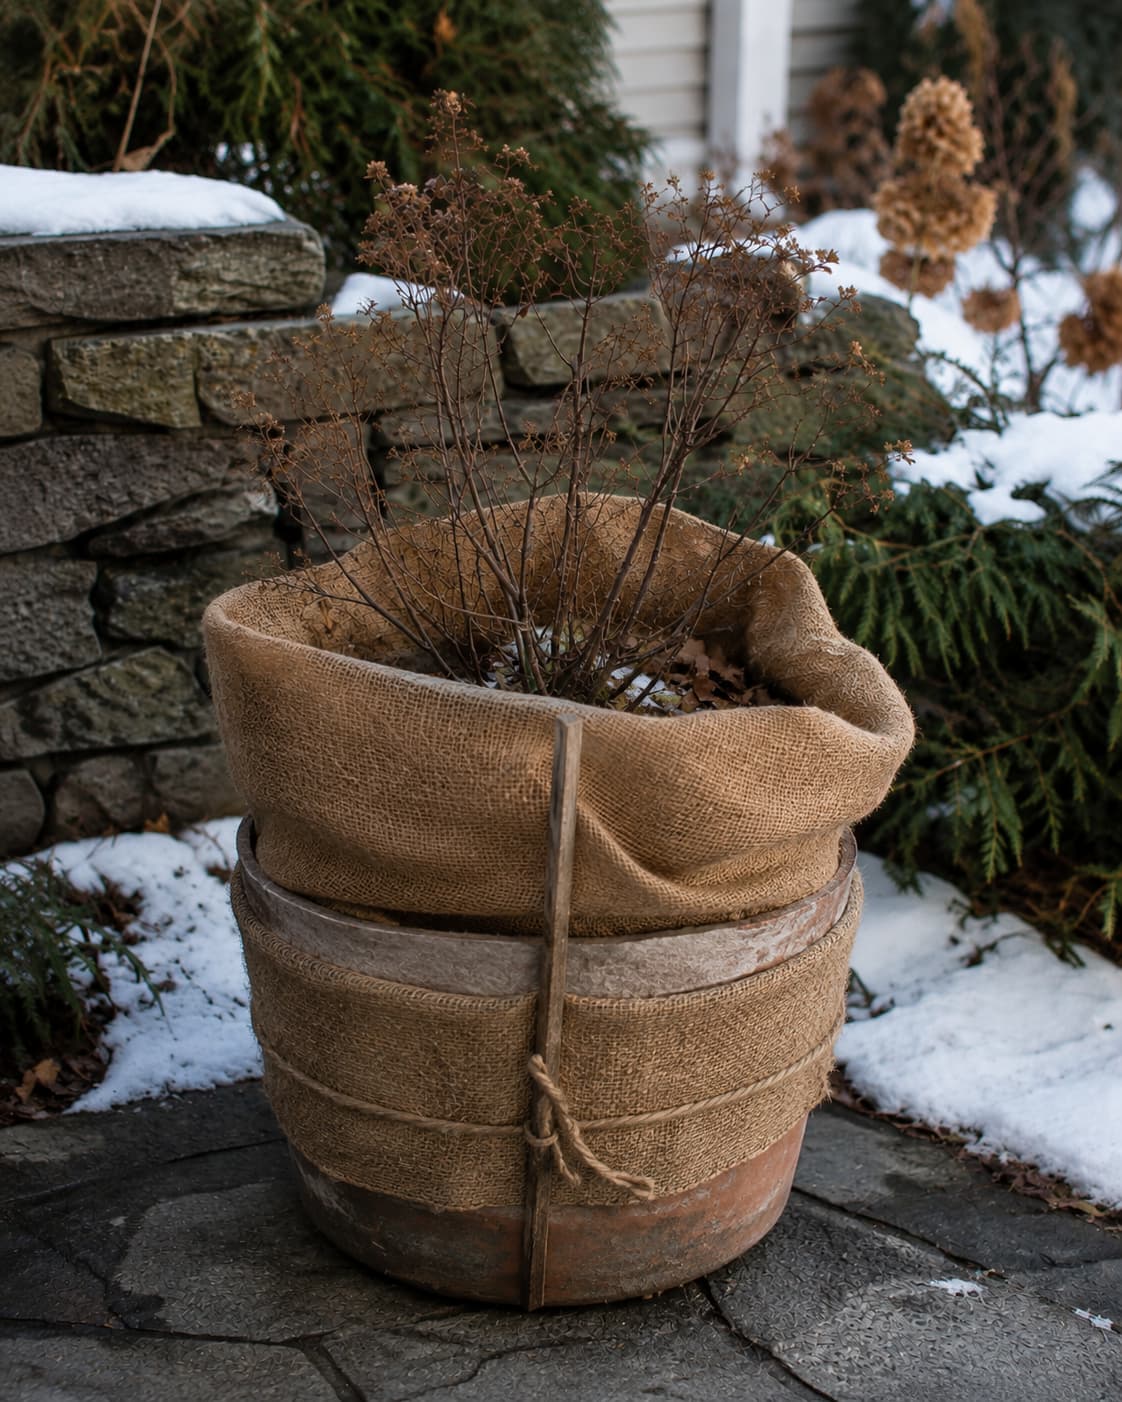
By contrast, wrapping focuses on reducing wind exposure around the top growth while insulating the container itself. For that reason, it can be useful for dormant shrubs and small trees that cannot be moved into a protected structure.
Step-by-Step Burlap Wrapping
- First, wait until a deciduous plant is dormant before wrapping it for long-term winter protection. After 2–3 hard frosts, the plant has stopped growing and entered dormancy. Therefore, avoid sealing a plant into heavy protection while it is still actively growing.
- Push the pot against a protected wall (north or east side—the plant doesn't need sun while dormant, but it does need wind protection).
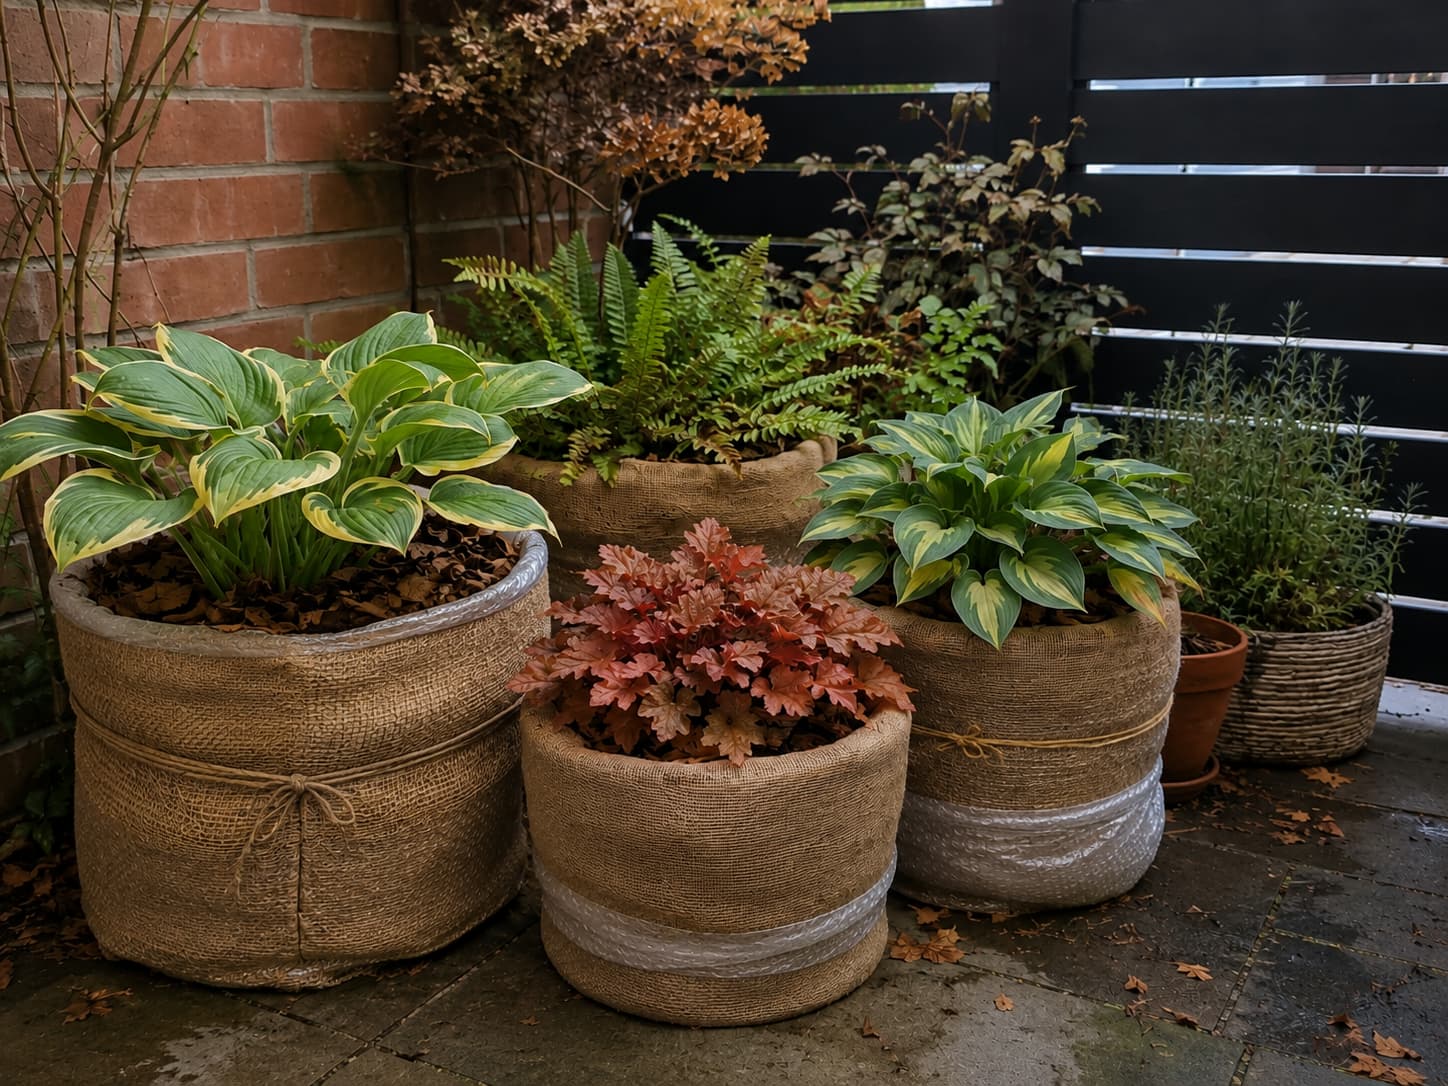
- Next, insulate the pot first. Circle the pot with 2–3 layers of bubble wrap, then cover the bubble wrap with burlap (burlap alone doesn't insulate; the bubble wrap does the work; the burlap keeps sun off the plastic). Tie with twine.
- Then, protect the top growth where the species and exposure justify it. Importantly, avoid binding branches tightly; leave useful air space around the plant. Drive 3–4 bamboo stakes into the pot around the plant, then wrap burlap around the stakes to create a tent. This keeps the fabric off the foliage and creates an insulating air pocket.
- If additional insulation is needed, add dry insulating material without packing it tightly against wet foliage. This adds insulation and prevents wind from whipping the plant inside the wrap.
- Finally, finish the shelter with a breathable top layer to keep rain and snow out of the fill material.
Method 3: Trench Planting (Free, Best for Large Collections)
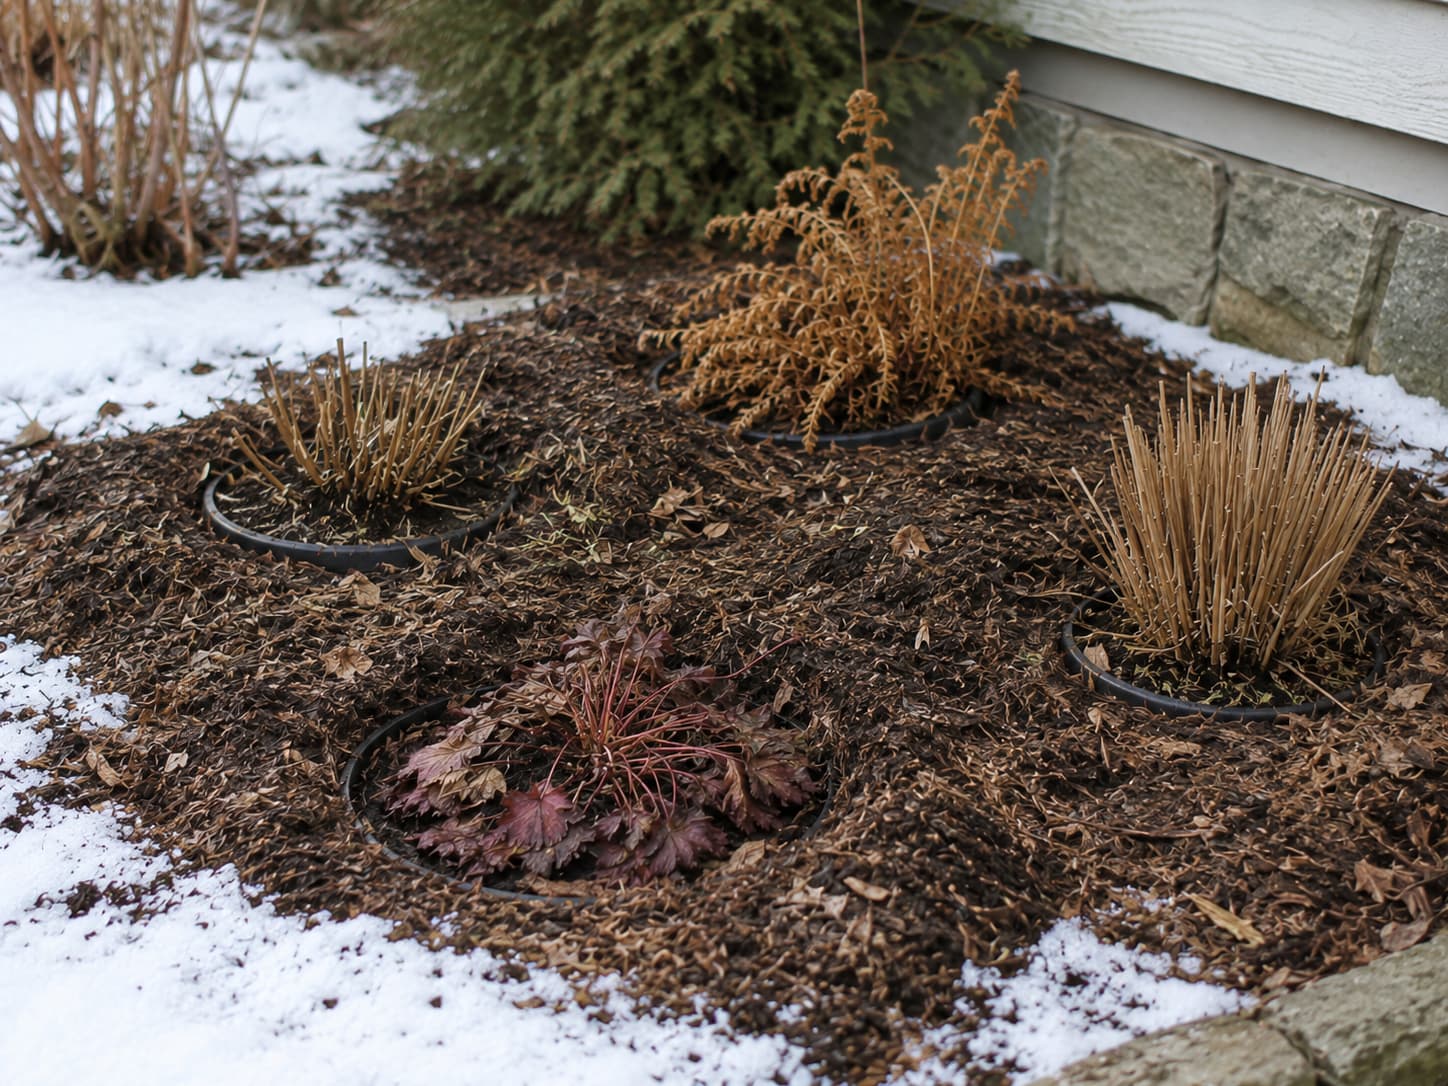
Alternatively, trench planting uses the surrounding ground as insulation: sink the pots into the soil and mulch the surface. In effect, the surrounding soil buffers the root ball from the rapid temperature changes experienced by an exposed pot. This method can significantly moderate root temperatures by using the insulating mass of the ground.
How to Trench Plant
- First, dig a trench 4–6 inches deeper than your tallest pot and wide enough to fit all your containers side by side. A trench along a fence line or foundation wall is ideal.
- Line the bottom with 2 inches of gravel or sand for drainage. However, do not create a basin that leaves containers sitting in winter water.
- Next, place pots in the trench side by side. Then, fill the gaps between pots with suitable insulating material.
- Afterward, backfill soil around the pots up to the rim. The soil should cover the pot completely on the sides.
- Finally, add an insulating mulch layer over the top of the entire trench. This insulates the soil surface and prevents deep freezing.
- In spring, pull the mulch back in mid-March, and lift the pots out when the soil has thawed enough to work—usually late March in Zone 6.
Trench planting saved my mother-in-law's entire patio container garden (14 pots) through the polar vortex of January 2025, when temps hit -8°F for two nights. Every single plant survived. The ground soil around the pots stayed at 28°F even though the air was -8°F—thirty-six degrees of insulation from simply being below grade. It's free, it's effective, and it's the closest you can get to actually planting in the ground without planting in the ground.
Method 4: The Insulated Cluster ($0–15, Best for Small Perennials)
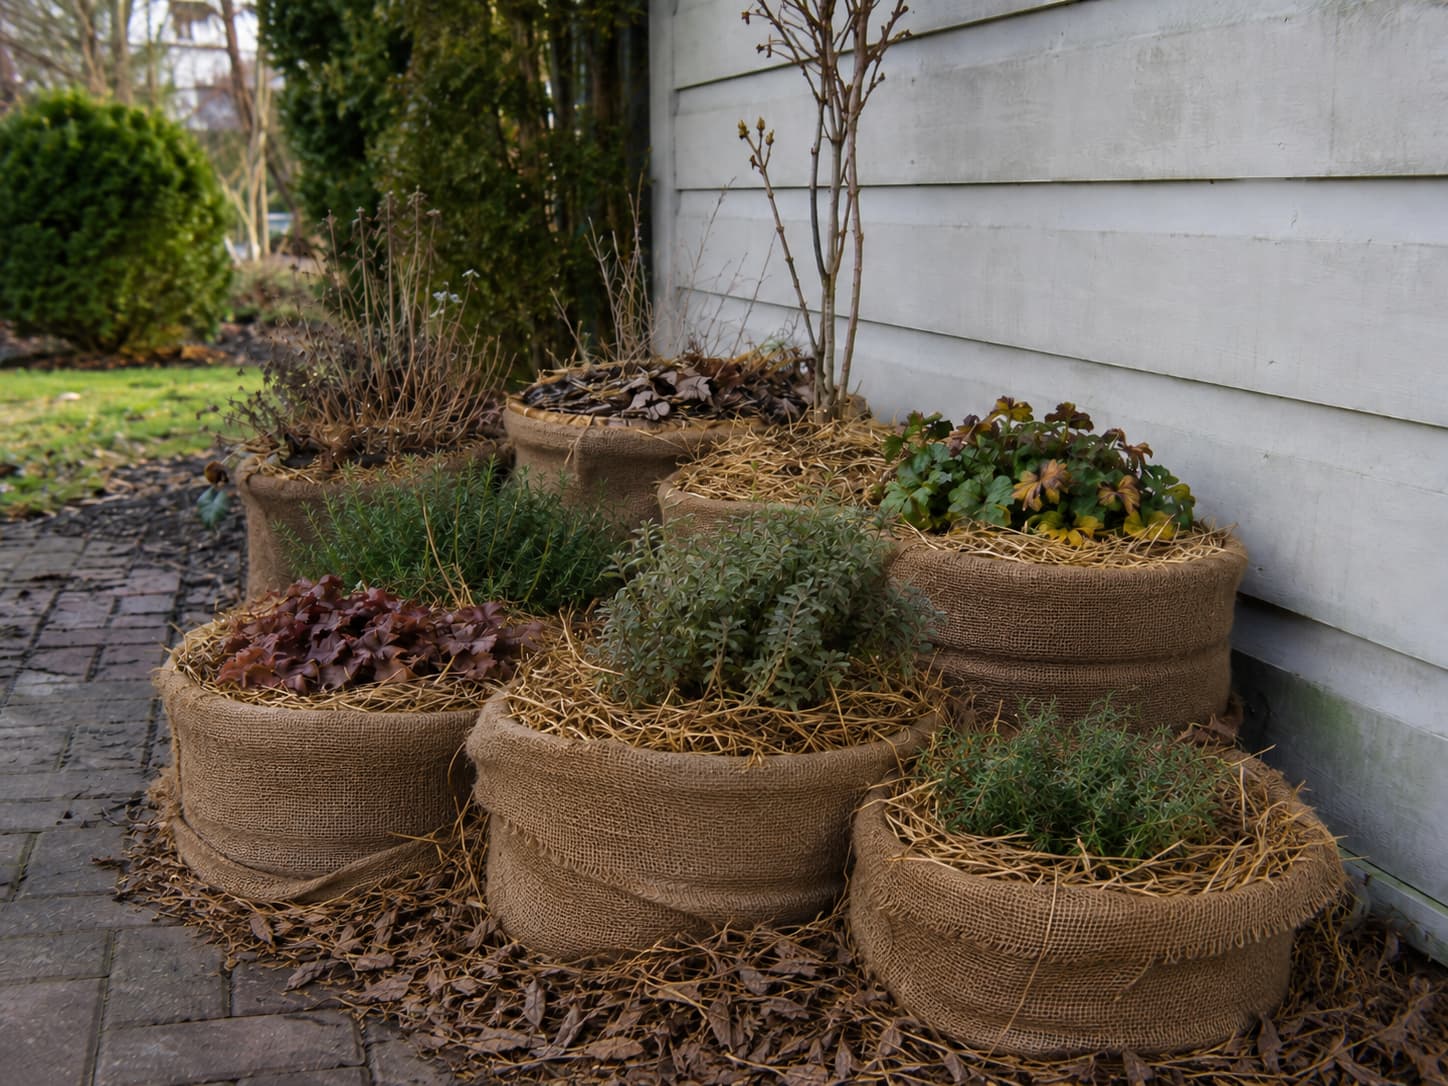
Meanwhile, if you cannot dig a trench or fit a cold frame, clustering hardy pots in a sheltered area is a simpler option. Although it offers less protection, clustering can still reduce exposure compared with leaving every container isolated.
How to Make an Insulated Cluster
- First, group hardy pots together in the most sheltered spot in your yard—against a south-facing wall, in a corner where two walls meet, or under the eaves of a roof overhang.
- Next, push the pots close together to reduce exposed surface area. In addition, close spacing reduces the amount of container wall directly exposed to wind and cold air.
- Then place the most cold-sensitive plants in the center of the cluster and the hardiest on the outside edges.
- Afterward, wrap the entire cluster with burlap or frost cloth, creating a tent over the whole group. At the same time, allow appropriate ventilation because a completely sealed enclosure can trap excess moisture.
- Next, tuck dry insulating material such as straw or dry leaves in the gaps between pots and around the outside perimeter.
- Finally, mulch the tops of the pots with 3–4 inches of straw to insulate the root zone from above.
Method 5: The Unheated Garage or Shed (Free if You Have One, Best for Semi-Hardy Plants)
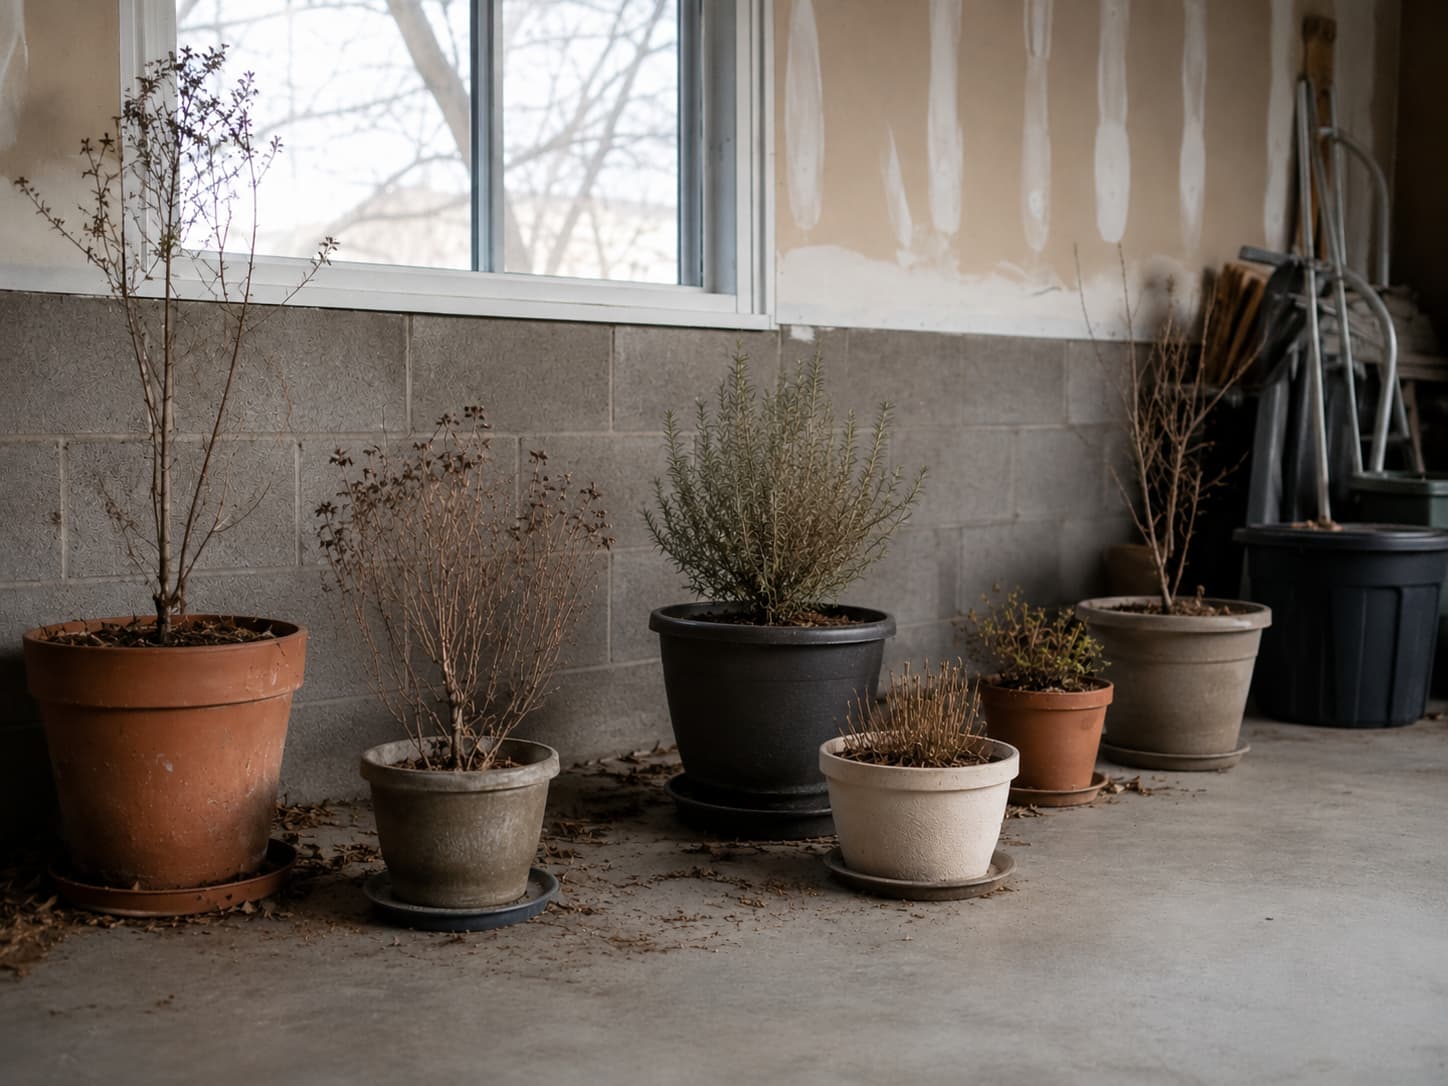
Finally, an unheated garage or shed can provide valuable wind protection and a more stable environment than a fully exposed patio. In addition, sheltered structures can reduce repeated freeze-thaw swings, although actual temperatures vary by building and weather.
Garage Overwintering Protocol
- First, move suitable dormant plants into shelter after they have received the seasonal cues they need. when they're fully dormant. Don't baby them inside early—they need the cold signal to go dormant.
- Next, place semi-evergreen plants near useful light if possible. Even minimal light prevents etiolation on semi-evergreen plants.
- Check moisture periodically rather than watering on a fixed calendar. Dormant plants use almost no water, but roots desiccate completely in bone-dry garage air. Check the soil monthly—if it's dry 3 inches down, add a small amount of water.
- Also, avoid routine fertilizing while the plants are dormant. At all. Dormant plants can't process nutrients.
- Meanwhile, watch for rodent activity. Rodents love to nest in mulched pots and gnaw on bark. Lay hardware cloth (wire mesh) over the soil surface of each pot to deter them.
- Finally, move plants back outside in stages. In March, move plants to a sheltered outdoor spot for a few hours a day for a week before leaving them out full-time. See our hardening-off guide for the transition protocol.
5 Methods Compared: Which One Should You Use?
| Method | Root Protection | Top Growth Protection | Cost | Effort | Best For |
|---|---|---|---|---|---|
| Cold frame | +10–15°F | +5–10°F | $25–60 | Build once, use for years | Perennials, herbs, small shrubs in Zones 5–7 |
| Burlap wrap | +5–8°F (pot wrap) | +5–10°F | $5–10/plant | 30 min per plant; unwrap in spring | Shrubs, small trees, rosemary, figs |
| Trench planting | +15–20°F | Varies (top growth exposed) | Free | 1–2 hours to dig; 30 min to retrieve in spring | Large collections of perennials; best root protection available |
| Insulated cluster | +3–5°F | +2–4°F | $0–15 | 30 min total setup | Small perennials in Zones 6+; quick solution |
| Garage/shed | +10–20°F | +10–20°F | Free | Move twice (in and out) | Semi-hardy plants; anywhere with an unheated structure |
Drag the bar below or swipe horizontally to view the remaining columns.
Plant-by-Plant Overwintering Chart
| Plant | Hardiness In-Ground | Hardiness in Pot (Unprotected) | Best Method | Minimum Zone With Protection |
|---|---|---|---|---|
| Rosemary ('Arp', 'Hill Hardy') | Zone 7 | Zone 8 (dies at 25°F) | Cold frame or garage | Zone 6 |
| Lavender (English) | Zone 5 | Zone 7 (dies at 15°F) | Burlap wrap + pot insulation | Zone 5 |
| Fig tree | Zone 6–7 | Zone 8 (tips die at 20°F) | Burlap wrap with straw fill | Zone 6 |
| Hydrangea (mophead) | Zone 5–6 | Zone 7 (flower buds die at 10°F) | Cold frame or trench | Zone 5 (protects buds) |
| Dwarf boxwood | Zone 5 | Zone 6 (foliage burn at 0°F) | Burlap wrap (wind protection) | Zone 5 |
| Hosta | Zone 3 | Zone 5 (roots freeze in pot) | Trench planting or insulated cluster | Zone 4 |
| Heuchera (coral bells) | Zone 4 | Zone 5–6 | Insulated cluster | Zone 4 |
| Aloe vera | Zone 9 | Zone 10 (dies at 32°F) | Must come inside—no outdoor method works | N/A |
Drag the bar below or swipe horizontally to view the remaining columns.
For the plants that must come inside (aloe, tropicals), see our aloe care guide and houseplant stress guide for indoor winter care.
What About Terra-Cotta Pots? They Shatter in Frost.
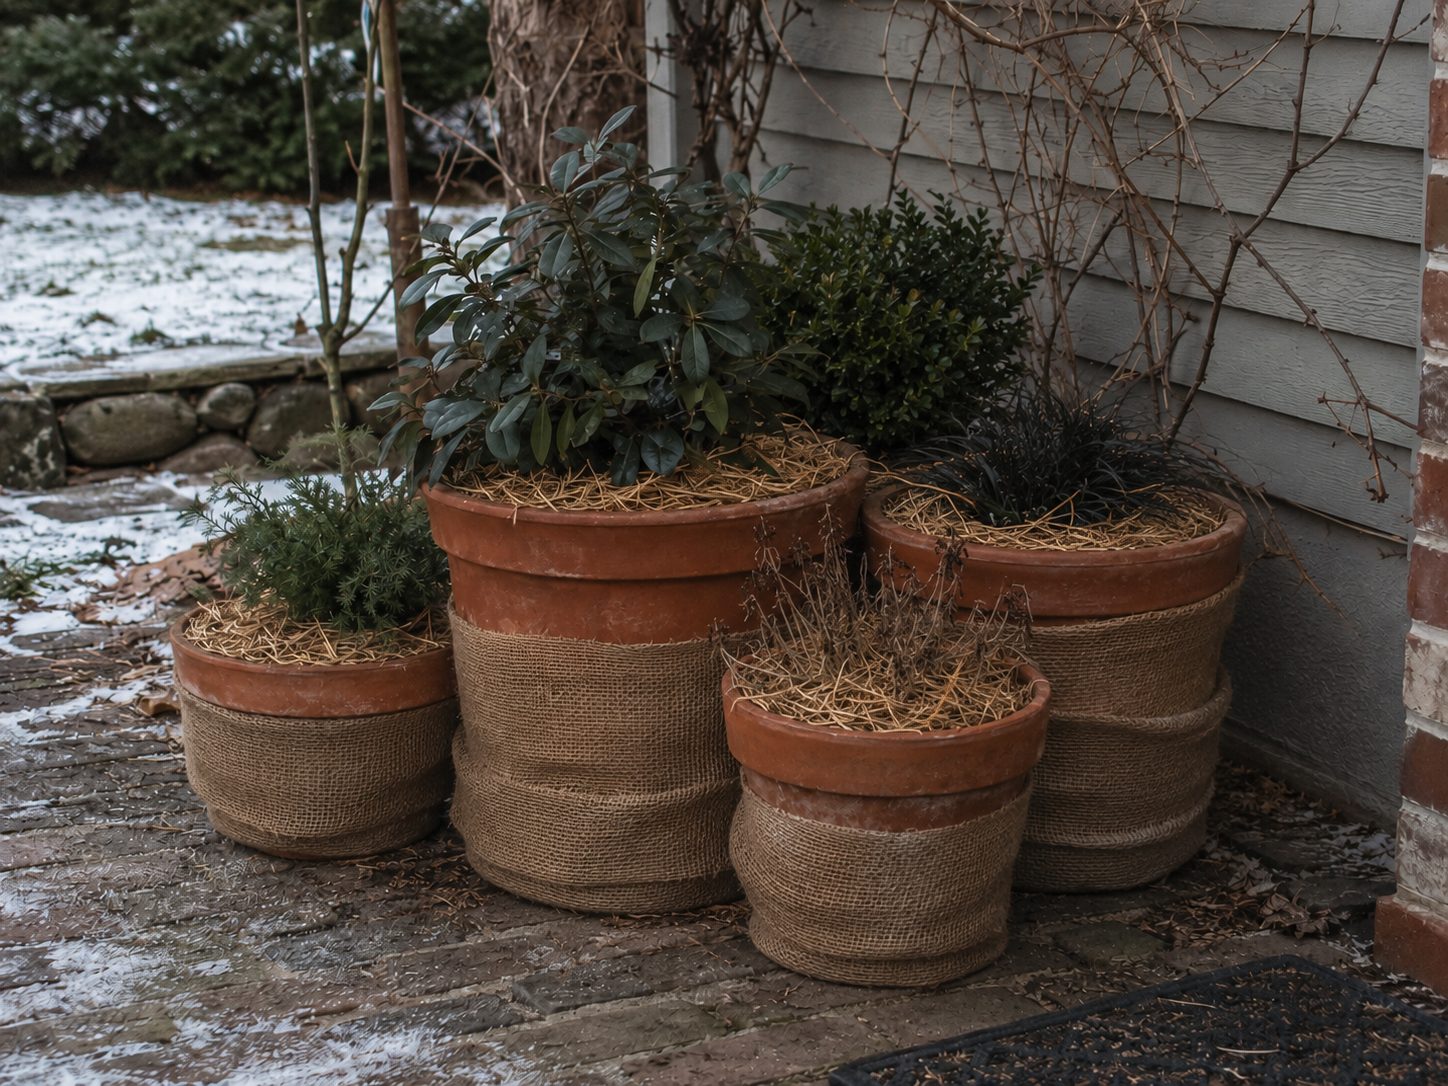
Separately, terra-cotta and some ceramic pots need attention because their materials can absorb moisture. When that moisture freezes, expansion can contribute to cracking. Therefore, protecting the container itself is a separate job from protecting the plant.
3 Ways to Protect the Pot Itself
- Wrap the pot in bubble wrap before wrapping in burlap. The bubble wrap creates an air gap between the frozen soil and the pot wall, reducing the amount of moisture that enters the clay. This can reduce the risk of frost cracking by moderating rapid freezing and thawing around the pot.
- Move terra-cotta pots into the garage or shed. For example, a frost-free unheated space can greatly reduce freeze-thaw stress on vulnerable containers.
- Switch to frost-proof containers. If you're buying new pots for plants that will overwinter outdoors, choose fiberglass, resin, or concrete. In general, frost-rated fiberglass, resin, and similar materials are less vulnerable to moisture-related freeze cracking than porous terra-cotta. Fiberglass, resin, and other frost-tolerant materials are often better choices for containers that must remain outdoors through repeated freezes.
Winter Watering: The Counter-Intuitive Rule
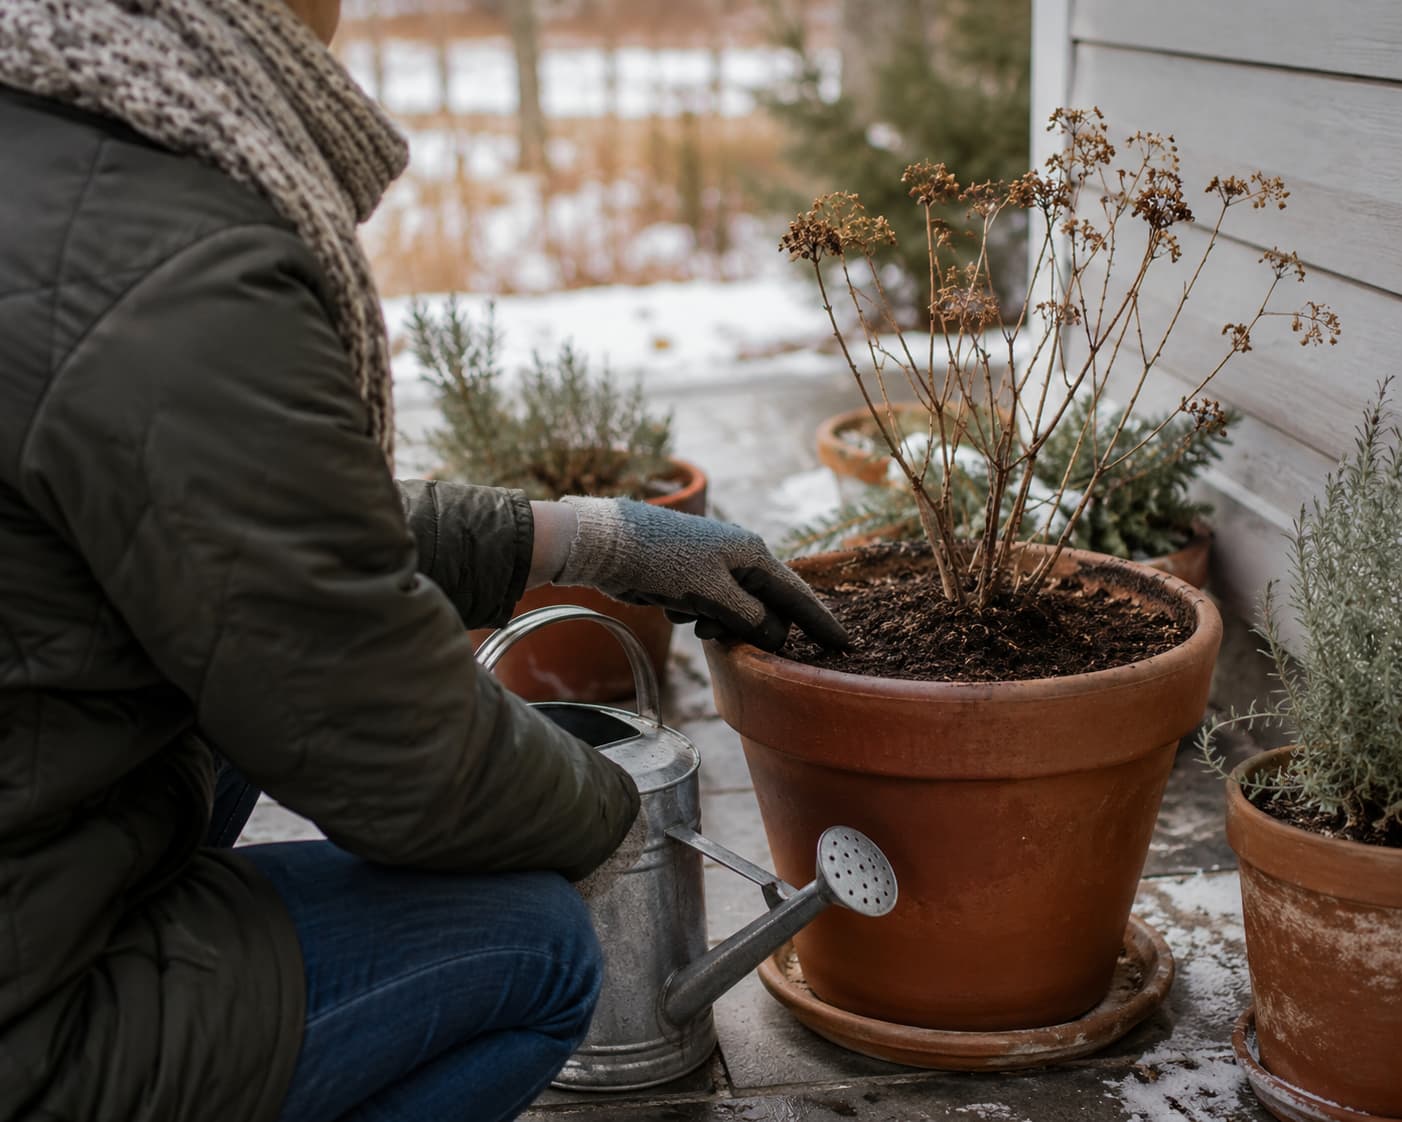
When it comes to watering, dormancy does not automatically mean a container should stay dry all winter. However, water use is usually slower, so check the thawed root zone rather than following a fixed calendar. In practice, use the potting mix and weather conditions as your guide:
| Condition | Water? | How Much |
|---|---|---|
| Soil is frozen solid | No — water can't penetrate frozen soil and pools on the surface, causing crown rot | Wait for a thaw |
| Soil is thawed and dry 3+ inches down | Yes | Light watering — moisten the top 3 inches, don't soak |
| Soil is thawed and moist | No | Check again in 2 weeks |
| Evergreen foliage looks dull or curling | Check the soil first | If soil is dry, water; if soil is wet, the problem is wind/cold, not drought |
Drag the bar below or swipe horizontally to view the remaining columns.
The best time to water in winter: On a mild day when the potting mix is thawed and can drain. That way, water can move into the thawed root zone and drain before colder nighttime conditions return. Avoid saturating containers just before a sharp overnight freeze; aim for evenly moist, well-drained soil instead. For more on plant care during absences, see our vacation plant care guide.
Spring Wake-Up: How to Transition Plants Back Outside
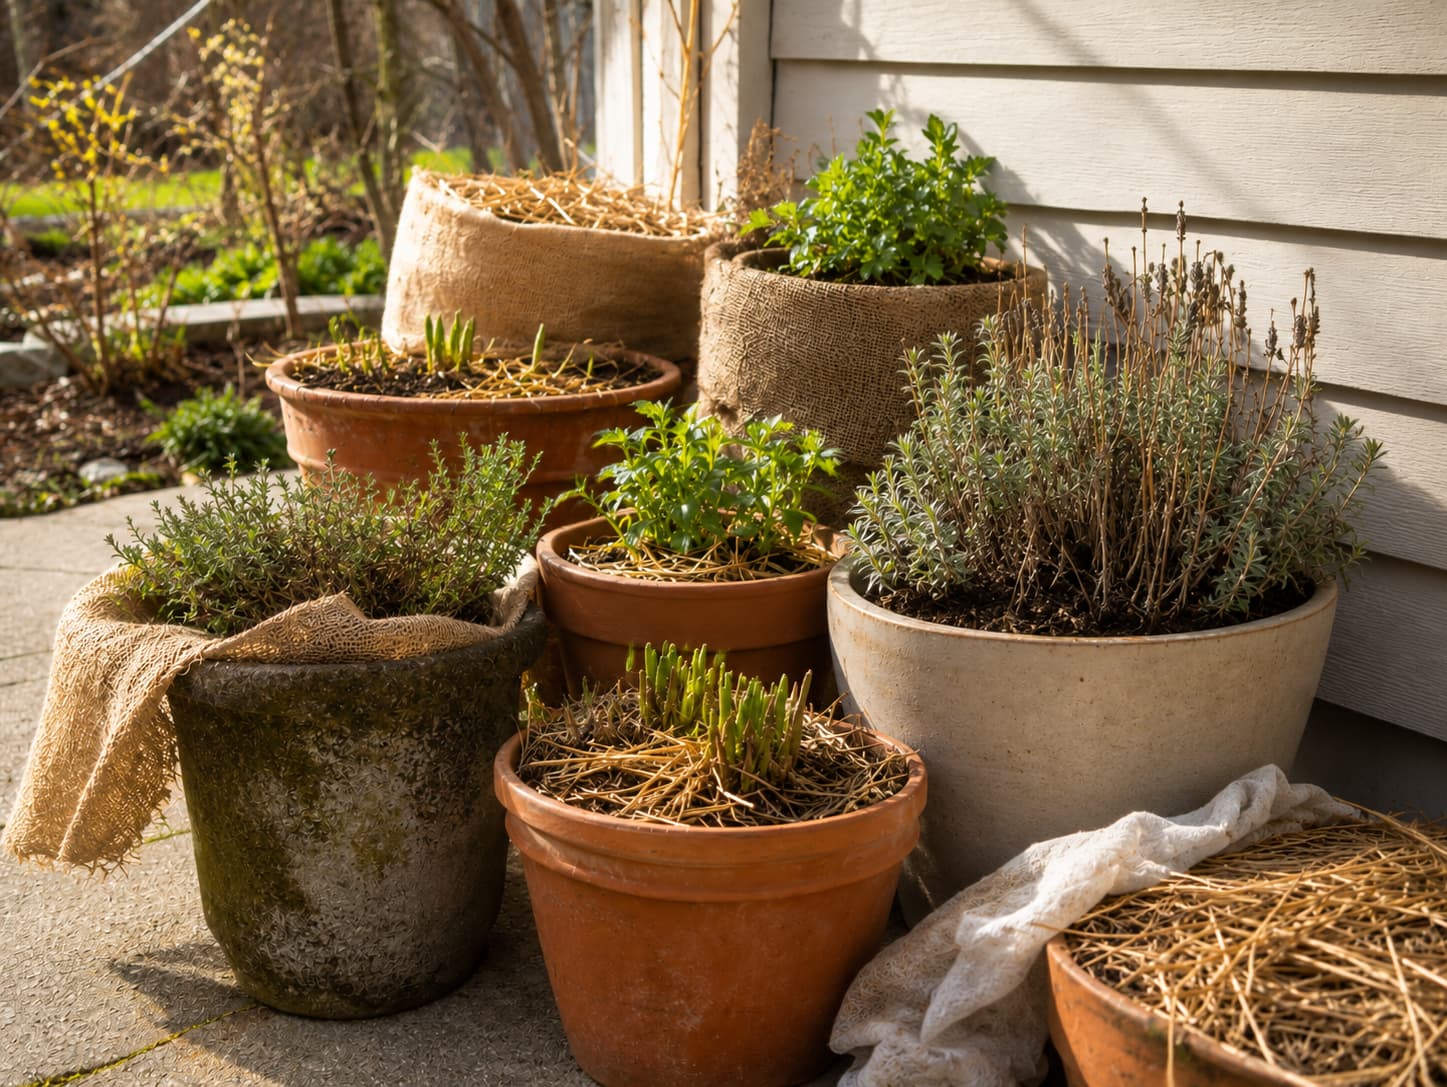
After winter, protected plants may need a gradual transition back to brighter light, wind, and wider temperature swings. Therefore, avoid removing every layer of protection at once. Instead, use a staged spring transition:
Week 1: Gradual Exposure
- Begin by removing the top layer of mulch or straw from the cold frame/trench/cluster
- Then, open cold frame lids during mild periods as needed to reduce overheating
- Meanwhile, begin removing burlap gradually rather than exposing the whole plant at once
Week 2: More Exposure
- Next, remove all mulch from pot surfaces
- Afterward, adjust cold-frame ventilation according to daytime warmth and nighttime freeze risk
- Then remove burlap completely but keep the pot insulation on
- Also, resume watering according to actual root-zone moisture
Week 3: Full Exposure
- Once the soil is workable, lift pots from trenches
- Afterward, remove all insulation and wraps
- Finally, move pots gradually toward their spring/summer positions
- Finally, resume feeding only when active growth has returned and according to the fertilizer label
For plants coming out of the garage, follow the same hardening-off protocol you'd use for spring seedlings—gradual exposure to wind and sun over 7–10 days.
Frequently Asked Questions
1. Can I leave perennials in pots outside all winter?
2. Should I cut back perennials before overwintering them in pots?
3. My potted rosemary died last winter even though I wrapped it. What went wrong?
Winter Watering & Potted Fig Questions
4. Do I need to water outdoor potted plants in winter?
5. Can I overwinter a potted fig tree in Zone 6?
Sources
- University of New Hampshire Extension. "Overwintering Containerized Perennials." extension.unh.edu, 2024. extension.unh.edu
- Penn State Extension. "Protecting Container Plants During Winter." extension.psu.edu, 2023. extension.psu.edu
- University of Vermont Extension. "Cold Frames and Season Extension." uvm.edu/extension, 2024. uvm.edu/extension
- Iowa State University Extension. "Winter Protection of Roses and Other Landscape Plants." extension.iastate.edu, 2023. extension.iastate.edu