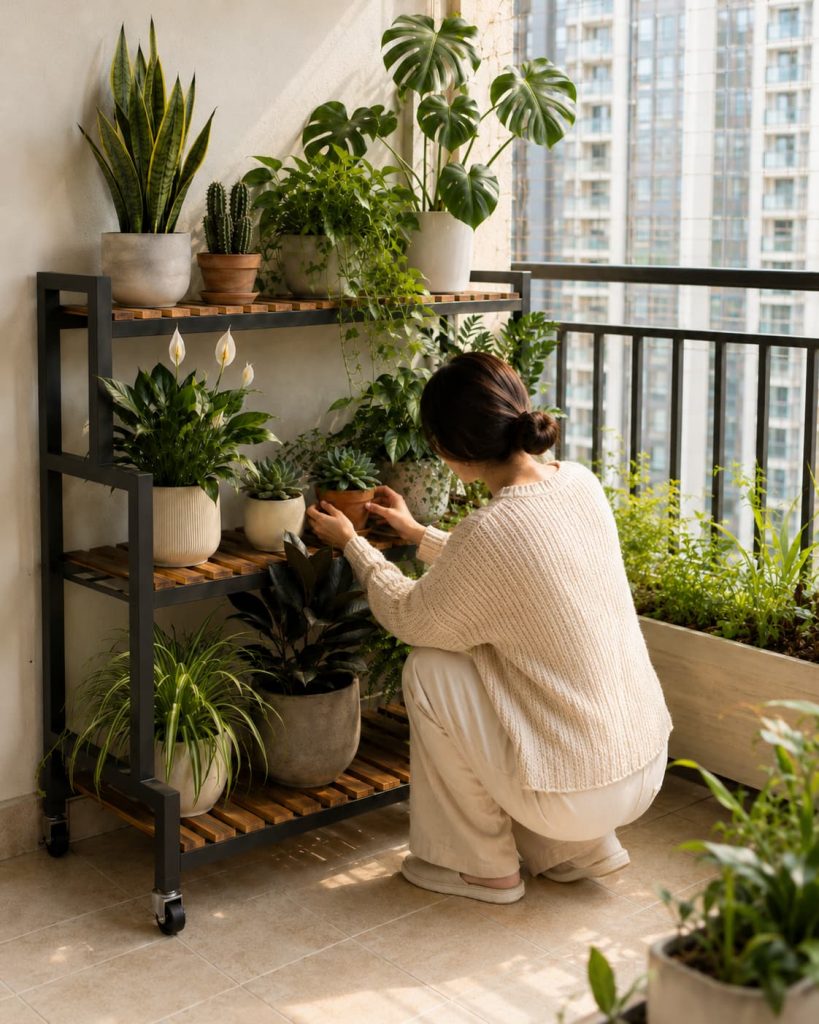
Spider Plant Propagation: 3 Easy Ways to Root Babies
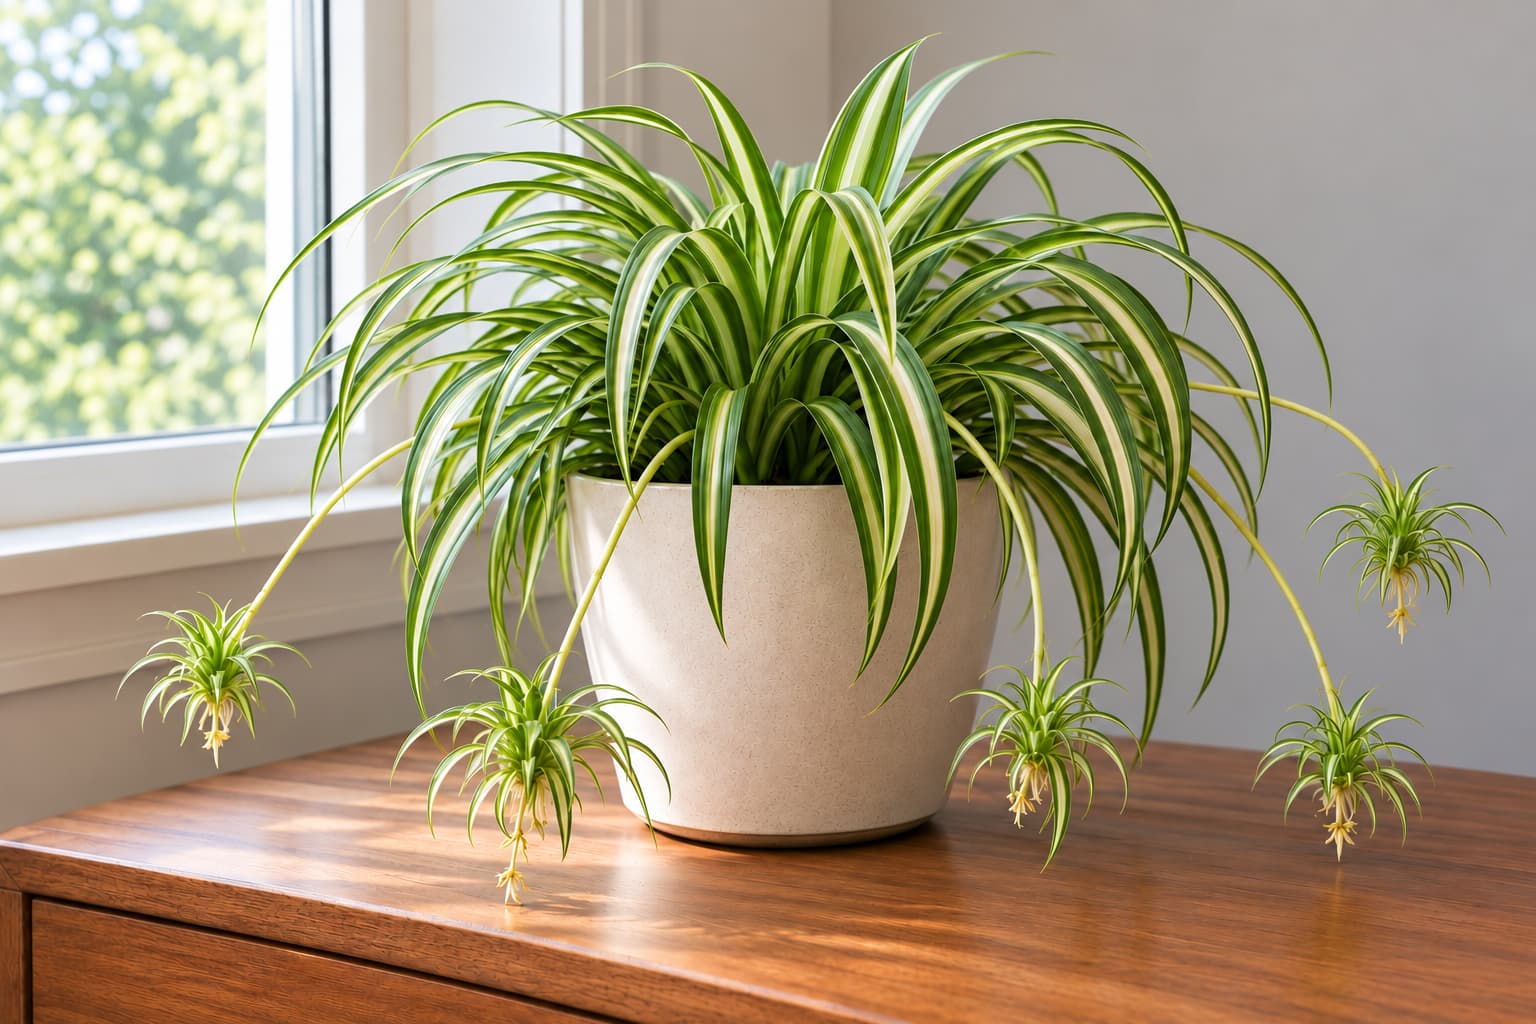
A spider plant (Chlorophytum comosum) does most of the propagation work itself. Once it is mature and growing reasonably well, it sends out long arching stems tipped with baby plantlets — "spiderettes" — and those babies can grow into new plants.
This guide explains three ways to root a spider plant baby: while it is still attached, in water, or directly in potting mix. If the parent has outgrown its pot, you can divide it instead. You will also learn when to cut a plantlet and how to care for it after rooting.
Quick Answer: Which Method Should You Use?
For most beginners, rooting a baby while it stays attached to the mother plant is the easiest choice. The runner continues to support it until its own roots form. Choose water if you want to see the roots, or potting mix if you want to skip moving it from water to soil.
| Method | Why choose it | What to know |
|---|---|---|
| Pot beside the mother (still attached) | Most forgiving; parent keeps feeding the baby | Needs a spare small pot near the parent plant |
| Glass of water | You can watch roots form | Change the water weekly; pot up before roots get very long |
| Directly into potting mix | No water-to-soil transition | Roots are invisible; check with a gentle tug after a few weeks |
What Makes a Spiderette Ready to Root
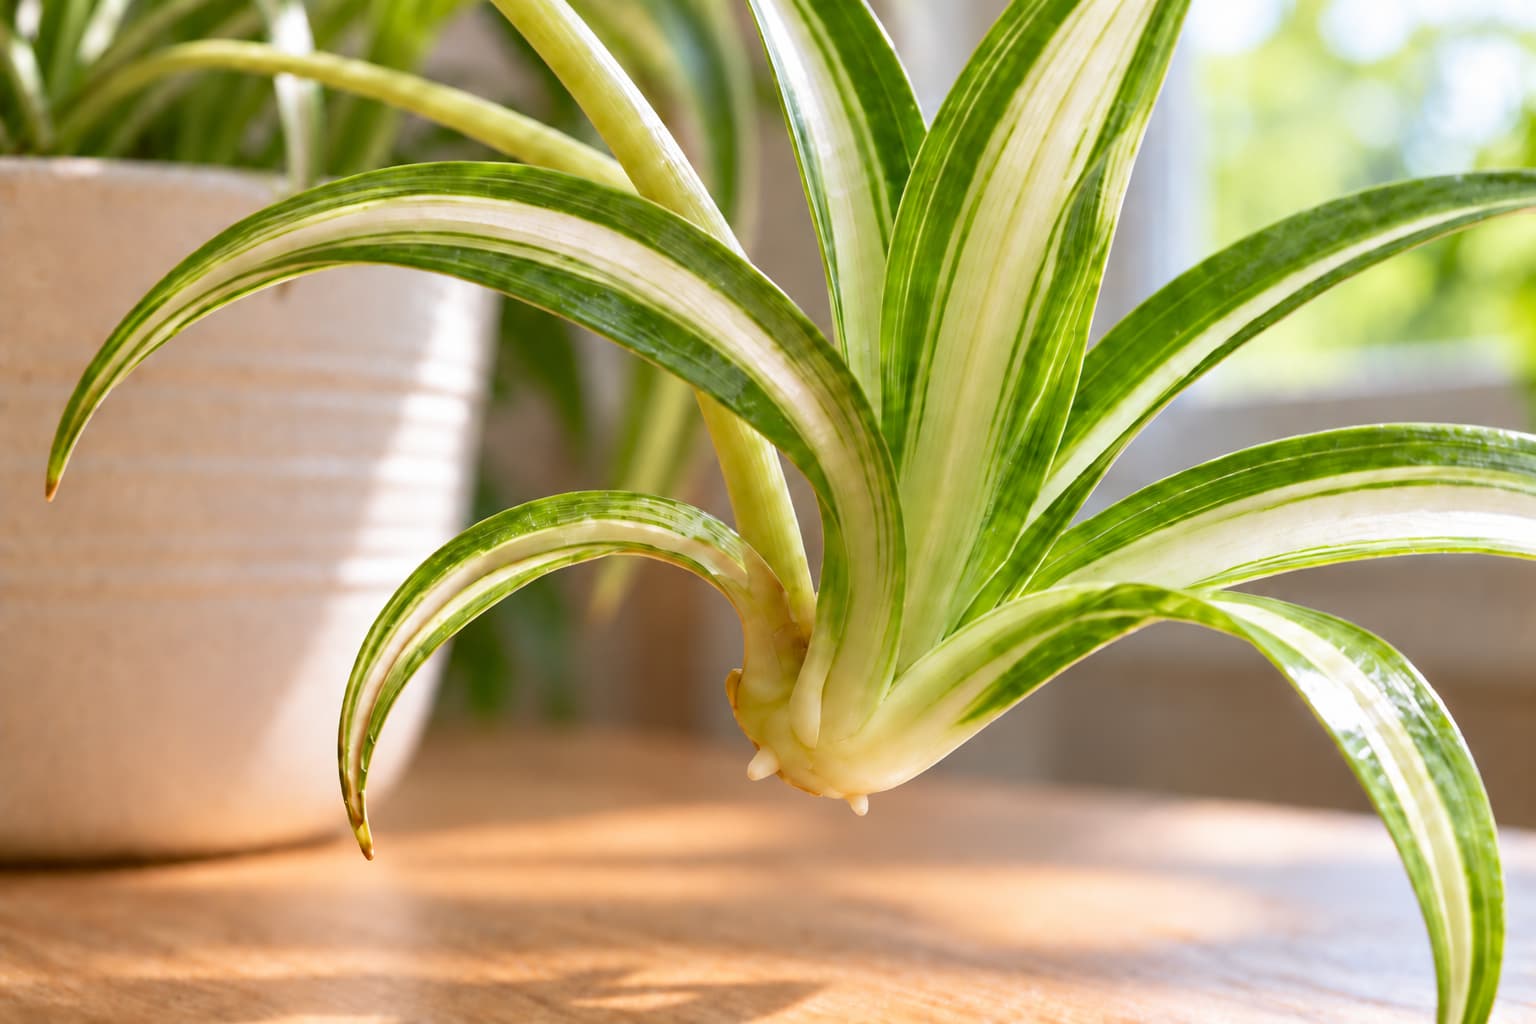
Turn a plantlet over and look at its base, where the leaves meet. Look for small bumps or short pale roots. These show that the baby has begun to form roots and is ready for its own pot or a glass of water. A smooth base may still root, but leaving that plantlet attached a little longer is usually easier.
The baby can keep growing on the runner. If you are unsure whether it is ready, check again in a week or two.
Method 1: Root While Still Attached (Easiest)
- Fill a small pot, about 3–4 inches across, with fresh potting mix and moisten it lightly. Set it right beside the mother plant.
- Lay the plantlet on the soil surface with its base just pressed in. Hold it in place with a bent piece of wire, a hairpin, or a small stone — the runner stays attached the whole time.
- Keep the mix lightly and evenly moist.
- After roughly two to four weeks, tug very gently. Firm resistance means roots have taken hold.
- Snip the runner close to the baby and treat it as a normal young plant.
This method is particularly forgiving because the mother plant supports the baby while it roots. It is convenient when you want one or two new plants and have space for a small pot beside the parent.
Method 2: Root Plantlets in Water
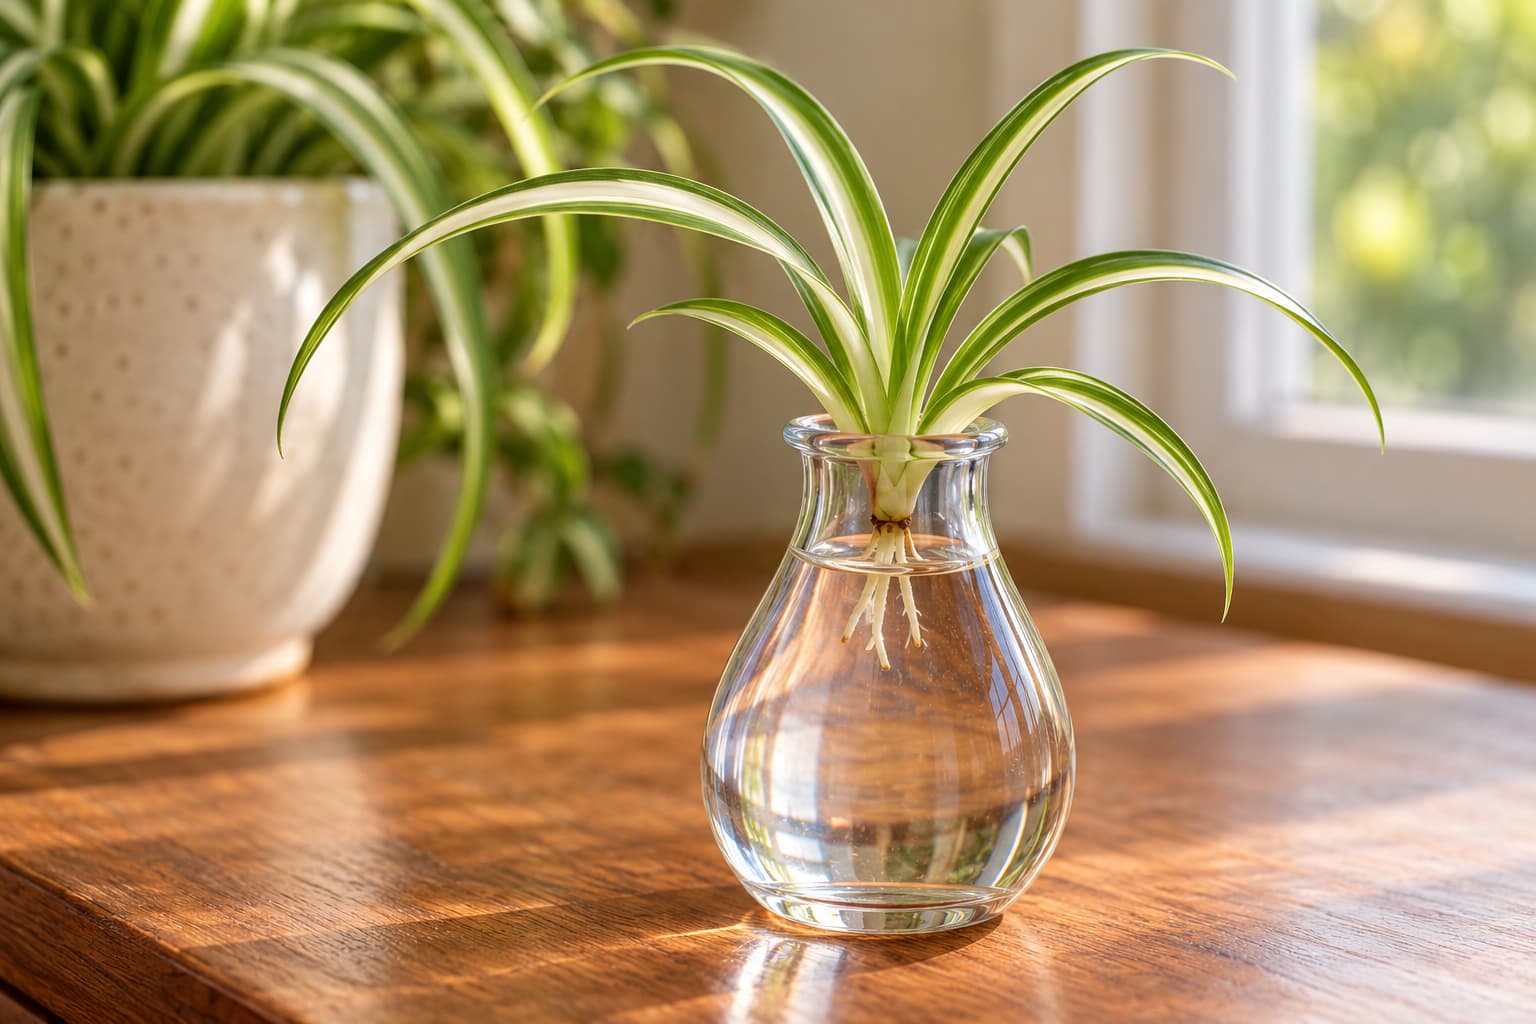
- Snip the plantlet off the runner with clean scissors, leaving a short piece of stem.
- Set it in a small glass so only the base touches the water; the leaves must stay above the waterline. A narrow jar neck can help hold the plantlet in place.
- Place it in bright, indirect light and change the water weekly.
- Check for new roots each week. Growth can take longer in cooler or darker rooms, so follow what the roots are doing rather than a fixed calendar.
- Pot the plantlet once it has several short roots, roughly 1–2 inches long. Do not wait for a large tangle of water-grown roots.
Water rooting lets you watch progress. After potting, keep the mix lightly moist while the young plant adjusts, then gradually move to a normal watering routine.
Method 3: Root Directly in Potting Mix
- Snip off the plantlet and trim the runner stub to about half an inch.
- Plant the base just below the surface of lightly moistened potting mix in a small pot.
- Keep the mix lightly moist while new roots develop, without leaving the pot waterlogged.
- Give it bright, indirect light. After a few weeks, a gentle tug that meets resistance tells you it has rooted.
This method skips the transfer from water to soil. Because you cannot see the roots, use gentle resistance and new growth as signs of progress. If the plantlet softens, check that the mix is draining and the base is not buried too deeply.
Or Simply Divide a Crowded Plant
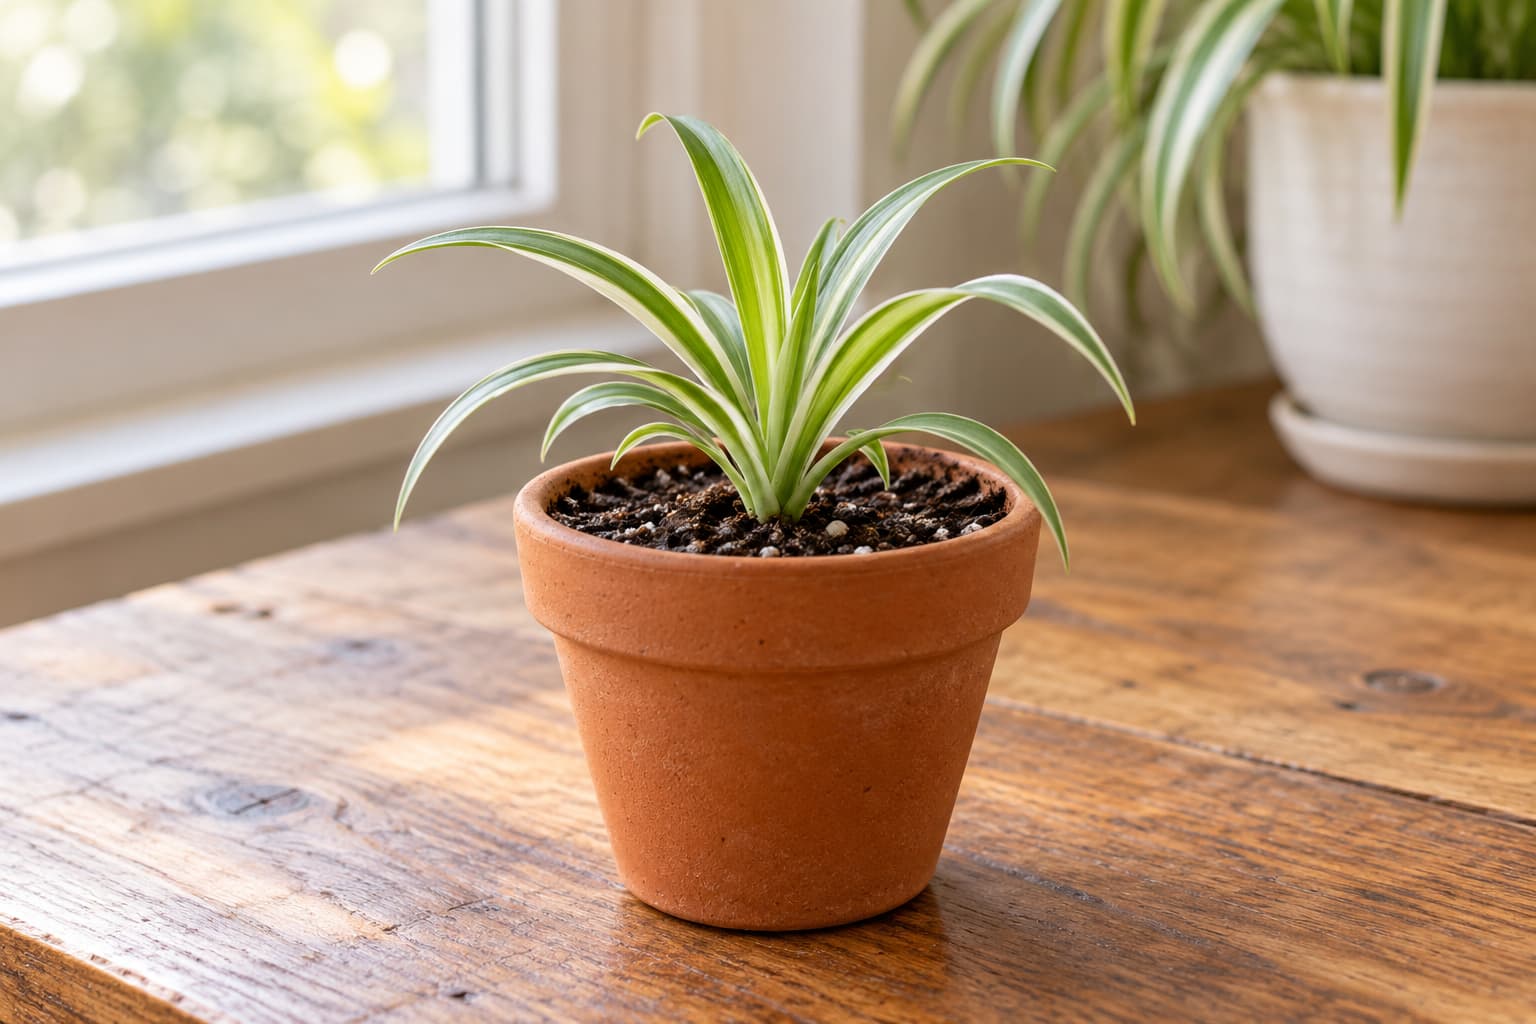
If the mother plant is bulging out of its pot, you can skip the nursery stage entirely. Ease the plant out of its container, find the natural clumps in the root mass, and pull or cut them apart into two or three sections, each with leaves and roots attached. Pot each section in a container with drainage, then water thoroughly and let excess water escape. A mature spider plant can also form plantlets on runners when growing conditions are suitable.
Potting Up and Caring for the Babies
- Pot: start small, with a drainage hole. A pot much larger than the root ball holds wet mix around young roots for too long.
- Mix: use a loose, well-draining indoor potting mix. Add perlite if your mix feels dense.
- Light: give new plantlets bright, indirect light. Avoid strong afternoon sun while they establish.
- Water: after rooting, let the upper inch of mix dry slightly, then water thoroughly and empty the saucer. Check the mix instead of watering on a fixed schedule.
- Brown leaf tips: dry soil, low humidity, soluble salts, or some tap-water minerals can contribute. Review your watering and water quality before changing everything at once. You may trim dry tips for appearance.
Are Spider Plants Safe Around Cats and Dogs?
The ASPCA plant database lists spider plants as non-toxic to cats and dogs. Even so, keep plants out of reach if your pet chews leaves. Contact your veterinarian if an animal develops concerning symptoms after eating a plant.
Plantlet Problems: Quick Checks
| What you see | Likely cause | First check |
|---|---|---|
| Plantlet going soft in water | Leaves below the waterline, or stale water | Keep only the base submerged; change water weekly |
| Wilting right after potting | Root disturbance or a dry root zone | Check the mix; water if it is dry and keep the plant in indirect light |
| No roots after several weeks | Cool room or dim light slowing growth | Move to a brighter, warmer spot before assuming failure |
| Runner dries up before the baby roots | The runner is no longer supporting the plantlet | Choose a baby with visible root nubs and root it separately |
| Mother plant never produces runners | A young plant, low light, or too much fertilizer | Give it bright indirect light and review feeding before changing pots |
Frequently Asked Questions
01When is a spider plant baby ready to be cut?
When the base shows small bumps or short roots. If the bottom is still smooth, the easiest move is to leave it attached to the mother for a couple more weeks — it keeps growing in the meantime.
02How long does water rooting take?
Check weekly. Roots may develop faster in warm, bright indirect light and more slowly in cooler rooms. Pot the baby when it has several short roots, roughly 1–2 inches long.
03Will the babies keep the mother's stripes?
Plantlets on runners generally keep the parent's leaf pattern. Seed-grown plants may vary in coloration.
04Can I plant a baby that has no roots yet?
You can, provided you keep the mix evenly moist. Babies that already show root nubs are noticeably more reliable, so when you have the choice, root those first.
05Why isn't my spider plant making babies?
A young plant may need time to mature. Low light can limit plantlet production, while too much fertilizer may reduce it. Start by improving light and checking your feeding routine.
06Do I need rooting hormone?
No. Spider plant plantlets root readily without it — the plant has already done most of the preparation on the runner.
Related Reading
- Golden Pothos Care — another famously forgiving houseplant for beginners.
- Why Houseplants Drop Leaves in Winter — seasonal stress that can look like a care problem.
- Best Grow Lights for Indoor Herbs and Succulents — when window light isn't enough for young plants.
Sources and Further Reading
- North Carolina Extension Gardener Plant Toolbox — Chlorophytum comosum (botanical profile, runners, and plantlets).
- University of Florida IFAS Gardening Solutions — Spider Plant (care and propagation).
- University of Wisconsin–Madison Extension — Spider Plant (attached rooting, division, care, and seed variation).
- ASPCA — Spider Plant (pet toxicity classification).