How to Grow Amaryllis and Paperwhites Indoors for Holiday Blooms
Amaryllis and paperwhites are two of the easiest bulbs to bring into bloom indoors during winter, but they do not want exactly the same care. The key is getting the planting depth, moisture, light, and timing right—and knowing what to change when a bulb grows leaves but refuses to flower.
Quick Answer
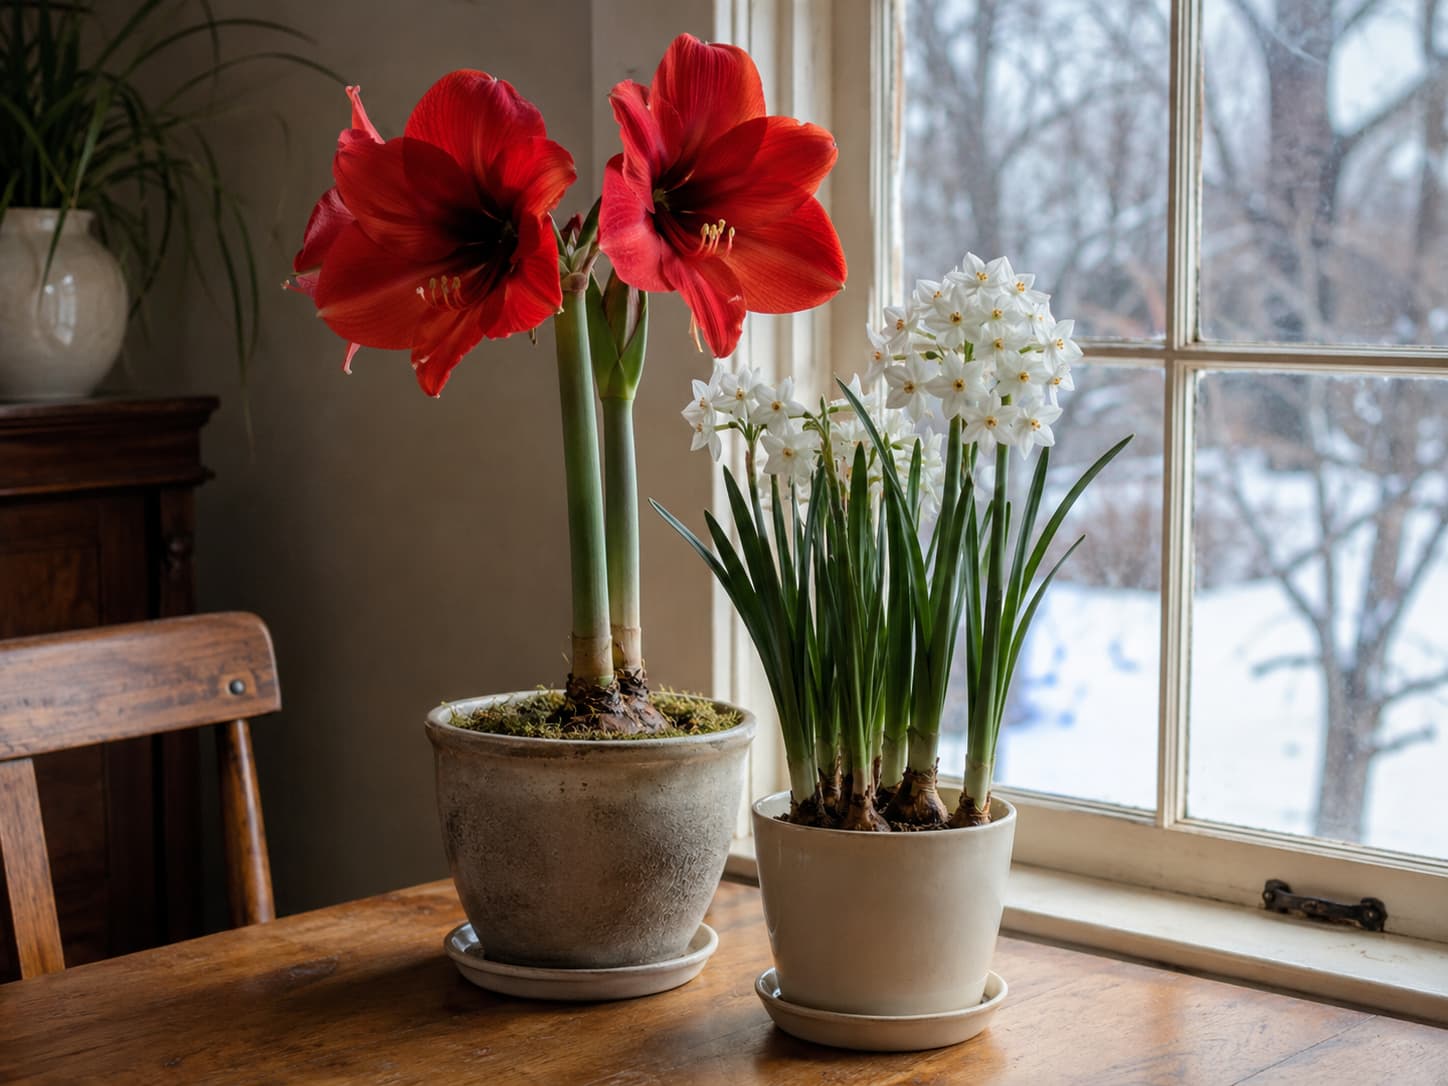
For dependable holiday blooms, start with firm, healthy bulbs and work backward from your target date. Many Dutch-grown amaryllis bulbs flower about 6–8 weeks after potting, while some South African-grown bulbs can bloom in 3–5 weeks. Paperwhites commonly need roughly 3–6 weeks, depending on cultivar and conditions.
Plant amaryllis in a snug pot with drainage and leave the upper one-third to one-half of the bulb exposed. Paperwhites can grow in potting mix or in pebbles with water kept at the bulb bases. Because timing varies, stagger plantings instead of relying on one exact planting date.
Amaryllis vs. Paperwhites: What Changes?
| Care point | Amaryllis (Hippeastrum) | Paperwhites (Narcissus) |
|---|---|---|
| Typical indoor bloom window | About 3–8 weeks after potting, depending partly on bulb origin and cultivar | Usually about 3–6 weeks |
| Planting medium | Well-drained potting mix in a pot with drainage | Potting mix or pebbles/gravel with water |
| Cold treatment for a new forcing bulb | Not required for newly purchased prepared bulbs | Not required, though a cool rooting period can encourage sturdy growth |
| Fragrance | Usually little or no fragrance | Often strongly fragrant; scent varies by cultivar |
| After flowering | Worth saving; a healthy bulb can rebloom with good post-bloom care and a cool rest | Usually treated as a one-season indoor forcing bulb |
When to Plant for Thanksgiving, Christmas, or New Year’s
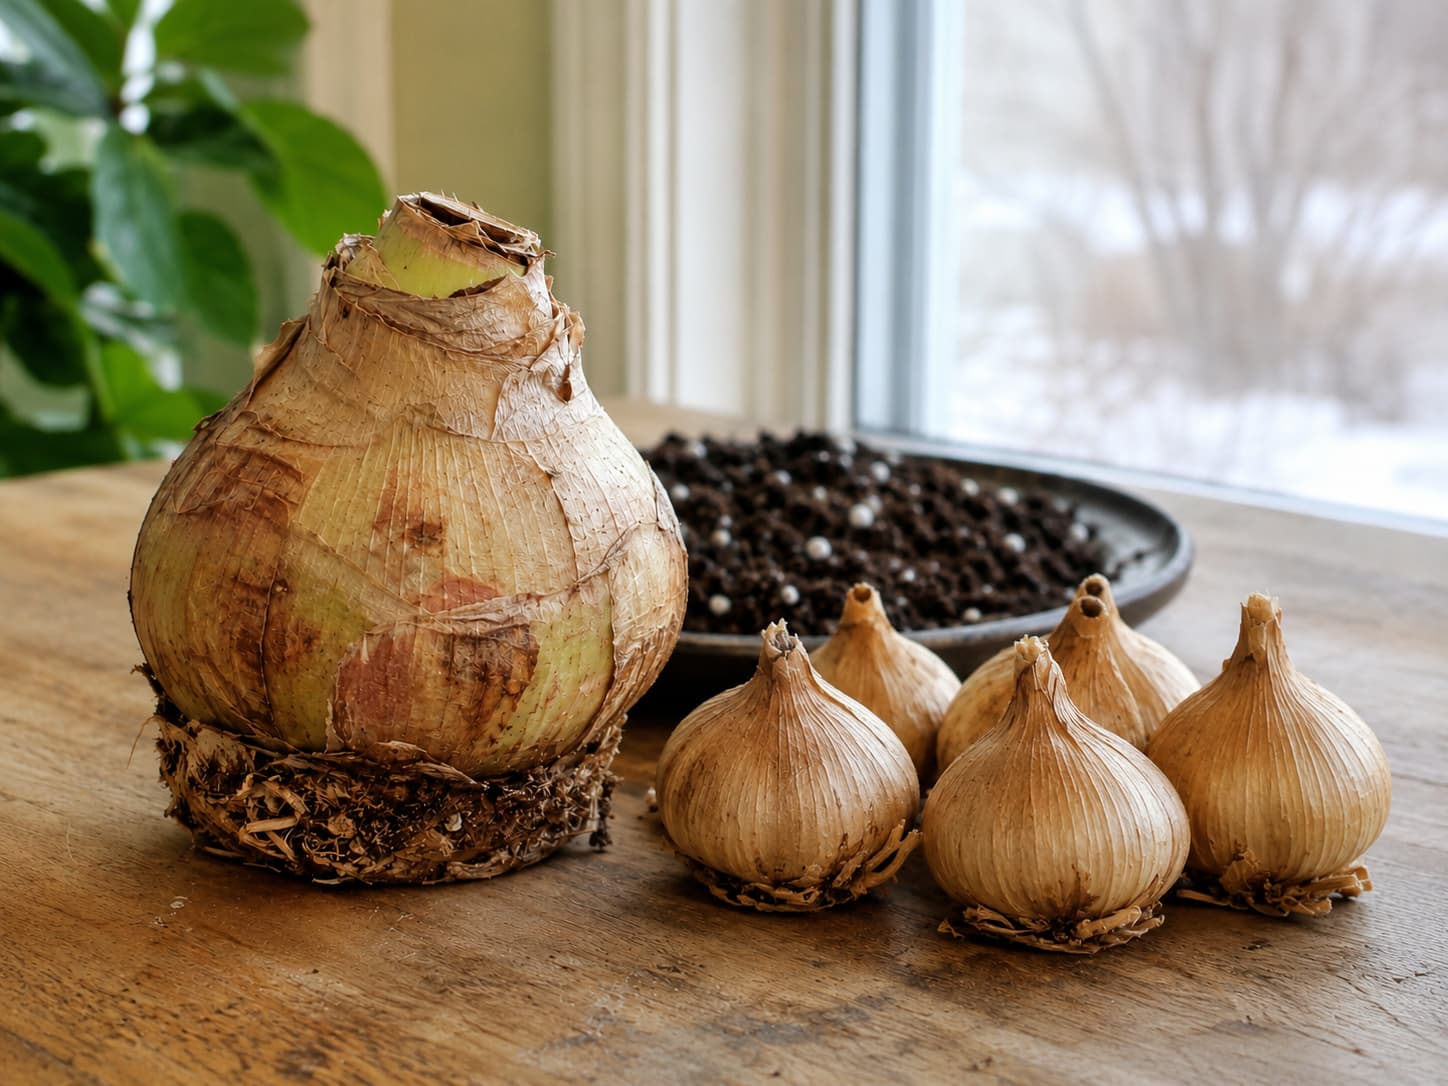
Bloom time is never precise enough to guarantee a flower will open on a particular morning. Bulb origin, cultivar, room temperature, and the stage of dormancy all influence the schedule. The ranges below are better used as planning windows than promises.
| Target bloom | Amaryllis planning window | Paperwhite planning window | Greenmuse note |
|---|---|---|---|
| Thanksgiving · Nov. 26, 2026 | Early to mid-October for many 6–8 week bulbs | Mid-October to early November | By late October, choose a pre-started or faster-blooming amaryllis if Thanksgiving is the goal. |
| Christmas · Dec. 25, 2026 | Late October to mid-November | Late November to early December | Stagger two bulbs several days apart if the date matters. |
| New Year’s Day · Jan. 1, 2027 | Early to late November | Late November to mid-December | Cooler rooms generally slow development. |
| Valentine’s Day · Feb. 14, 2027 | Late December to early January | Mid- to late January | Keep unopened bulbs cool and dry until you are ready to start them. |
How to Grow Amaryllis Indoors
The “amaryllis” sold for indoor holiday bloom is usually a Hippeastrum hybrid rather than a true botanical Amaryllis. These large bulbs already contain much of the energy needed for their first flowering cycle, so the biggest early mistake is keeping the root zone too wet.
1. Choose a Firm Bulb and a Snug Pot
Pick a bulb that feels firm, not soft or hollow. Larger, mature bulbs generally have more stored energy and can support a stronger display. Choose a container with drainage holes that is roughly 1–2 inches wider than the bulb. A needlessly large pot stays wet longer and makes moisture management harder.
2. Leave the Upper Bulb Exposed
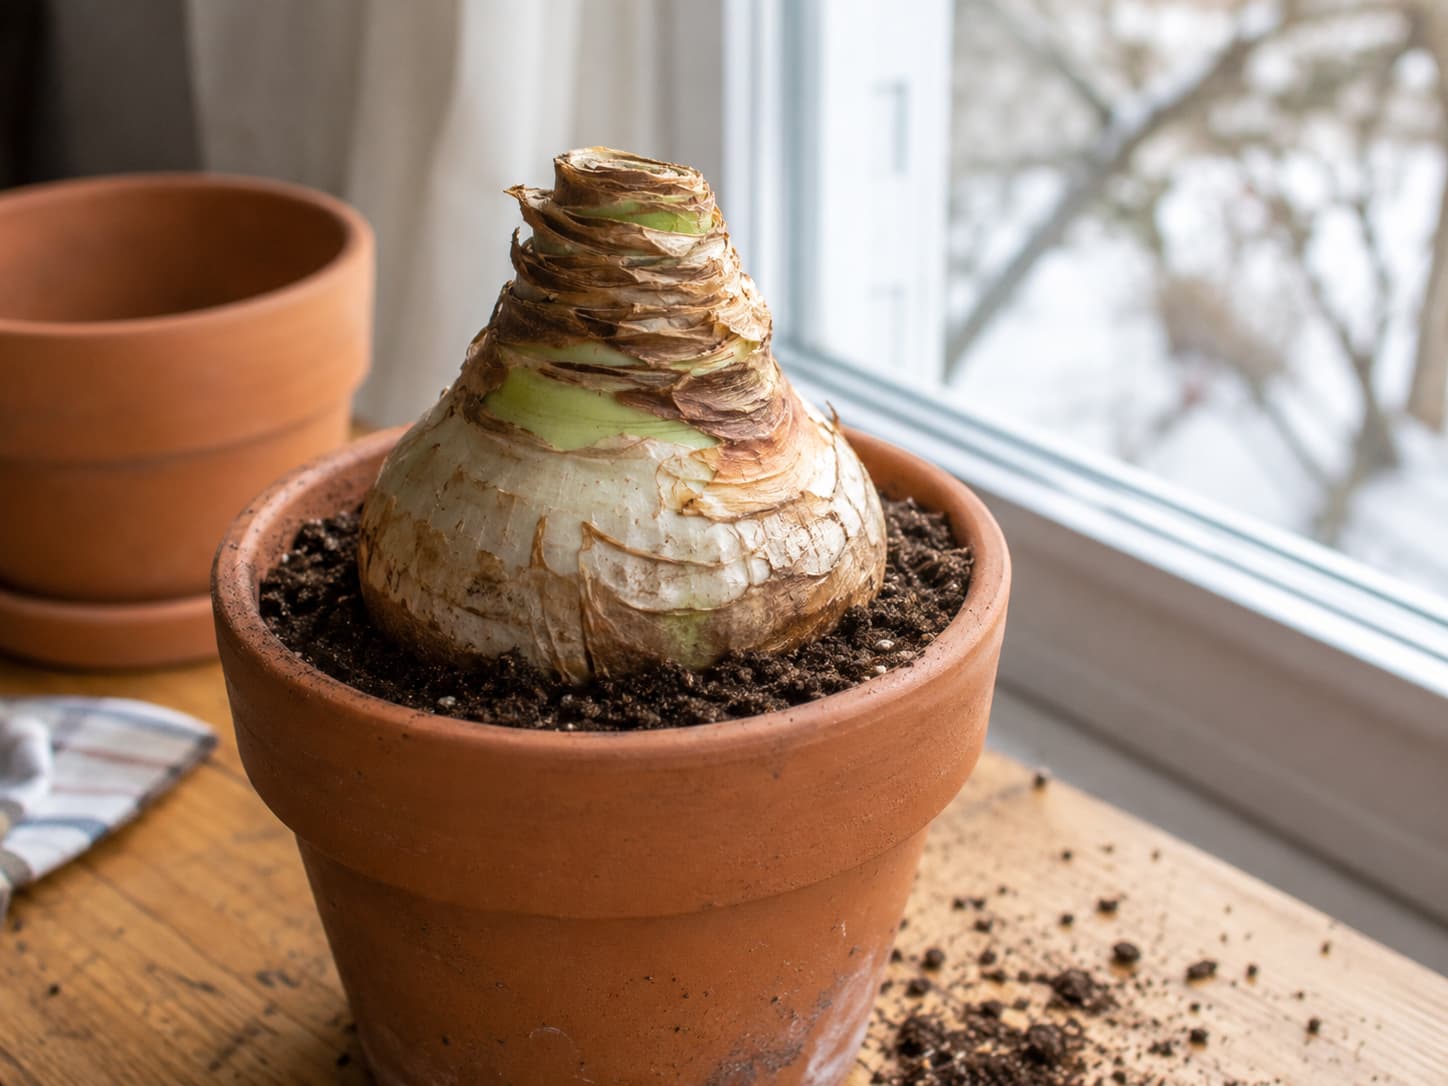
Use fresh, well-drained potting mix. Set the bulb so the roots spread into the mix and the upper one-third to one-half remains above the soil surface. This is a more important detail than decorative top-dressing: burying the whole bulb keeps the neck wetter than it needs to be.
3. Water Thoroughly Once, Then Stay Conservative
After potting, water thoroughly and let excess water drain. After that, allow the mix to dry somewhat before watering again. Until active growth is obvious, the goal is barely moist rather than continuously wet. Once the stalk and leaves are growing strongly, water when the upper part of the mix has dried.
4. Give It Bright Light and Warmth While It Starts
A newly started amaryllis grows well in a warm, bright location. Iowa State recommends about 70–75°F when starting a bulb. Once flowers begin opening, a somewhat cooler position out of direct sun can help the display last longer.
If winter light is limited, a supplemental light may help keep growth sturdier. See Greenmuse’s guide to indoor grow lights for practical setup ideas.
5. Rotate for Even Growth, but Support Only if Needed
Flower stalks lean toward light. Turn the pot regularly while the stalk is elongating rather than waiting until it is dramatically tilted. If a heavy stalk still leans, use a simple stake and a loose tie without pinching the stem.
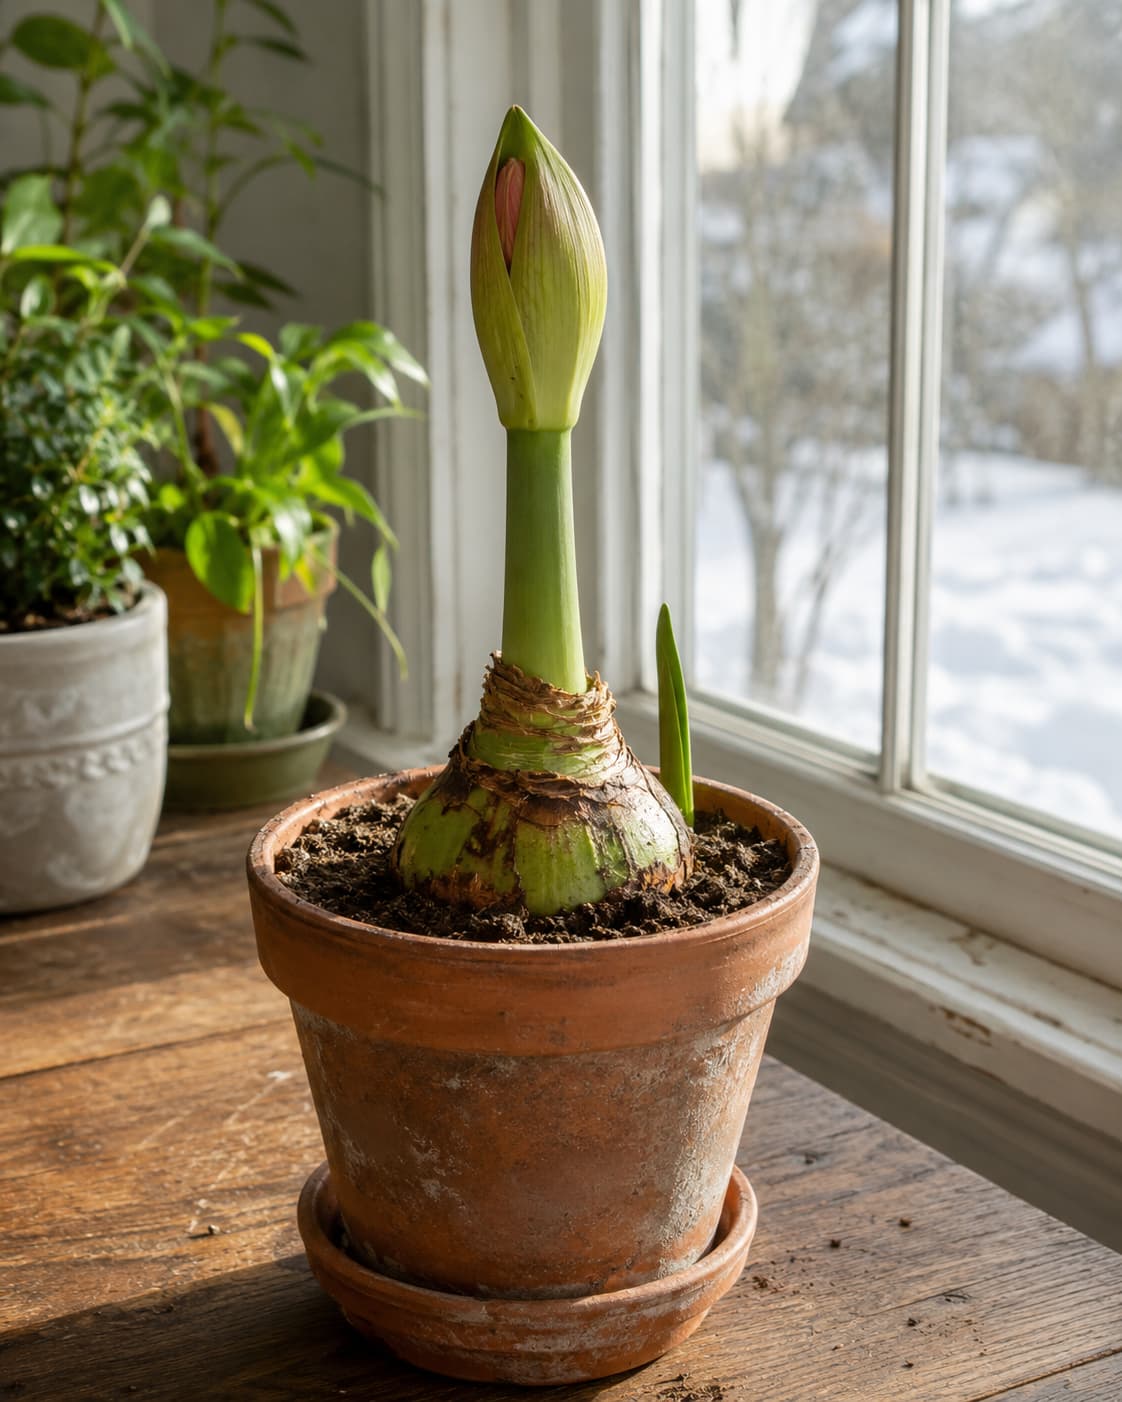
Amaryllis Growth Timeline
Use this as a pattern, not a calendar. Iowa State notes that many South African-grown bulbs flower in roughly 3–5 weeks while many Dutch-grown bulbs take about 6–8 weeks.
| Stage | What you may see | What to do |
|---|---|---|
| Just potted | No visible growth while roots become active | Keep warm and bright; avoid repeatedly wetting already-moist mix |
| Growth begins | A thick flower stalk, leaves, or both | Increase watering gradually as the plant uses more moisture |
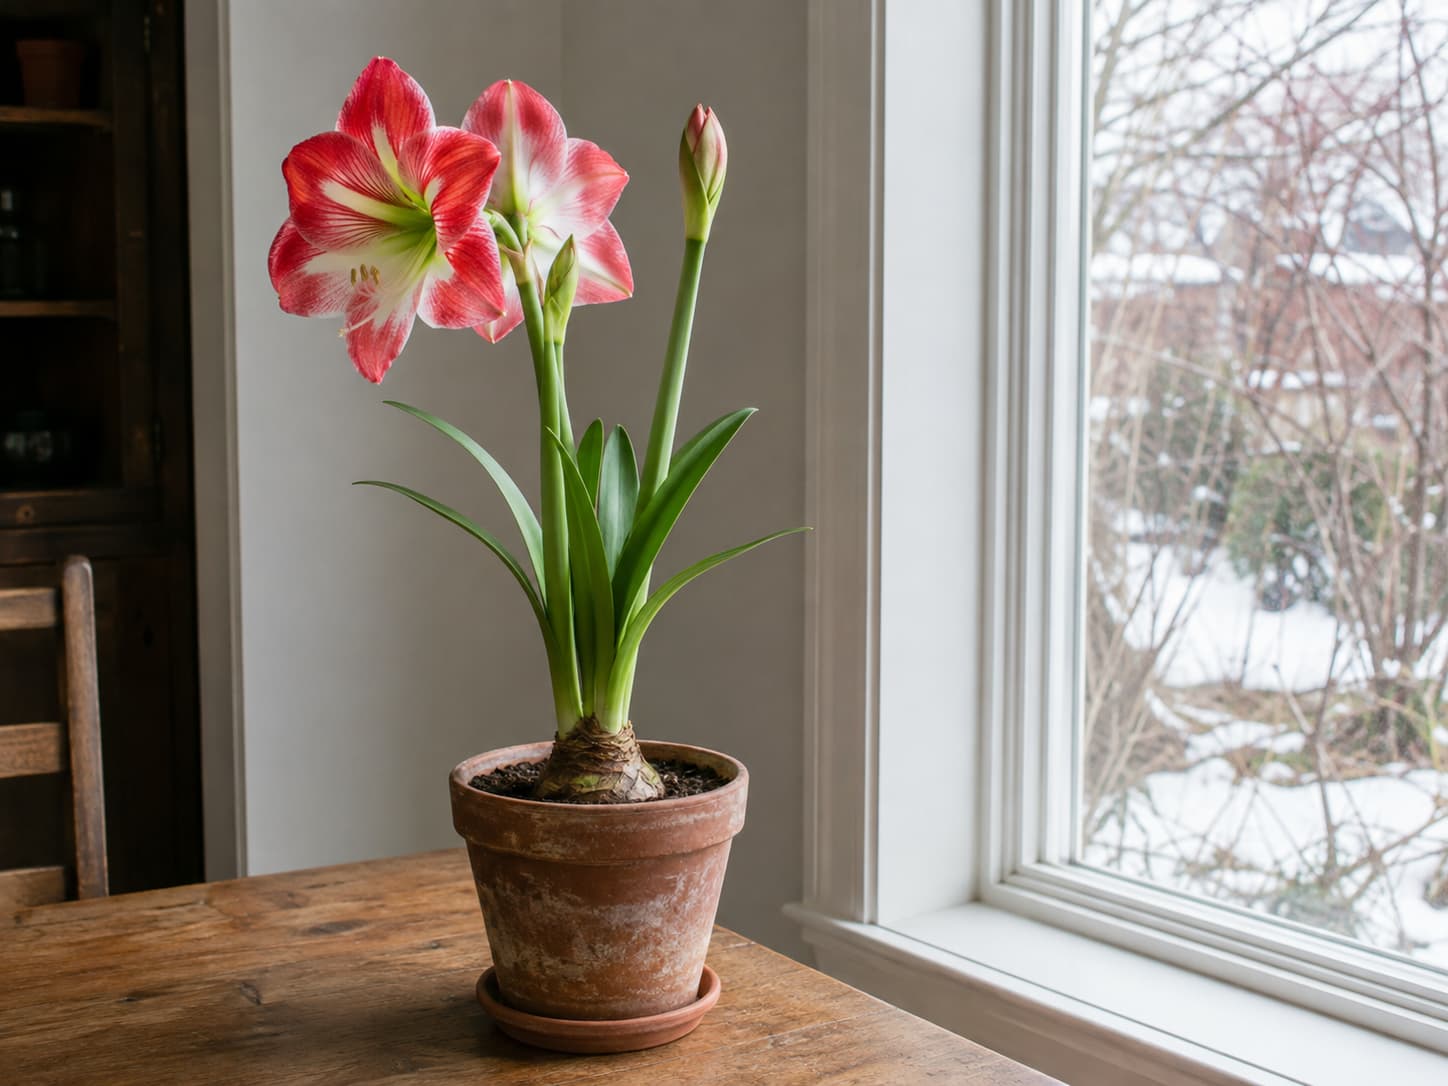
| Stalk elongates | Rapid upward growth and swelling buds | Rotate the pot regularly; stake only if necessary |
| Buds open | Flowers open in sequence rather than all at once | Move out of hot direct sun and away from heating vents |
| After bloom | Flowers fade while leaves remain green | Remove spent flowers and preserve healthy foliage for the next cycle |
Why an Amaryllis Won’t Bloom: 5 Common Problems
1. It Grows Leaves but No Flower Stalk
For a previously saved bulb, the most common explanations are that it did not rebuild enough energy during spring and summer, or that it did not receive an adequate cool period before the next bloom cycle. Keep healthy leaves in bright light after flowering, fertilize during active growth, and use the cool-rest protocol below before trying again.
2. The Stalk Is Tall, Thin, or Leaning
Low light encourages a stalk to lean toward the brightest source, and warm conditions can speed elongation. Move the plant to stronger light, rotate it regularly, and support a heavy stalk if it cannot remain upright on its own.
3. The Bulb Is Soft or the Mix Smells Sour
Persistent wetness can promote bulb and root rot. A bulb that is soft, sunken, or squishy through a large area is unlikely to recover. Discard badly rotted bulbs and do not reuse contaminated potting mix. For a firm bulb with only superficial mold, improve drainage and moisture management rather than repeatedly watering it.
4. Red Blotches Appear on Leaves or Flower Stalks
Red blotch, caused by Stagonospora, can produce elongated red-bordered lesions and distorted growth. Small superficial red marks on a bulb are not automatically diagnostic, so inspect the plant as a whole. Use clean containers and fresh mix, sanitize tools used on affected plants, and separate suspicious bulbs from healthy amaryllis. Persistent disease may require a labeled fungicide or disposal of a badly affected bulb.
5. A Waxed Bulb Finished Flowering
Waxed amaryllis bulbs are designed as low-care, usually single-season displays: they flower using energy already stored in the bulb and receive no water or soil while coated. However, “single-use” is not the same as “impossible to save.” Iowa State notes that some gardeners can remove the wax carefully, preserve emerging roots, pot the bulb, and rebuild it over time. Recovery is not guaranteed, and a depleted bulb may need more than one growing season before flowering again.
How to Grow Paperwhites Indoors
Paperwhite narcissus are fast, fragrant, and do not require the long chilling period used for tulips and many other spring bulbs. They are especially useful when you want flowers quickly or when you are starting too late for a slower amaryllis.
Plant Paperwhites in Pebbles and Water
- Choose a shallow container. A bowl without drainage holes is fine for this water-forcing method.
- Add washed pebbles, gravel, or marbles. Build a stable layer deep enough to hold the bulbs upright.
- Nestle the bulbs close together without forcing them against one another. Keep the pointed noses exposed.
- Add water only to the bulb bases. The water should touch the bottom of the bulbs, not rise around their sides.
- Maintain that level as roots develop. Do not submerge the bulbs.
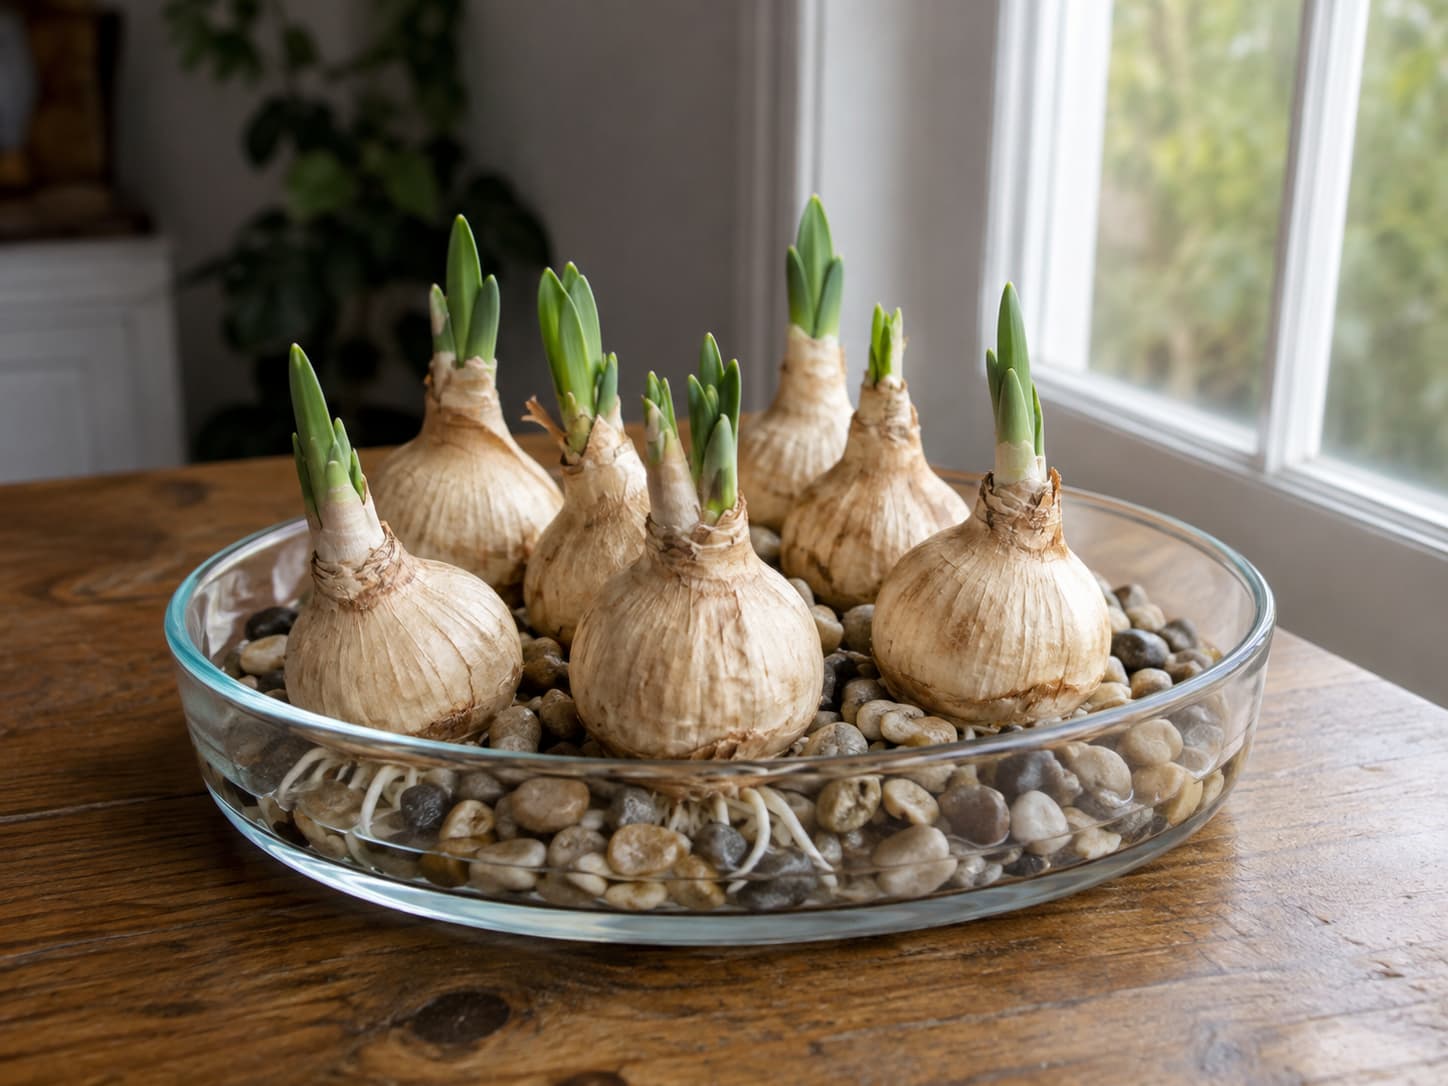
A Cool Start Helps Build Stronger Paperwhites
Iowa State recommends rooting planted paperwhites in a cool, dark location around 45–50°F for 2–3 weeks, then moving them to a sunny window when shoots are about 3 inches tall. You do not need a cold treatment for flowering; this cooler start is about root development and compact growth.
The Cornell Alcohol Method for Shorter Stems
Paperwhites can become top-heavy indoors. Cornell research found that a dilute alcohol solution can reduce stem and leaf growth by roughly 30–50% without reducing flower size or longevity when used correctly.
For water-forced paperwhites, start bulbs in plain water. Once roots are established and green shoots are about 1–2 inches tall, replace the plain water with a 4–6% alcohol solution. Cornell’s simple example is 1 part 80-proof distilled spirit to 7 parts water, which produces about a 5% solution. Do not use beer or wine because their sugars can create problems.
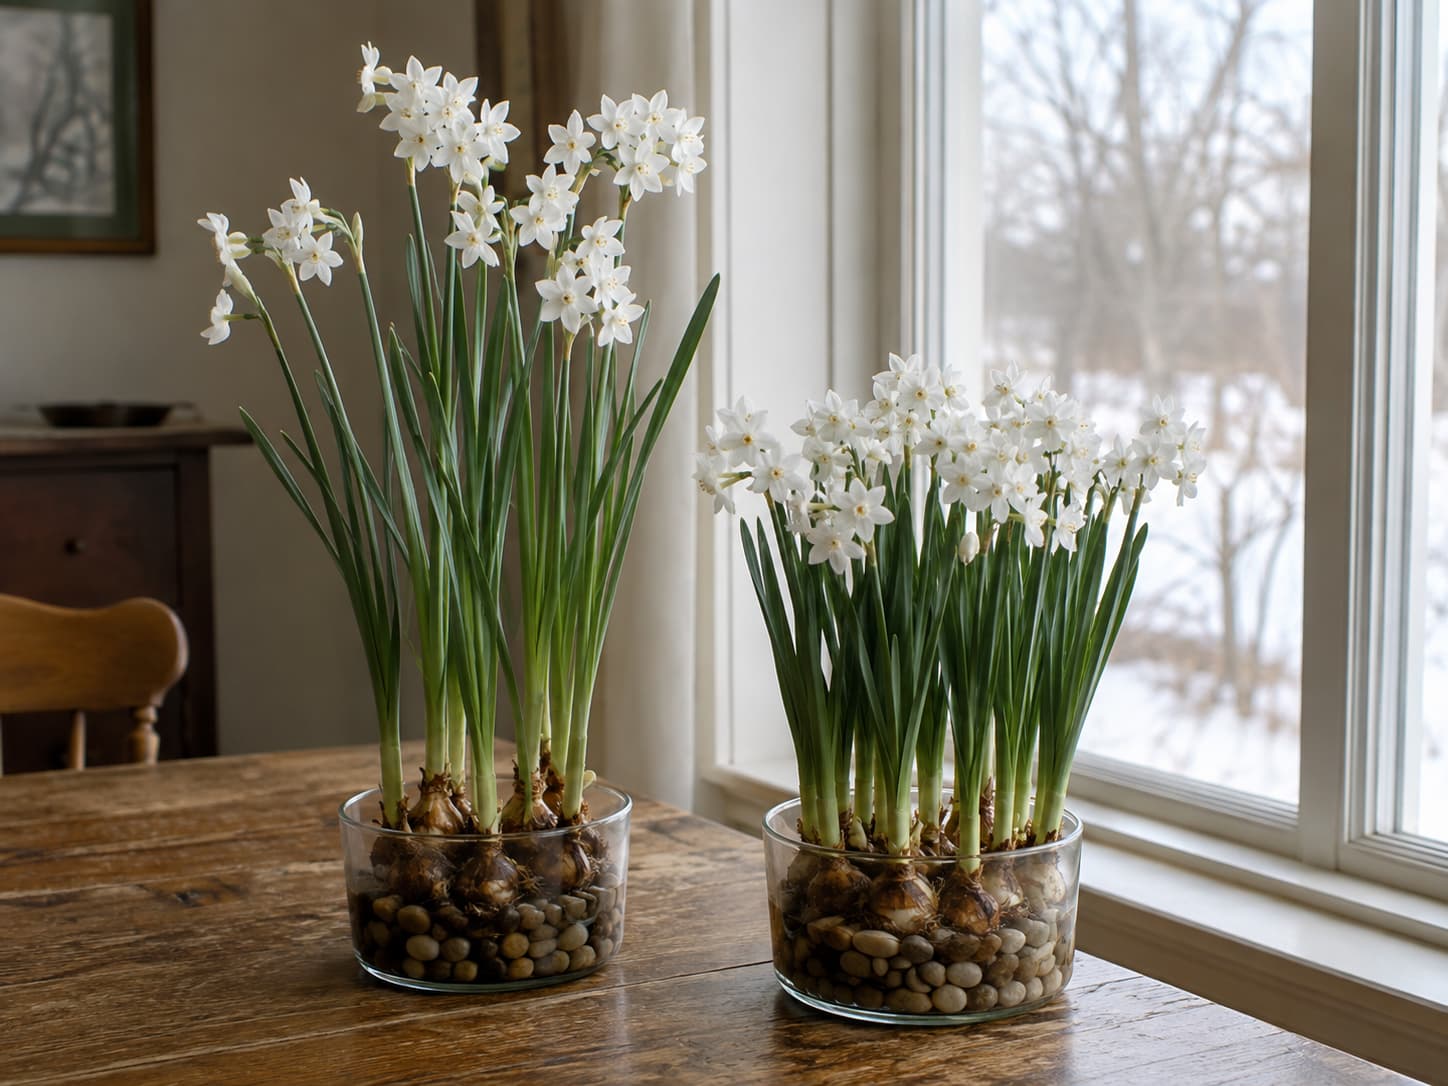
Paperwhite Varieties to Look For
| Variety | Flower color | What stands out |
|---|---|---|
| 'Ziva' | Pure white | Widely available; strong musky paperwhite fragrance |
| 'Galilee' | Pure white | Classic paperwhite look with the typical musky fragrance |
| 'Bethlehem' | Creamy white with a yellow cup | A softer color variation within the paperwhite group |
| 'Grand Soleil d'Or' | Yellow petals with an orange cup | Sweet, fruity fragrance and typically a longer forcing time than many paperwhites |
How to Get Amaryllis to Rebloom Next Year
Reblooming is less about a single trick and more about rebuilding the bulb, then giving it the cool period needed to reset the flowering cycle. The green leaves after bloom are not clutter to remove—they are the part of the plant doing the work.
Phase 1: Rebuild the Bulb After Flowering
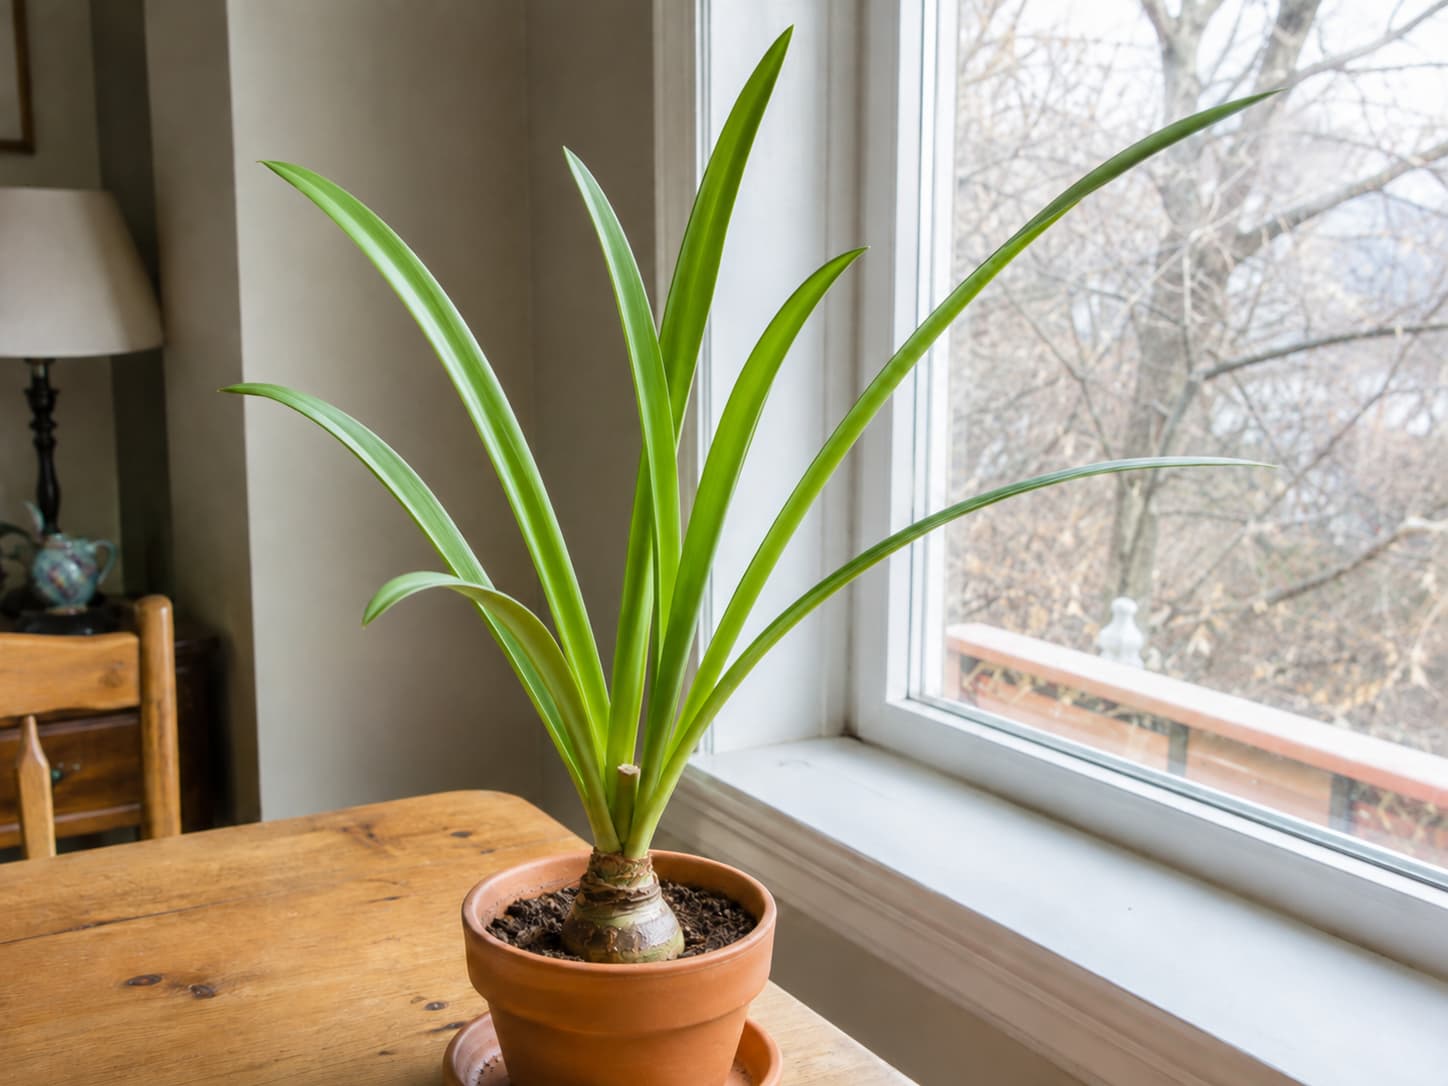
- Remove spent flowers so the plant does not put energy into seed.
- Keep healthy green leaves intact.
- Place the plant in your brightest practical indoor location.
- Water when the surface approaches dry rather than keeping the pot constantly wet.
- Fertilize during active leafy growth according to the product label.
Phase 2: Summer Outdoors if Your Conditions Allow
After frost danger has passed, a potted amaryllis can spend summer outdoors. Acclimate it gradually rather than moving it from indoor light straight into intense sun. Iowa State recommends starting in a shaded, protected place and increasing light exposure over about a week. Continue normal watering during dry weather and feed during active growth.
If your summers are very hot, transition carefully and watch for scorch. Greenmuse’s houseplant heat-stress guide explains the warning signs of excessive heat and direct sun.
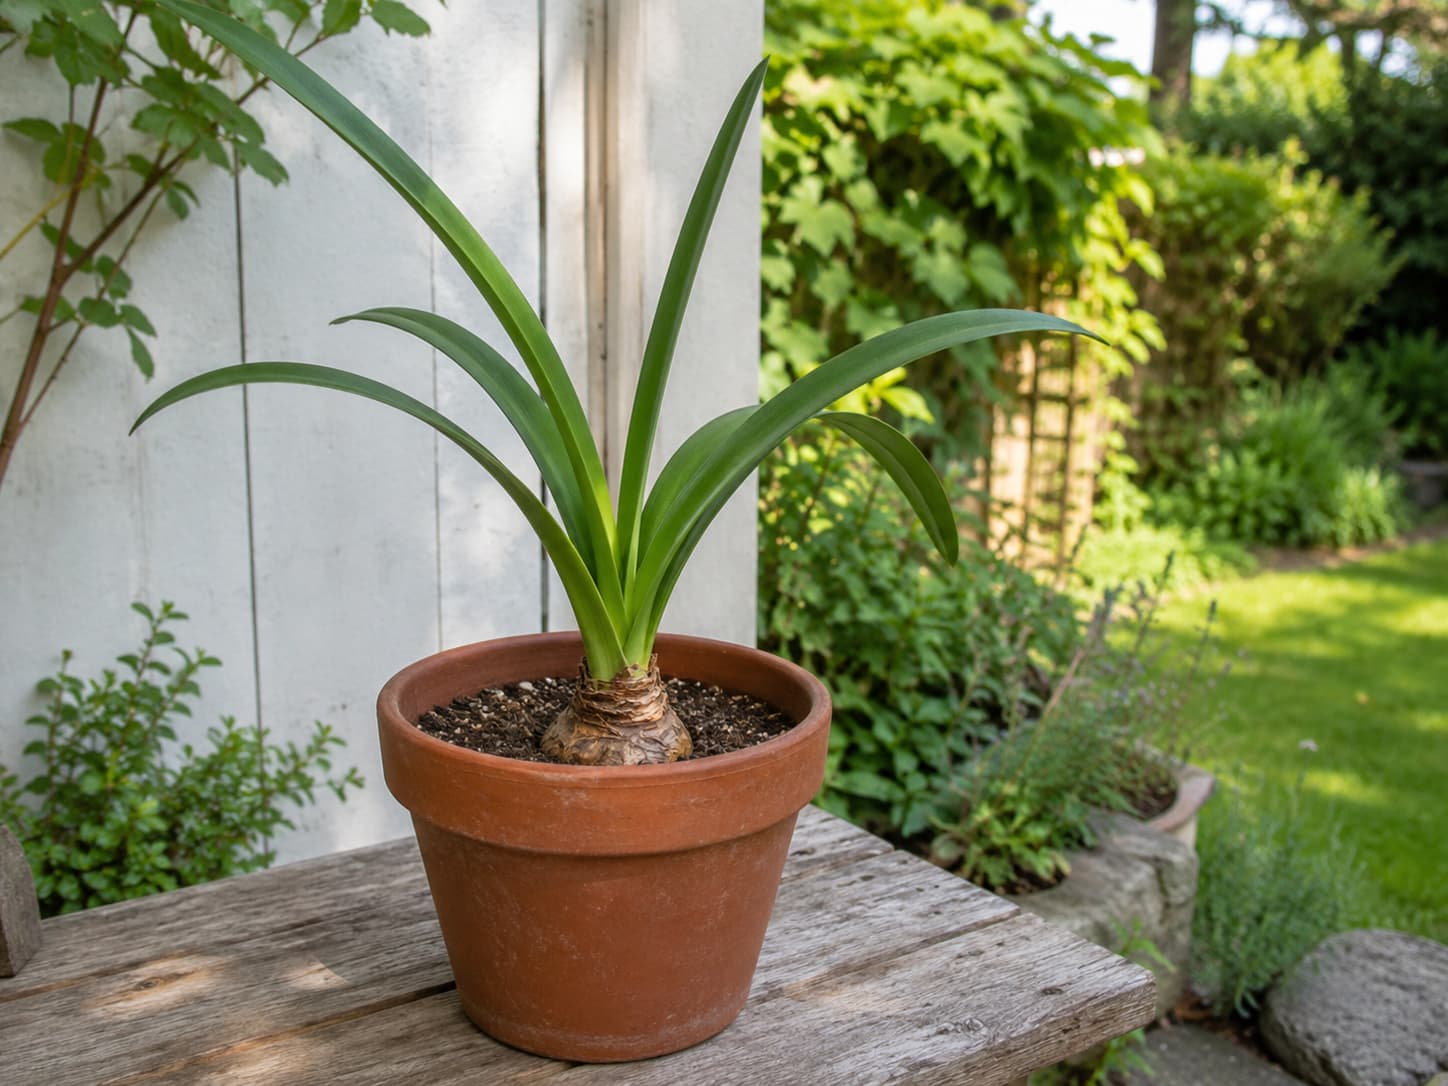
Phase 3: Give a Saved Bulb a Cool Rest
To control rebloom timing, bring the plant indoors in fall and begin a cool rest. University of Minnesota and Iowa State guidance uses roughly 50–55°F for at least 8–10 weeks; UMN allows a slightly broader 50–60°F range and 8–12 weeks. During a dry dormancy method, withhold water, let the leaves yellow naturally, and remove them only after they have browned.
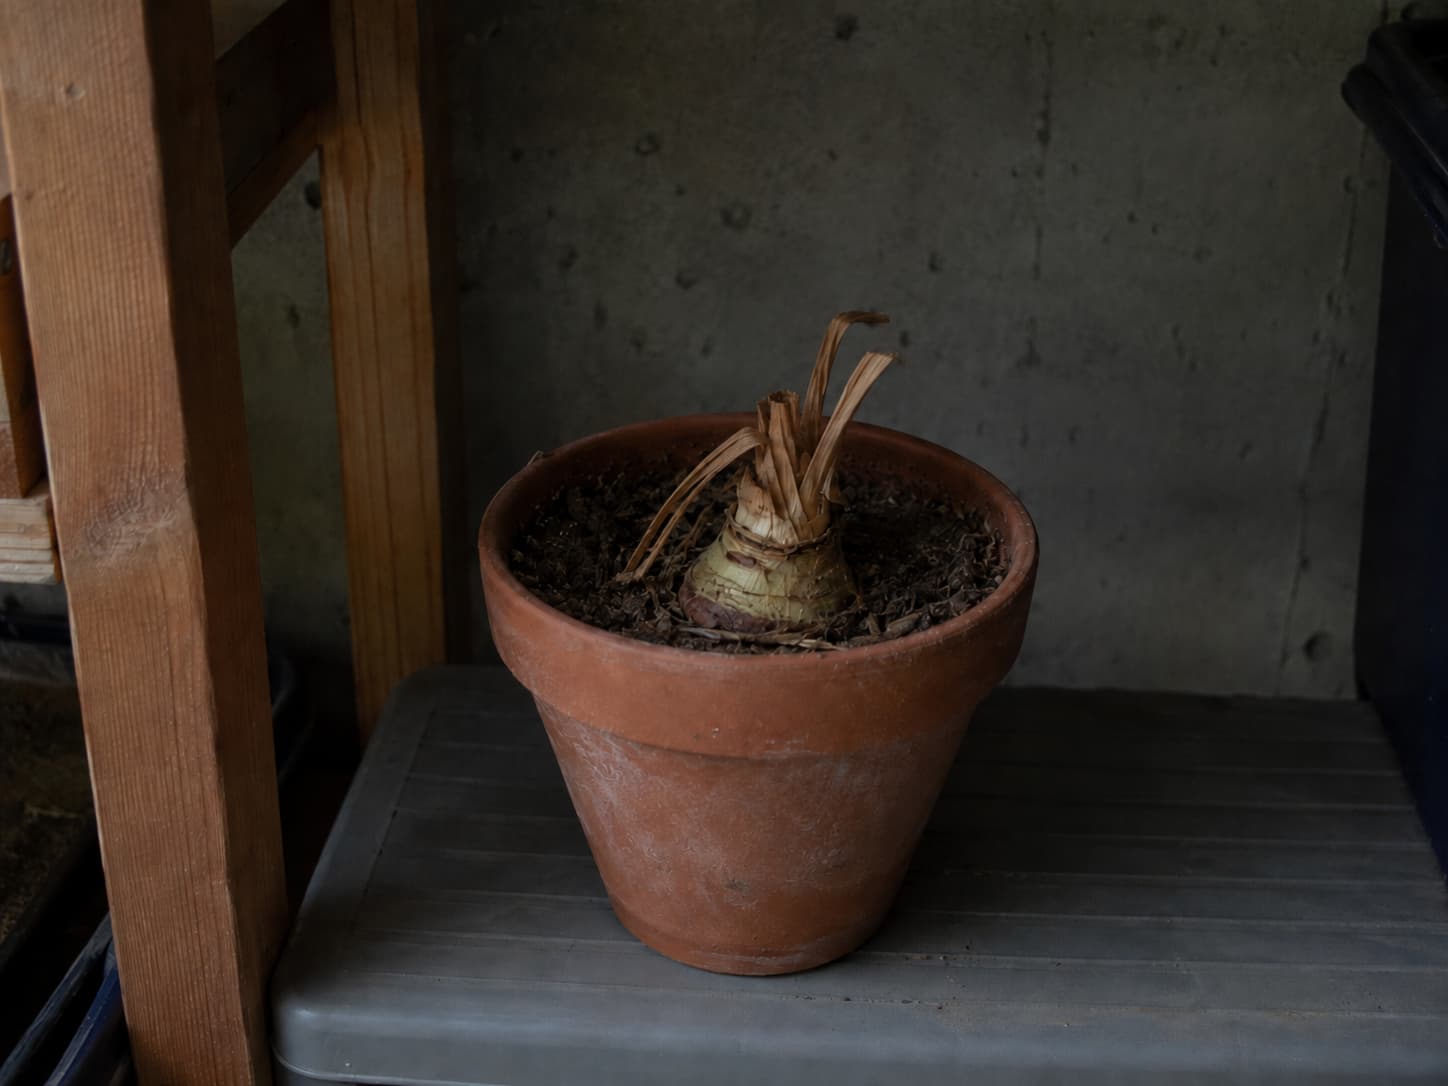
Phase 4: Restart Growth
After the cool-rest requirement is met, return the pot to a warm, well-lit location and water. Keep the mix moist but not wet as growth begins. A bulb with enough stored energy can produce a flower stalk after it is returned to warmth.
Holiday Displays That Are Beautiful and Practical
A good arrangement should not make plant care harder. The easiest displays let each bulb keep the root environment it actually prefers.
1. One Amaryllis, One Simple Pot
A single large bulb in a substantial ceramic or terracotta pot is hard to improve on. The narrow pot stabilizes the bulb, and a simple surface of moss or clean gravel can hide bare mix without burying the bulb neck.
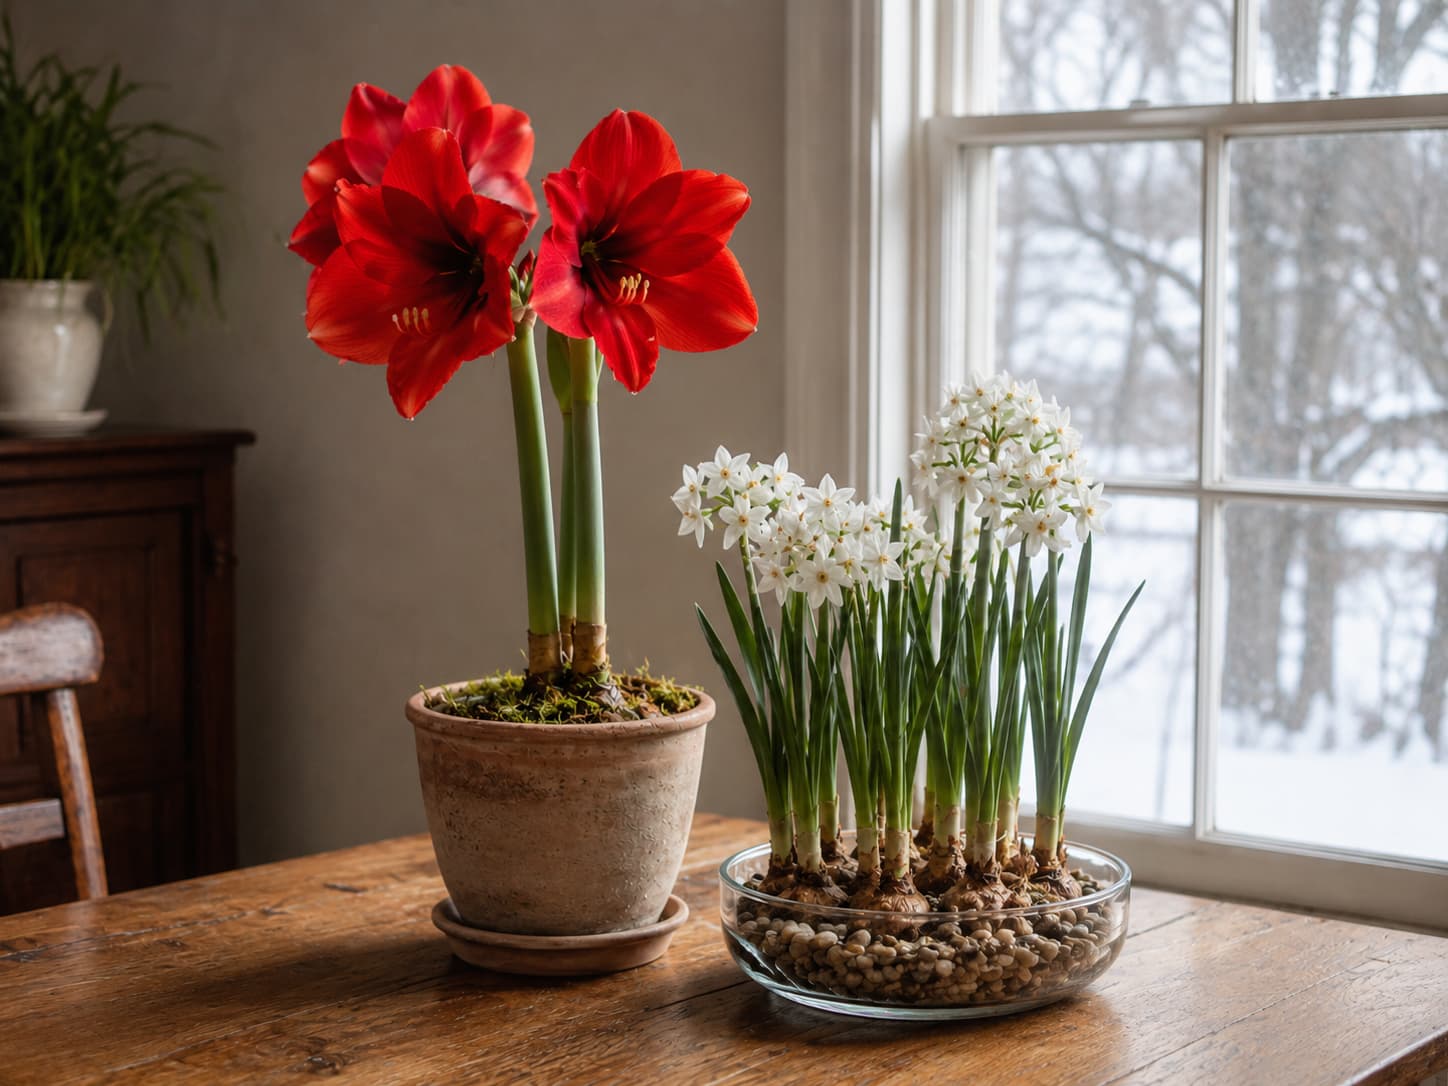
2. A Separate Paperwhite Bowl Beside the Amaryllis
Instead of planting both species into one shared pot, group two containers visually. This preserves the drier amaryllis root zone while letting paperwhites sit over water or stay more evenly moist.
3. Paperwhites in a Tall Glass Vessel
A tall cylinder can serve as subtle physical support if paperwhite stems elongate. Keep the bulbs above the water line and let roots grow down through the stones.
4. An Unwatered Gift Pot
Pot an unwaxed amaryllis in a decorative container with drainage, then gift it before the first watering if timing allows. Include a simple care card: water thoroughly once, drain, keep warm and bright, and avoid keeping the mix wet.
FAQ: Amaryllis and Paperwhites Indoors
1. Can amaryllis grow in water without soil?
Yes, amaryllis can be displayed over water for a one-season forcing project, but a well-drained potting mix is the better choice if your goal is to keep the bulb healthy and rebloom it. A rooted bulb in soil can continue growing leaves, taking up nutrients, and rebuilding its reserves after flowering.
2. How long does amaryllis take to bloom indoors?
Many Dutch-grown bulbs bloom about 6–8 weeks after potting, while many South African-grown bulbs flower in about 3–5 weeks. Supplier preparation, cultivar, temperature, and bulb condition all affect timing, so use the package guidance when you are targeting a specific holiday.
3. Why do paperwhites fall over?
Warm temperatures and insufficient light can contribute to long, top-heavy growth. Start the bulbs cool, move them into strong light once rooted, use a stable container, or support them with a tall vessel. For water-forced paperwhites, Cornell’s 4–6% alcohol method is another evidence-based way to reduce stem height.
4. Do paperwhites need to be chilled before forcing?
No. Paperwhite narcissus do not require the long cold treatment used for tulips and many spring bulbs. A short cool rooting period can still produce sturdier growth, but it is not a flowering requirement.
5. Can amaryllis stay outdoors year-round?
Only where winters are mild enough for the particular Hippeastrum cultivar. In cold-winter climates, treat it as a container plant: enjoy it indoors in winter, move it outdoors after frost danger with gradual acclimation, and bring it back inside before freezing weather.
6. Are amaryllis and paperwhites toxic to cats and dogs?
Yes. The ASPCA lists Hippeastrum (“amaryllis”) and Narcissus, including paperwhites, as toxic to cats and dogs. The bulbs are especially concerning. Keep them out of reach of pets, and contact a veterinarian or animal poison-control service if ingestion is suspected.
Sources
- University of Minnesota Extension — Growing and caring for amaryllis
- Iowa State University Extension — All About Amaryllis
- Iowa State University Extension — Forcing Paperwhite Narcissus Bulbs
- Cornell University — Alcohol treatment and paperwhite stem growth
- Penn State Extension — Forcing Flowering Bulbs for Indoor Beauty
- ASPCA — Narcissus toxicity and Hippeastrum toxicity
Cultivar timing varies. For a holiday deadline, use the grower’s package timing as the final reference for the specific bulb you purchased.
One Last Tip
If your holiday bulbs do not hit the exact date you planned, that is not a failed project. Bulbs are living plants, not timers. Note the cultivar, planting date, room temperature, and actual bloom date this year; that tiny record will make next winter’s timing much easier.
Growing amaryllis or paperwhites this season? Tell Greenmuse which variety you chose and when you planted it—your timing can help another gardener plan their own winter bloom.