Perfect for busy gardeners, balcony growers, and backyard enthusiasts
Why Choose a Self-Watering Container?
Imagine stepping into your garden on a sunny morning. Instead of worrying about dry soil or drooping plants, you see lush greenery thriving — all because of a simple DIY self-watering container hack.
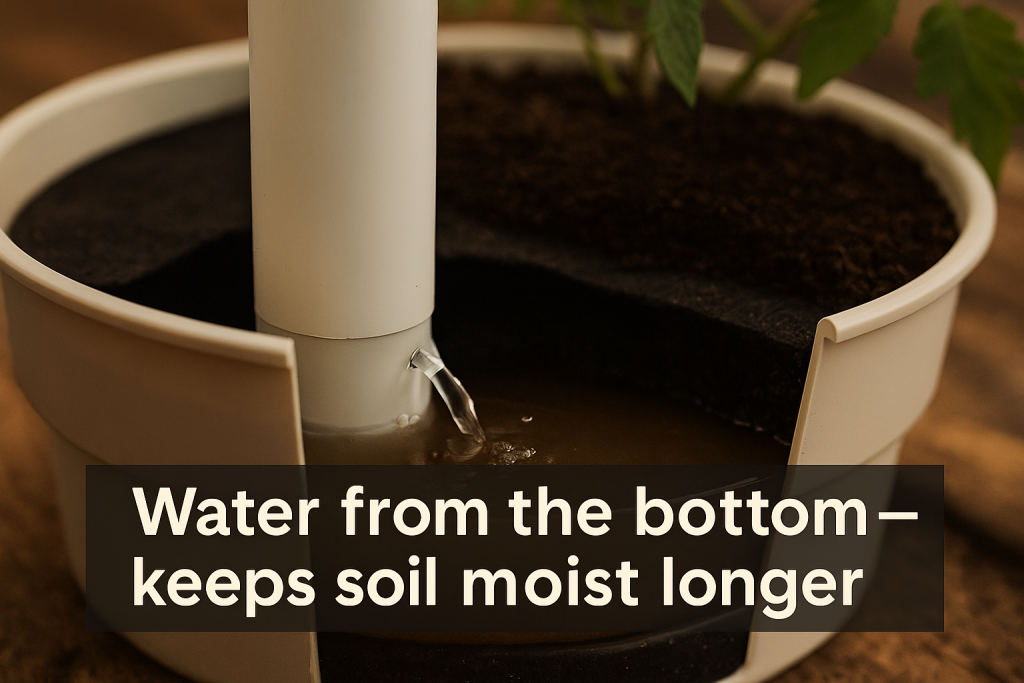
A self-watering container (also called a DIY self-watering planter) allows your plants to drink from the bottom up, keeping soil evenly moist and reducing the need for constant watering. This means healthier plants, fewer chores, and stress-free gardening — especially during hot summers or vacations.
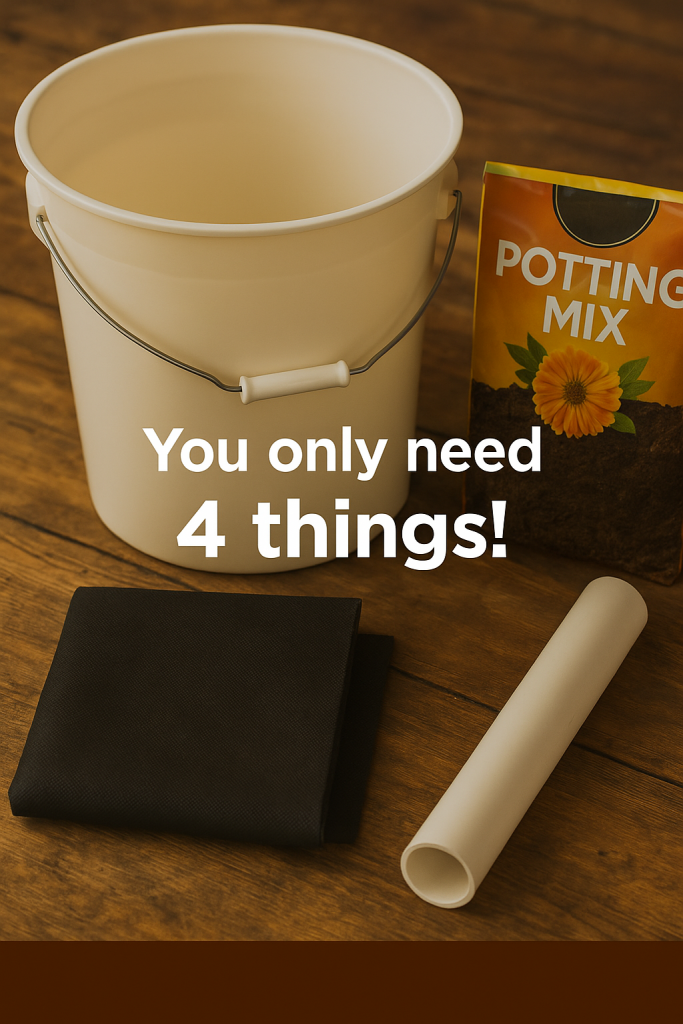
Materials You’ll Need (Only 4 Things!)
To build your own DIY self-watering planter step-by-step, you only need:
- 20L (5-gallon) plastic bucket or large container
- A short length of PVC pipe (for the water inlet)
- Garden fabric or landscape cloth (to separate soil & water)
- High-quality potting soil (light, well-draining, not heavy clay)
Optional: Add a float indicator or a clear side strip to monitor water levels.
Step-by-Step Guide: How to Build a Self-Watering Planter
- Prepare the base – Drill small drainage holes in the bottom of the bucket.
- Create the reservoir – Add a layer of garden fabric to act as a barrier.
- Insert the water pipe – Place the PVC pipe vertically to allow water filling.
- Add soil & plant – Fill with light potting mix and transplant your seedlings.
- Start the system – Fill the pipe with water until the reservoir is ⅓ full.
The capillary action ensures the soil absorbs just the right amount of water.

How It Works — The Science Behind the Hack
Unlike traditional pots, a self-watering container system uses:
- Reservoir at the bottom → Stores water
- Soil above → Wicks up moisture gradually
- PVC pipe → Easy refill without disturbing plants
This design prevents surface evaporation, keeps roots consistently hydrated, and reduces water waste by up to 50%.
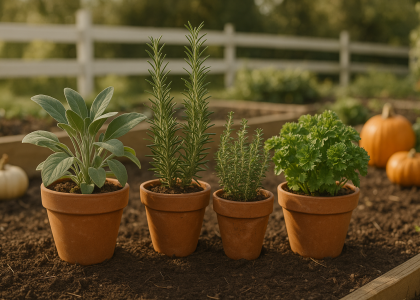
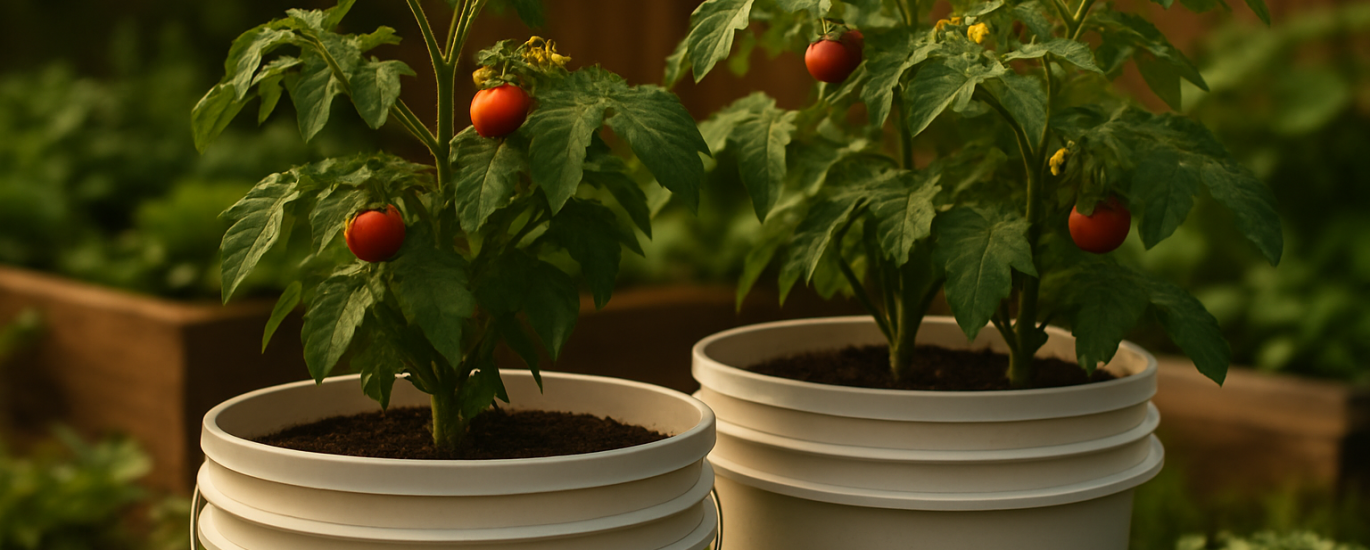
Best Plants for Self-Watering Containers
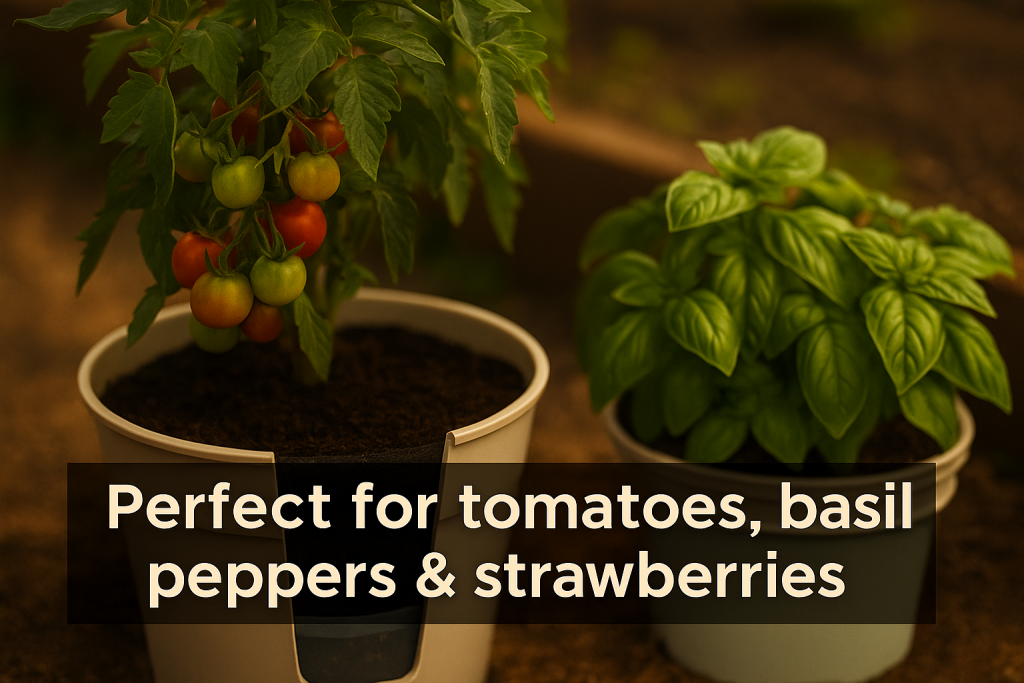
This gardening hack is especially effective for thirsty crops like:
- Tomatoes
- Cucumbers
- Peppers
- Basil, Mint, Parsley
- Strawberries
Balcony case study: Even in a 2×3 ft balcony, 2 self-watering planters supported 5 tomato plants + 1 pot of basil, providing fresh harvests all summer long!
Seasonal Care & Maintenance
- Summer: Refill every 2–3 days; add mulch to reduce evaporation.
- Winter: If outdoors, empty reservoir to prevent freezing damage.
- Fertilizer: Use liquid feed every 2–3 weeks directly through the pipe.
- Pruning: Keep plants trimmed to avoid overcrowding.
Common Mistakes & How to Avoid Them
🚫 Mistake 1: Using heavy garden soil → Roots suffocate.
✅ Use light potting mix for proper airflow.
🚫 Mistake 2: Algae growth in reservoir → Caused by sunlight.
✅ Cover the bucket sides or paint them dark to block light.
🚫 Mistake 3: Overfilling the reservoir → Root rot risk.
✅ Only keep the bottom ⅓ full; let roots search for moisture.
🚫 Mistake 4: Clogged PVC pipe → Water cannot reach roots.
✅ Clean monthly and add a mesh cap to prevent soil from falling in.
Why Gardeners Love This Hack
- Less work, more growth
- Saves up to 50% water
- Perfect for balconies & backyards
- Stress-free during vacations
“Give your plants the love they deserve — with less work for you.”
Save This Hack for Later!
Self-watering containers are more than just a DIY trick — they are a gardening lifestyle upgrade. Whether you’re a beginner with one pot of basil or managing a full balcony farm, this hack makes gardening easier, greener, and more joyful.
👉 Save this Pin —Visit Greenmuse.io for the full printable guide & step-by-step infographic.