How to Grow Chives: Care, Harvesting, Pruning & Edible Flowers
Chives are one of the easiest perennial herbs to grow, but they are more useful when you know what to do after the first flush of leaves and purple flowers. The key is simple: give the clump good light, keep the root zone evenly moist without waterlogging, harvest from near the base, and divide crowded plants every few years.
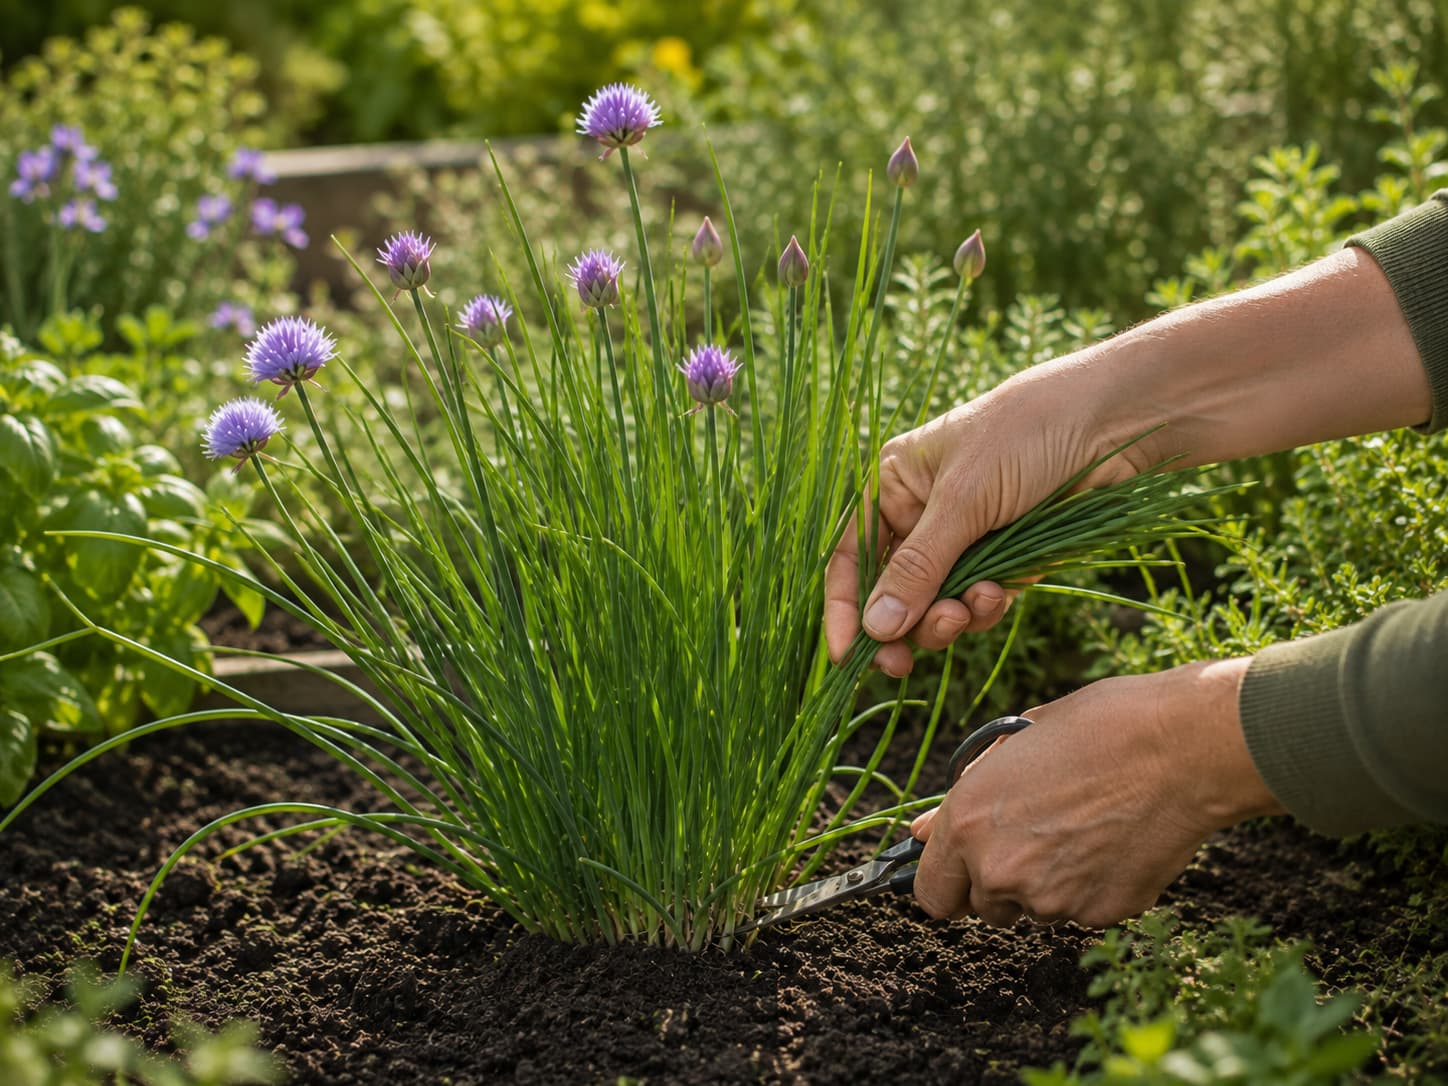
Grow chives in full sun or partial shade in fertile, moisture-retentive but well-drained soil. In containers, water when the mix begins to dry rather than following a fixed schedule. Harvest leaves with clean scissors just above the base. The purple flowers are edible and useful to pollinators; after flowering, remove the tough flower stalks or cut the whole clump back to encourage fresh leaves. Divide crowded clumps every few years to keep them vigorous.
Chives at a Glance
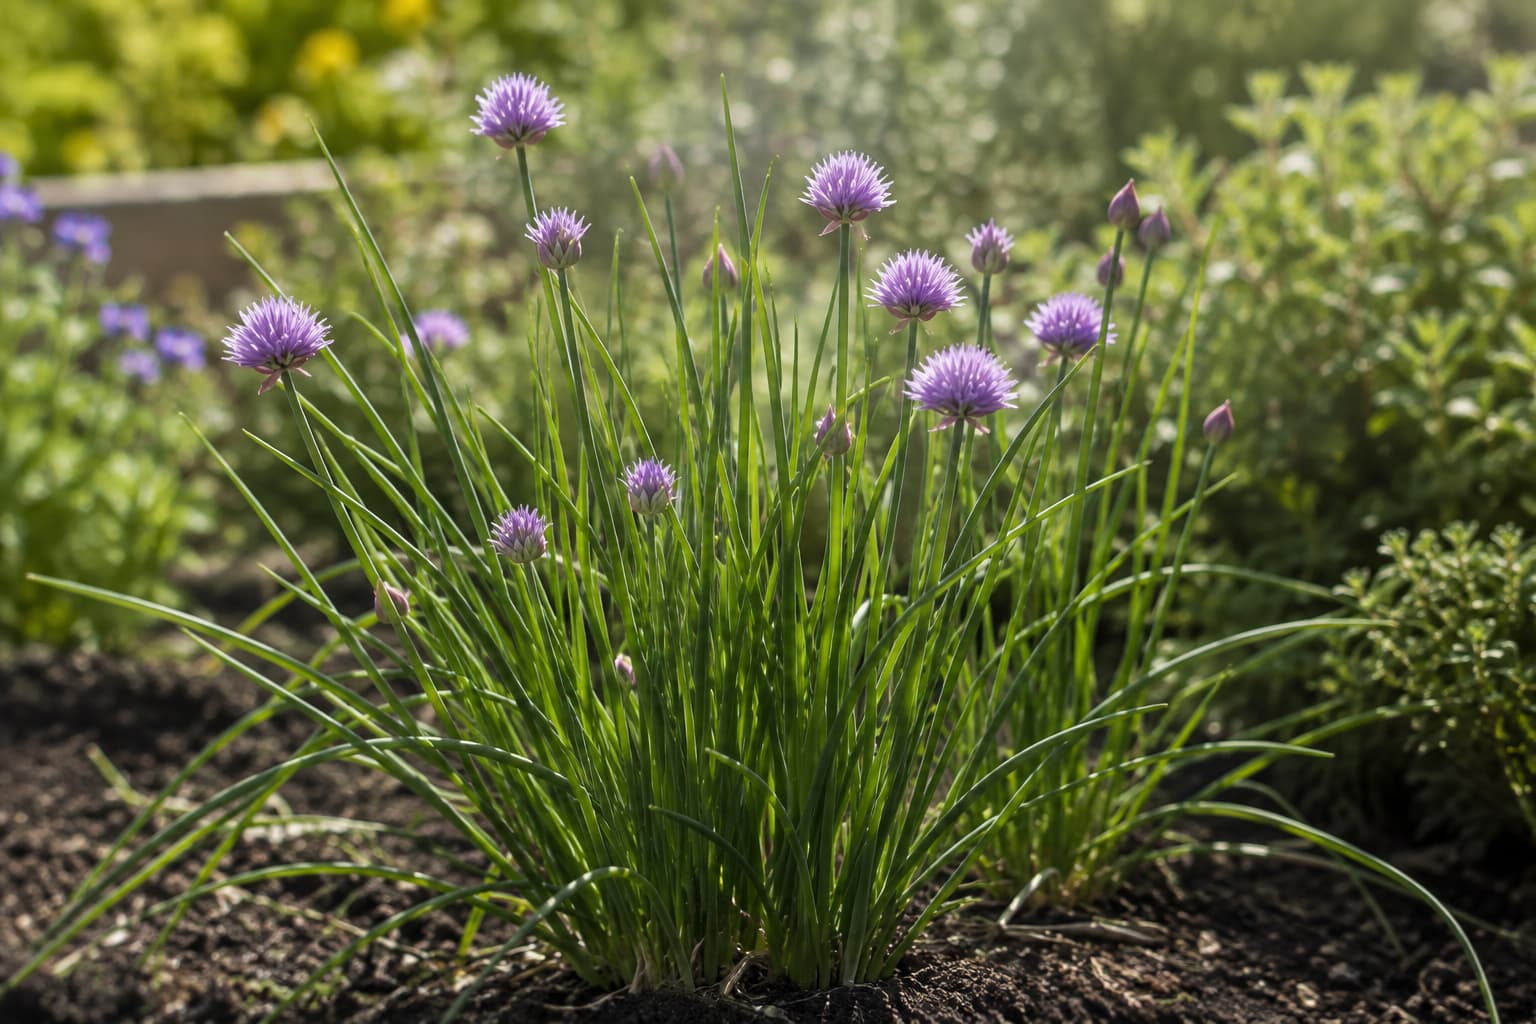
Common chives (Allium schoenoprasum) are clump-forming perennial herbs in the onion family. Their narrow, hollow leaves have a mild onion flavor, while the rounded purple-pink flower heads are edible and rich in nectar for visiting pollinators. Plants usually die back in cold winter weather and return from the base when conditions improve.
| Need | Practical starting point | Watch for |
|---|---|---|
| Light | Full sun or partial shade | Weak, sparse growth in very low light |
| Soil | Fertile, moisture-retentive, well-drained soil | Waterlogging or dense compacted soil |
| Water | Keep new plants and containers from drying excessively | Repeated wilting or permanently soggy mix |
| Harvest | Snip leaves just above the base with clean scissors | Tough older foliage and flower stalks |
| Division | Divide when clumps become crowded, often every few years | Dense centers and declining vigor |
1. Give Chives Sun or Bright Partial Shade
Chives grow well in full sun, but they also tolerate partial shade. For strong leaf production, choose a position that receives plenty of usable daylight. In hot climates, some afternoon shade can reduce stress, while in cooler climates a sunnier position usually supports denser growth.
Avoid turning “six hours of direct sun” into a rigid rule. Season, latitude, nearby buildings, trees, and heat all change how a site behaves. If new leaves are thin, floppy, and sparse, inspect the light before adding fertilizer.
2. Plant Chives in Fertile Soil That Drains
Chives prefer soil that can hold useful moisture without staying waterlogged. In garden beds, mix in compost if the soil is low in organic matter. In containers, use a quality potting mix rather than heavy garden soil.
When to Plant
Spring is an easy planting time, but established potted chives can also be planted at other times when the ground is workable and weather is not extreme. If plants were raised indoors, harden them off before moving them into stronger outdoor conditions.
Spacing
Give each clump enough room to broaden rather than packing plants tightly together. A practical spacing of roughly 15–20 cm (6–8 in) works for many garden plantings, while larger ornamental clumps may be given more room.
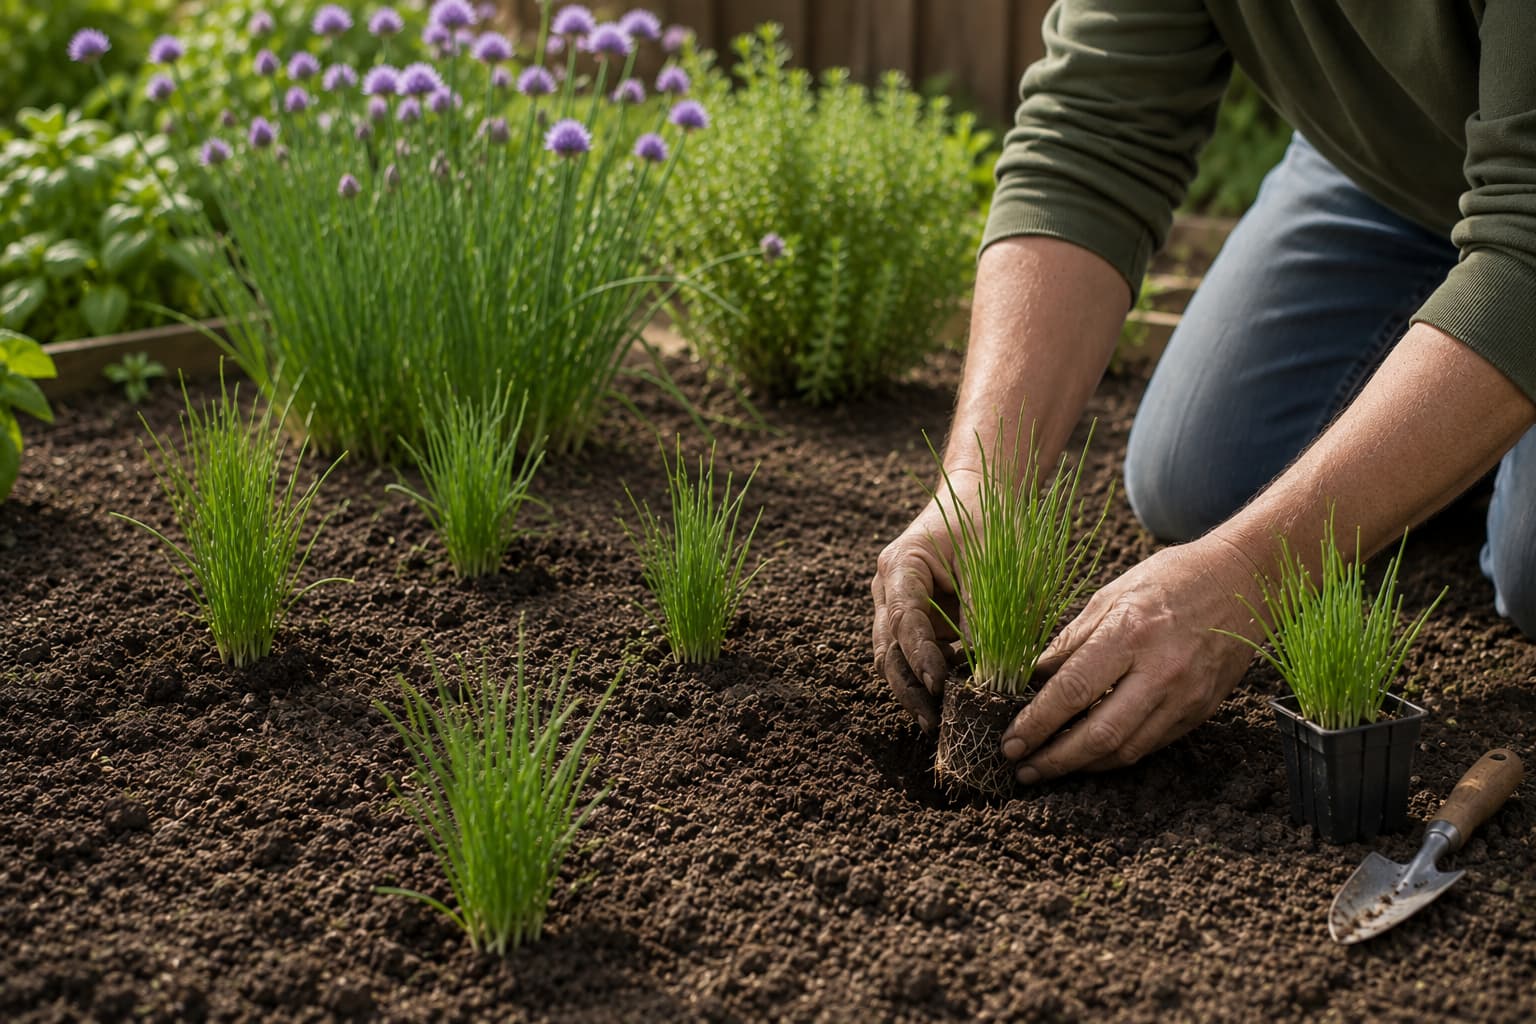
Chives fit easily into mixed herb and vegetable beds, but do not rely on them as a stand-alone pest-control method. Chives themselves can be affected by aphids and other Allium pests and diseases.
3. Water for Steady Growth, Then Feed Only When Needed
Newly planted chives benefit from regular watering while their roots establish. Once established in the ground, they are usually less demanding, although prolonged dry weather can slow growth and make leaves less tender.
Containers dry faster than garden beds, so check them more often during active growth. Water thoroughly when the mix has begun to dry, let excess water drain, and avoid keeping the pot permanently saturated.
Fertilizer
Chives in fertile garden soil often need little extra feeding. Frequently harvested container plants may benefit from modest feeding during active growth. Follow the fertilizer label and avoid using extra fertilizer to compensate for weak light or poor root conditions.
4. How to Grow Chives in Pots
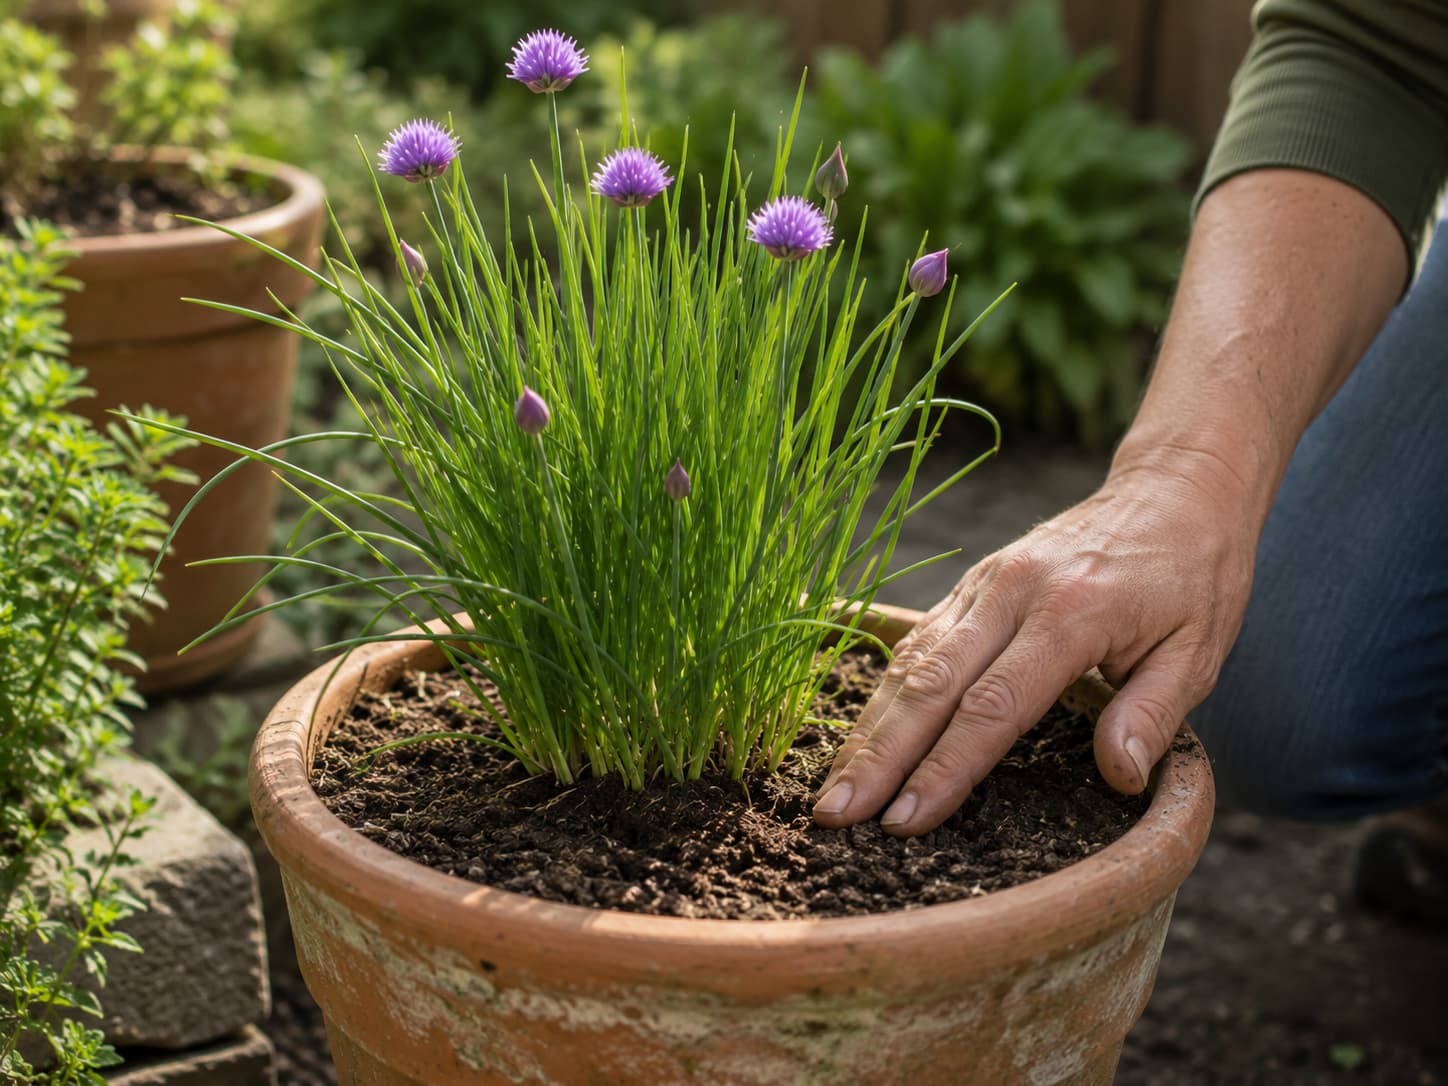
Chives are well suited to containers because their roots grow as a manageable clump and the plant tolerates regular harvesting. Choose a pot with drainage holes and enough width for the clump to expand.
- Use a quality potting mix that holds some moisture but still drains freely.
- Do not leave the pot standing in water after irrigation.
- Check smaller terracotta pots more often in hot, windy weather.
- Divide the plant when the pot becomes packed with bulbs and new growth loses vigor.
5. Can You Grow Chives Indoors?
Yes, but light is the limiting factor. Chives can grow in a sunny window and may continue producing leaves indoors in winter. If window light is weak and the plant becomes pale or leggy, supplemental light can help.
Do not promise a perfect year-round harvest from every windowsill. Indoor performance depends on daylight, temperature, pot size, and whether the plant has had a natural cool period.
6. How to Harvest Chives Without Weakening the Plant
Harvest once the plant has enough established foliage to recover easily. Use clean scissors and cut leaves just above the base rather than snipping only the tips. This keeps the clump tidy and encourages fresh leaves to replace older ones.
For Routine Harvesting
- Choose healthy green leaves.
- Cut a portion of the clump rather than repeatedly stripping the same small section.
- Remove faded or damaged leaves while you harvest.
- Use fresh leaves soon after cutting for the best texture and flavor.
Regular cutting keeps useful new foliage coming, but a young or recently divided plant should be allowed time to establish before heavy harvesting.
7. How to Prune Chives Correctly
Chives do not need complicated shaping. Most “pruning” is really harvesting, removing old leaves, deadheading flowers, and rejuvenating the whole clump after flowering.
Where Should You Cut Chives?
Cut leaves with clean scissors just above the base of the plant. Avoid repeatedly trimming only the top few centimeters, which leaves behind a ragged mass of aging leaf ends.
Can You Cut the Whole Clump Back?
Yes. After flowering, a tired clump can be cut down to around 5 cm (2 in) to encourage a flush of fresh foliage. This is especially useful when many leaves and flower stalks have become coarse at the same time.
After Flowering
If you want to keep harvesting tender leaves, remove the tough flower stalks at the base once the blooms fade. If you want seed, leave selected flower heads to mature instead.
8. What Should You Do With Purple Chive Flowers?
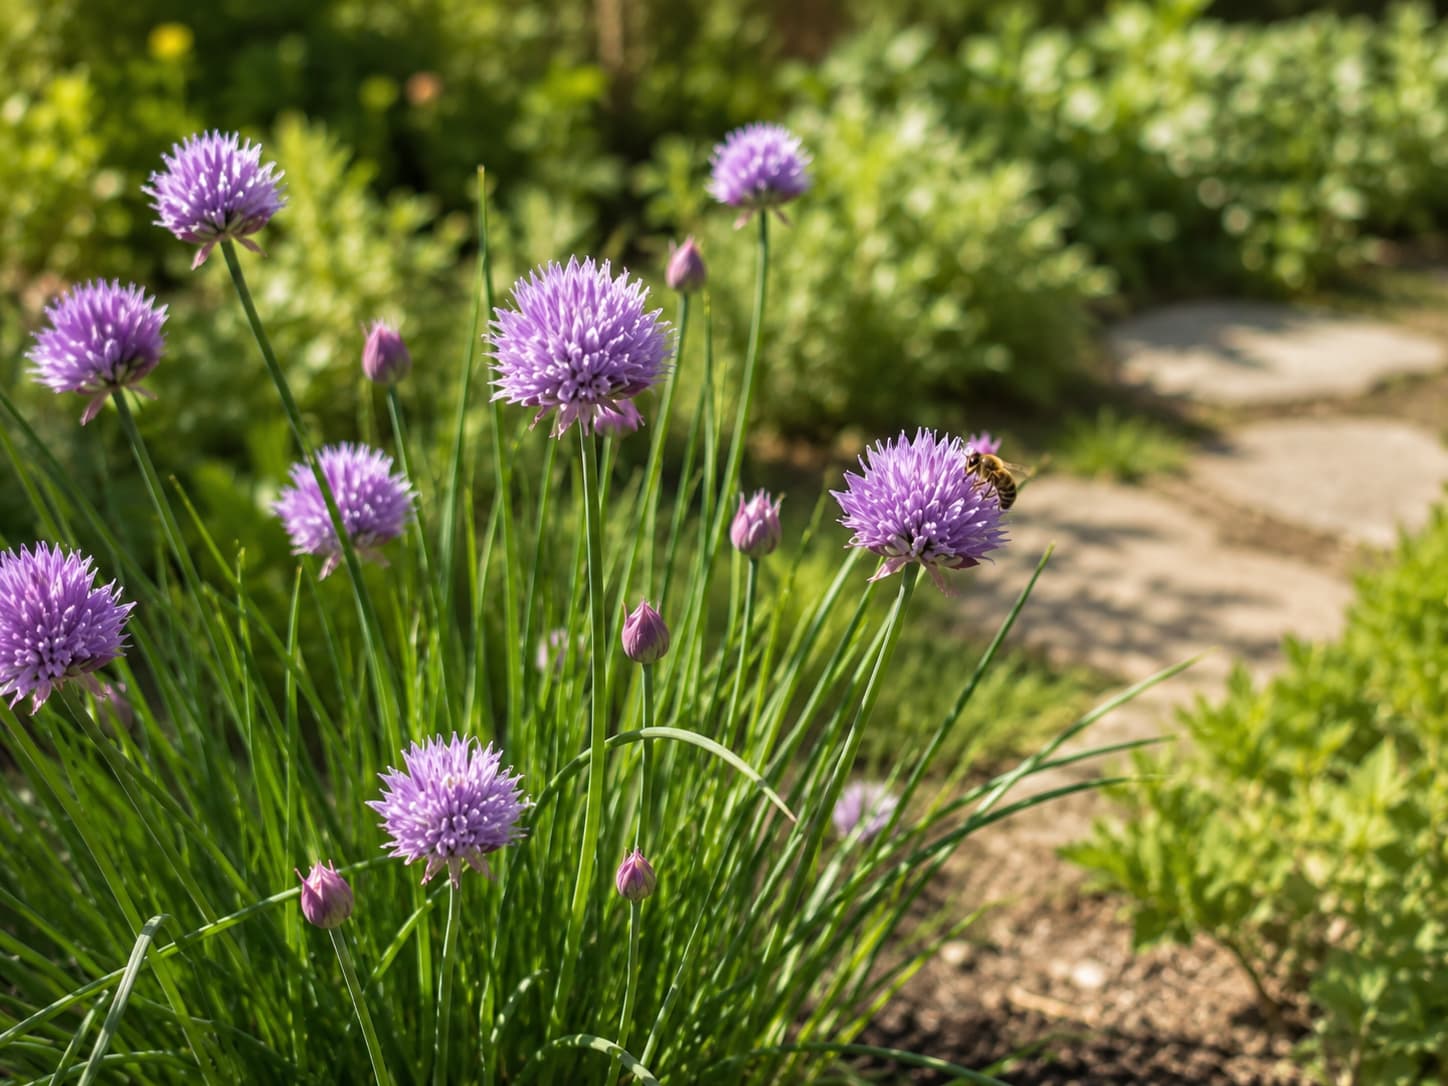
The purple flower heads are one of the most useful parts of the plant. They are edible, attractive to pollinating insects, and can also produce seed if left to mature.
| Your goal | What to do |
|---|---|
| Eat the flowers | Pick newly opened heads and separate the small florets over salads, potatoes, eggs, or herb butter. |
| Support pollinators | Leave some flower heads open during bloom. |
| Keep leaves tender | Remove spent flower stalks at the base after bloom. |
| Prevent self-seeding | Deadhead before seed matures. |
| Collect seed | Leave selected heads to mature and dry on the plant. |
9. Divide and Propagate Chives When Clumps Get Crowded
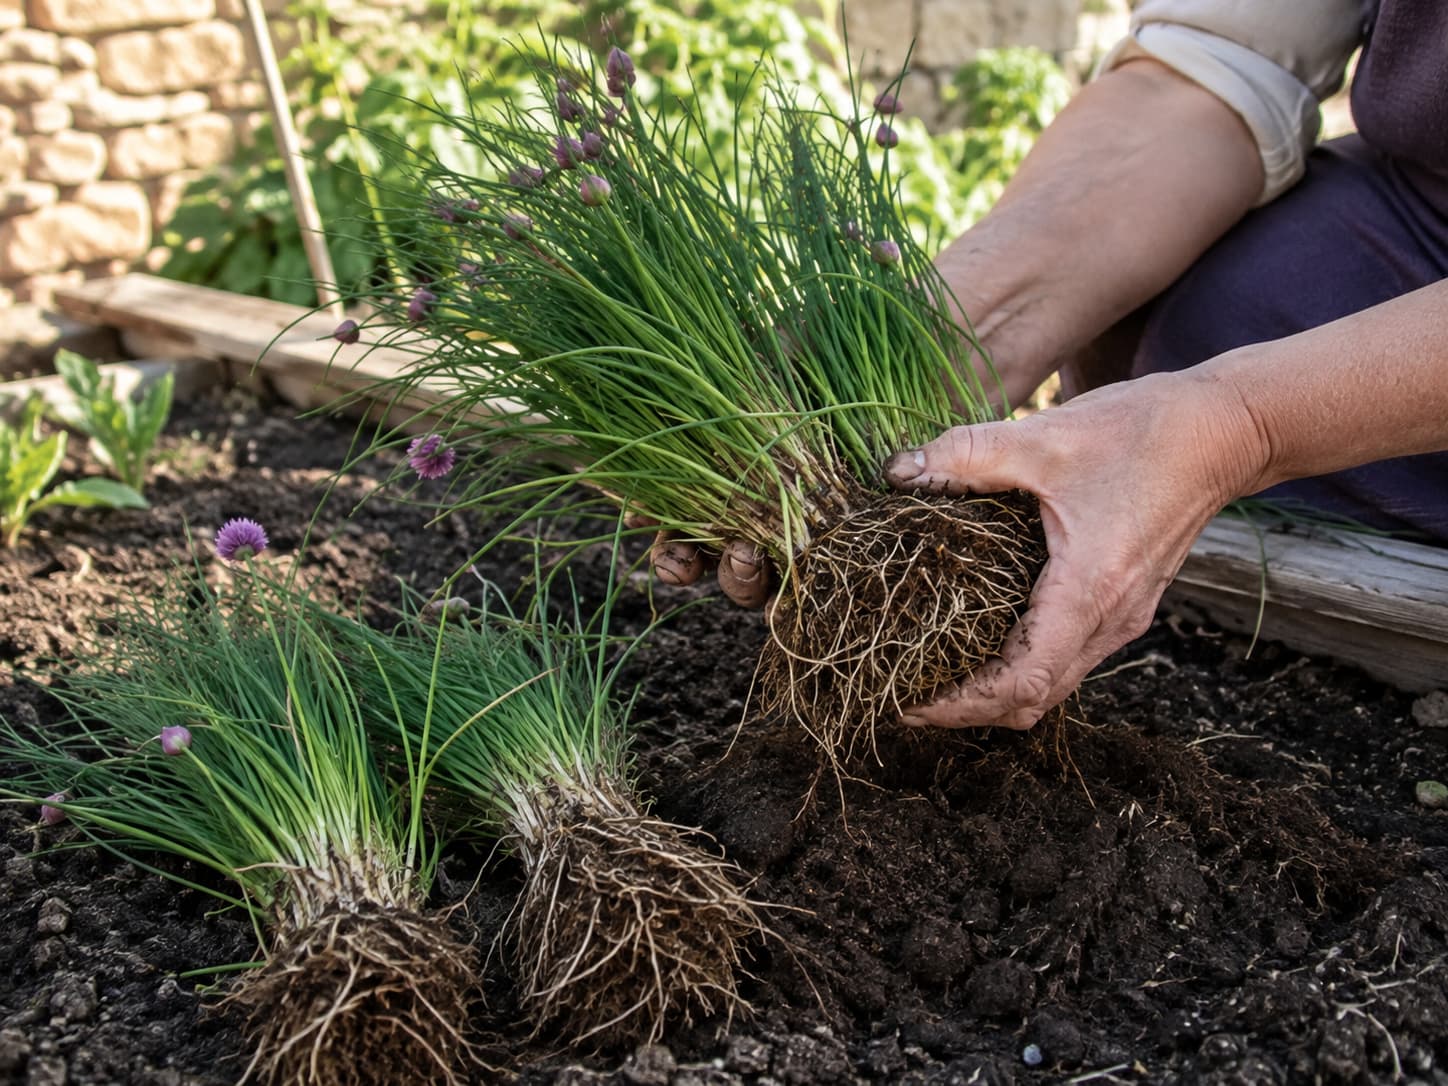
Division is the fastest way to turn one established clump into several plants. It also solves overcrowding. A useful rule is to divide when the center becomes congested or leaf production declines—often every few years.
How to Divide Chives
- Water the clump if the soil is very dry.
- Lift the plant carefully from the ground or pot.
- Gently pull the mass apart into smaller sections, keeping roots attached.
- Replant the divisions at their previous depth.
- Water them in and allow them to re-establish before heavy harvesting.
Growing Chives From Seed
Chives can also be started from seed. Seed is useful when you want many new plants, while division gives you established plants that match the parent more closely. Germination and early growth vary with temperature and conditions, so avoid relying on one rigid countdown.
10. Winter Care and Spring Regrowth
Common chives are cold-hardy perennials and usually die back naturally in climates with freezing winters. The underground bulbs remain alive and produce new growth when temperatures rise again.
In the ground, remove collapsed foliage once it has died back and leave the crown undisturbed. A light mulch can help conserve moisture and suppress weeds, but chives do not need to be treated like a tender perennial that must be heavily insulated everywhere.
Container-grown chives experience colder root temperatures than plants in the ground, so in very cold climates move pots to a more sheltered location if repeated deep freezes are expected.
Common Chive Problems
Chives are usually robust, but symptoms overlap. Use the symptom as a prompt to inspect light, moisture, crowding, and pests rather than jumping to one diagnosis.
| What you see | Possible cause | Check first |
|---|---|---|
| Yellow leaves | Old foliage, wet roots, drought stress, crowding | Soil moisture and age of the affected leaves |
| Brown tips | Drying stress, heat, root congestion | Pot moisture, root room, recent weather |
| Thin, floppy indoor growth | Insufficient light | Window exposure and distance from light |
| Sticky or distorted new growth | Possible aphids | Young leaves and flower stalks |
| Orange raised spots | Possible leek rust | Leaf surfaces and nearby Allium plants |
| Dense clump with weak new leaves | Overcrowding | Whether the clump needs division |
Mixed planting can be useful for garden diversity, but claims that chives reliably repel aphids or Japanese beetles are too strong. If pests appear, identify the pest and use an appropriate control method rather than relying on a companion plant alone.
Common Chives, Garlic Chives & Other Types
“Chives” can refer loosely to more than one edible Allium, so it helps to know which plant you are growing.
| Type | Botanical name | How to recognize it |
|---|---|---|
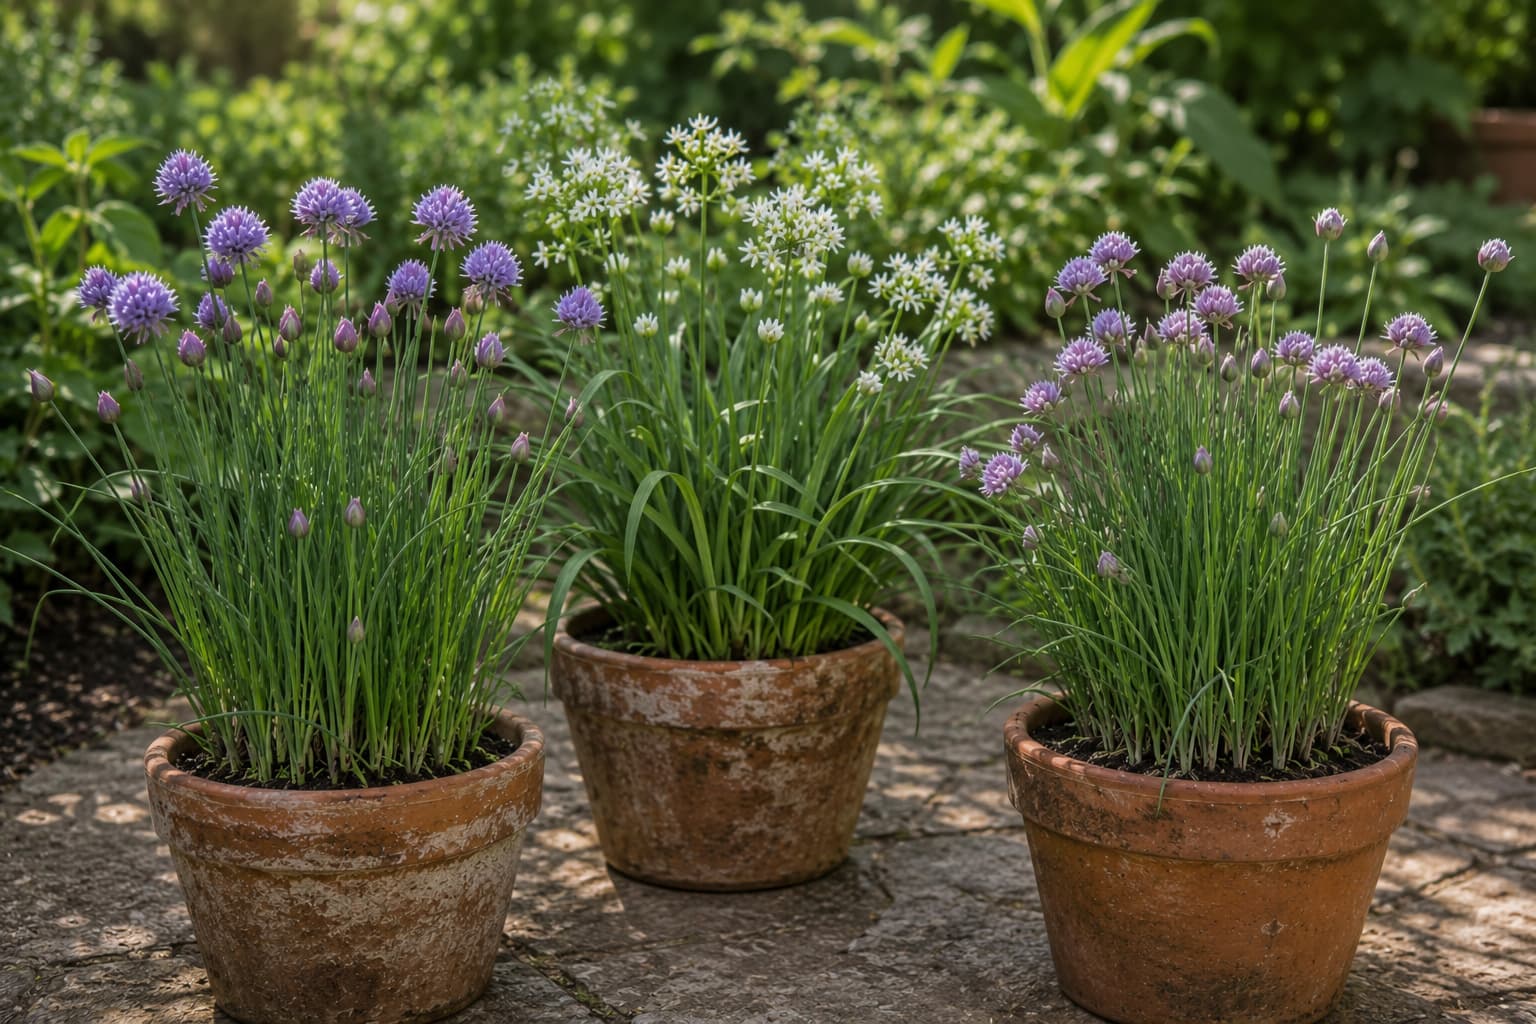
| Common chives | Allium schoenoprasum | Hollow cylindrical leaves, mild onion flavor, purple-pink flowers |
| Garlic chives | Allium tuberosum | Flat leaves, garlic-like flavor, white flowers |
| ‘Profusion’ | Allium schoenoprasum cultivar | Prolific flowers that are sterile, so it does not set seed like typical common chives |
How to Store Chives: Fresh, Frozen or Dried
Chives are at their best soon after harvest. For short-term use, keep freshly cut leaves cool and use them promptly. For longer storage, chopped chives freeze well and retain more of their fresh character than many dried chives.
Drying is possible, but dried chives can lose color and absorb moisture quickly. If flavor is the priority, freezing is usually the more satisfying home-storage method.
The Greenmuse 3-Step Chive Routine
Step 1: Keep the Clump Growing
Give chives good light and enough moisture for steady leaf production, especially in containers and during dry weather.
Step 2: Harvest From the Base
Use clean scissors and take leaves from just above the base. Regular harvesting keeps the clump productive and avoids a mass of ragged leaf tips.
Step 3: Reset the Plant When It Gets Tired
After flowering, remove tough flower stalks or cut the clump back for fresh foliage. When the clump becomes crowded, divide it rather than trying to fix declining growth with extra fertilizer.
Chives respond well to gentle, regular attention. You do not need to chase perfect numbers—watch the clump, harvest what is ready, leave some flowers for pollinators if you enjoy them, and reset the plant when growth becomes crowded or coarse.
Frequently Asked Questions
Do chives come back every year?
Yes. Common chives are perennial and usually return from their underground bulbs after winter dormancy where they are hardy.
Are chive flowers edible?
Yes. Newly opened chive flowers have a mild onion flavor. Separate the small florets and use them as a garnish, or leave some flower heads for pollinators.
Where should I cut chives when harvesting?
Cut leaves with clean scissors just above the base of the plant. This gives a cleaner harvest and allows fresh leaves to replace the older foliage.
Can I cut chives all the way back?
Yes. After flowering, an established clump can be cut back to around 5 cm (2 in) to encourage a new flush of foliage. Avoid heavy cutting on a very young or recently divided plant until it has re-established.
Should I remove chive flowers?
It depends on your goal. Leave some if you want flowers for pollinators or food. Remove spent heads if you want to reduce self-seeding and keep the clump tidy.
Can chives grow indoors?
Yes, especially in a bright window. If the leaves become weak or leggy, the plant may need stronger light or supplemental lighting.
How often should I water chives?
Do not use one fixed interval. Newly planted chives and containers need closer attention, while established garden clumps often need water mainly during dry periods. Check the soil or potting mix before watering.
When should I divide chives?
Divide when the clump becomes crowded or vigor declines, often every few years. Spring or autumn are practical times for division.
What is the difference between common chives and garlic chives?
Common chives have hollow round leaves, a mild onion flavor, and purple-pink flowers. Garlic chives have flat leaves, a garlic-like flavor, and white flowers.
Final Thoughts
Chives are easiest when you treat them as a renewable clump rather than a plant you harvest once. Give them a bright position, reasonable moisture, and enough room to grow. Harvest near the base, enjoy or deadhead the flowers according to your goal, and divide crowded plants when growth begins to weaken.
If your chives are yellowing, flowering heavily, or growing thin indoors, start with the conditions around the plant before adding more fertilizer. Light, moisture, crowding, and season usually explain more than one symptom alone.