Green vs Brown Compost: A Simple Ratio and Materials Guide
A good compost pile needs carbon-rich browns, nitrogen-rich greens, air, and water. If your pile smells or barely changes, those clues can tell you what to adjust. Start with about two to three buckets of browns for each bucket of greens, then let the pile guide you.
This guide shows which materials count, how to mix them, and what to do when the pile is too wet, dry, or slow. The key surprise: “green” and “brown” describe how materials behave in the pile, not simply their visible color.
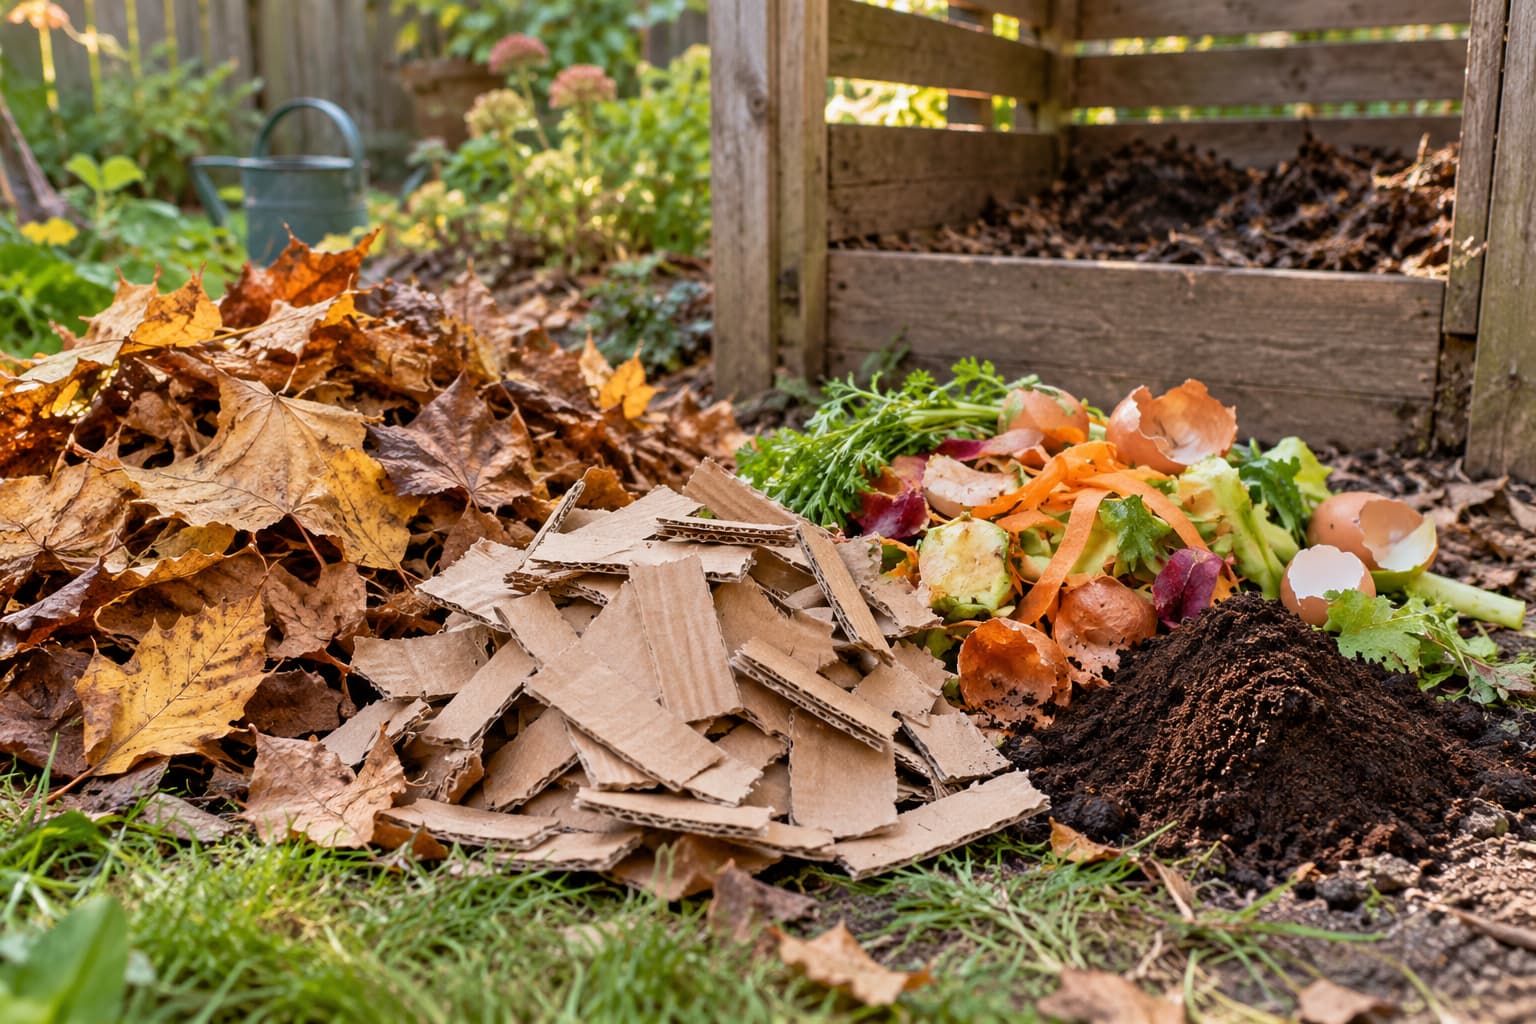
Quick Reference: Green vs Brown at a Glance
| Greens (Nitrogen-Rich) | Browns (Carbon-Rich) | |
|---|---|---|
| What they are | Moist, fresh, "juicy" materials | Dry, woody, absorbent materials |
| What they provide | Nitrogen — feeds the microbes that do the work | Carbon — energy and structure, keeps air flowing |
| Examples | Grass clippings, fruit & veg scraps, coffee grounds, fresh leaves, herbivore manure | Dry leaves, straw, cardboard, paper, wood chips, sawdust |
| Typical sign of too much | Wet, slimy, smelly (ammonia/rot) pile | Dry, cold pile that never heats up or breaks down |
The Rule Everyone Gets Wrong: Color Doesn't Decide the Category
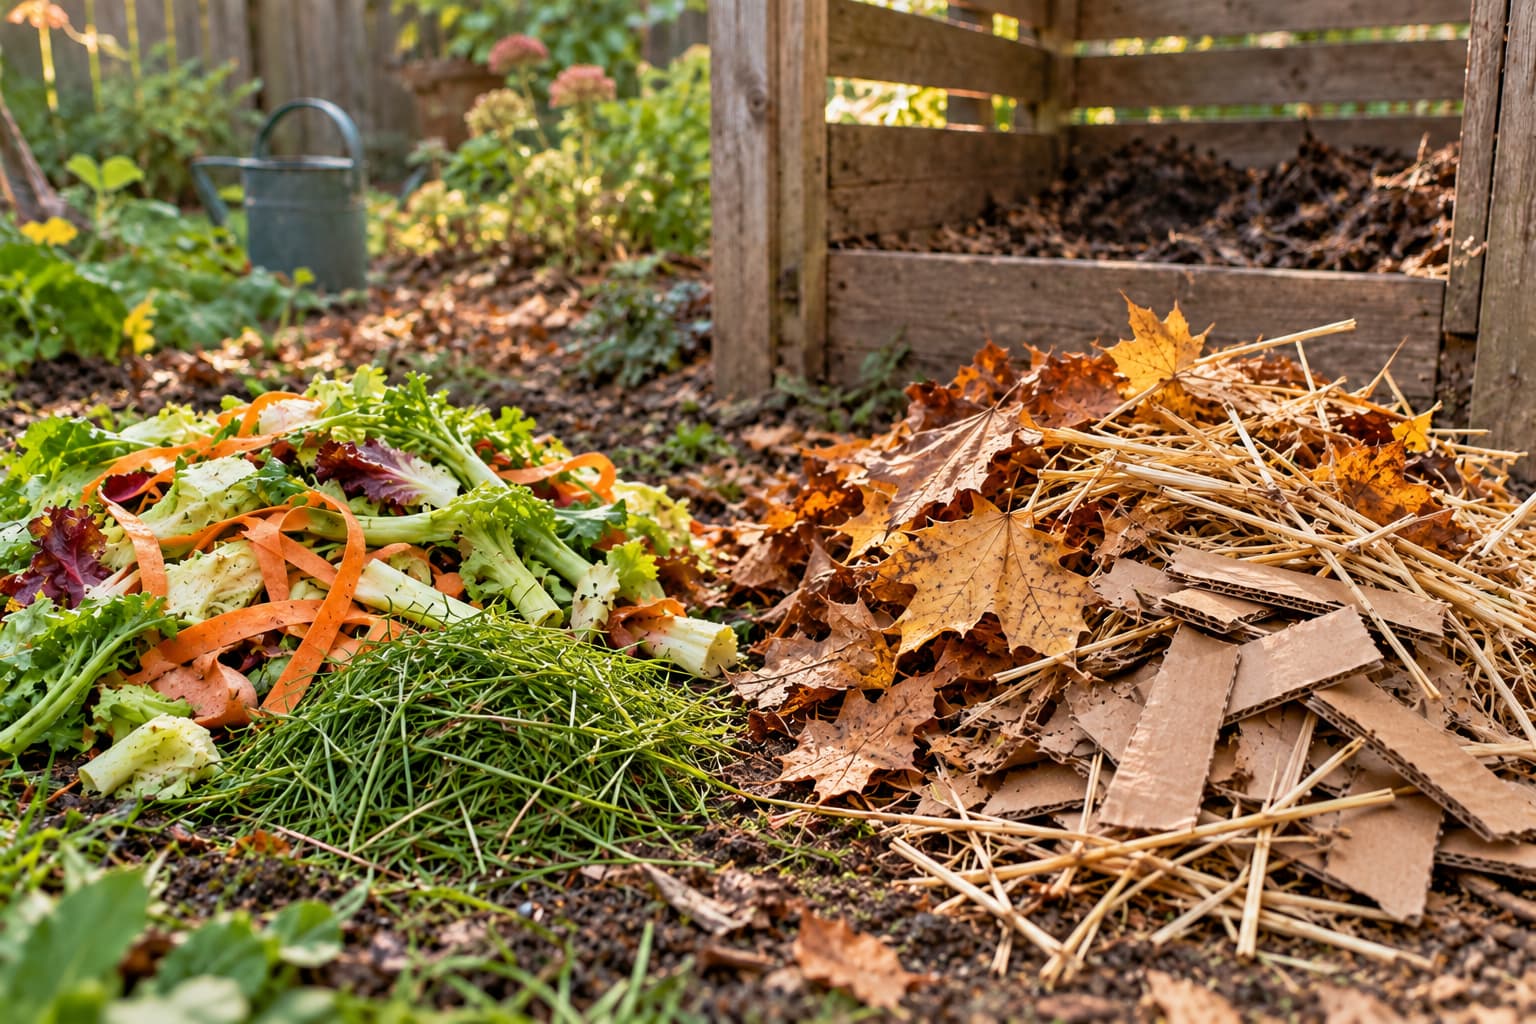
“Green” usually means relatively nitrogen-rich, while “brown” means relatively carbon-rich. Color and dampness are helpful clues, but neither is a chemical test. Used coffee grounds are a green even though they look brown; dry autumn leaves are a brown. Material composition and condition matter more than the name.
Cornell lists used coffee grounds at approximately 20:1 carbon to nitrogen, alongside other nitrogen-rich materials. Paper coffee filters are a separate, carbon-rich paper addition. Whole fresh leaves and dried fallen leaves can behave differently as plant tissues age and dry, but moisture alone does not instantly change their carbon-to-nitrogen ratio.
When in doubt, add a mix of materials and watch the pile: a wet, smelly mass needs dry, bulky browns and air; a dry, inactive pile may need water and some greens. You do not need to calculate a laboratory ratio for a backyard bin.
The Greens (Nitrogen): What Counts and Why
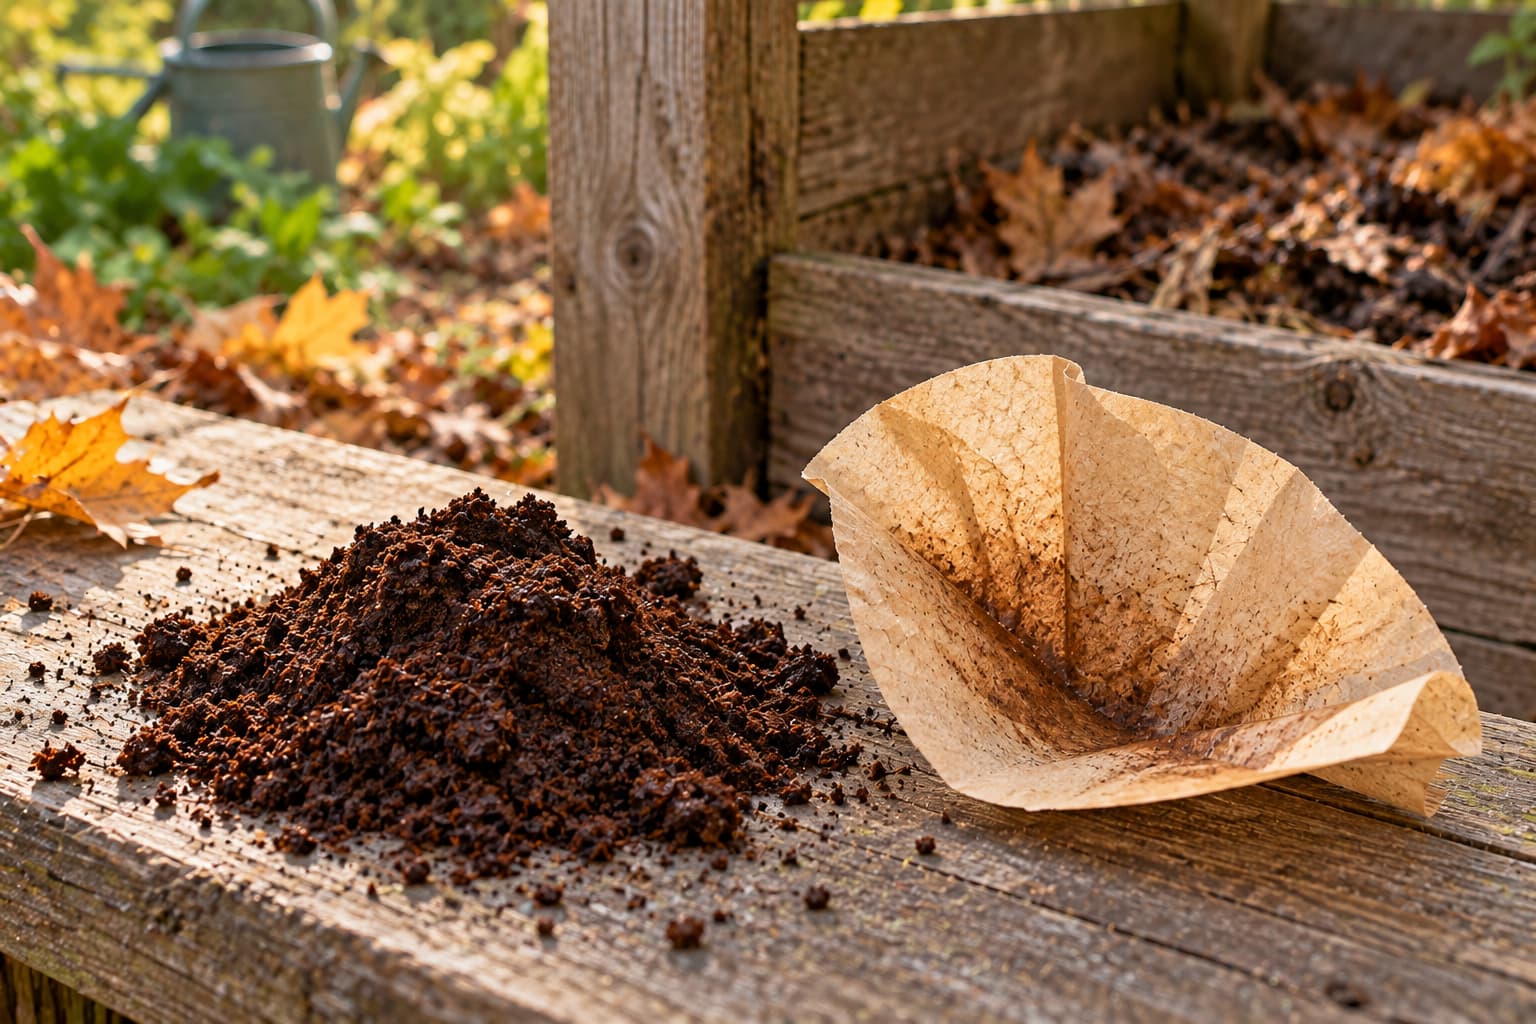
Greens supply nitrogen for the microbes breaking down your compost. They often bring moisture too. Mix fresh, soft material with dry browns so grass and food scraps do not form a dense, airless layer.
- Fruit and vegetable scraps: peels, cores, and trimmings; bury and cover them.
- Fresh grass clippings: use thin layers and avoid clippings recently treated with persistent herbicides.
- Used coffee grounds: add as a green; paper filters can go in as browns.
- Tea leaves and suitable paper tea bags: check for plastic mesh, staples, or other noncompostable parts.
- Soft, fresh garden trimmings: chop bulky stems and exclude seed heads or clearly diseased material.
- Livestock manure: composition varies, especially when mixed with straw or sawdust bedding; manage it as a separate safety and balance consideration.
The Browns (Carbon): What Counts and Why
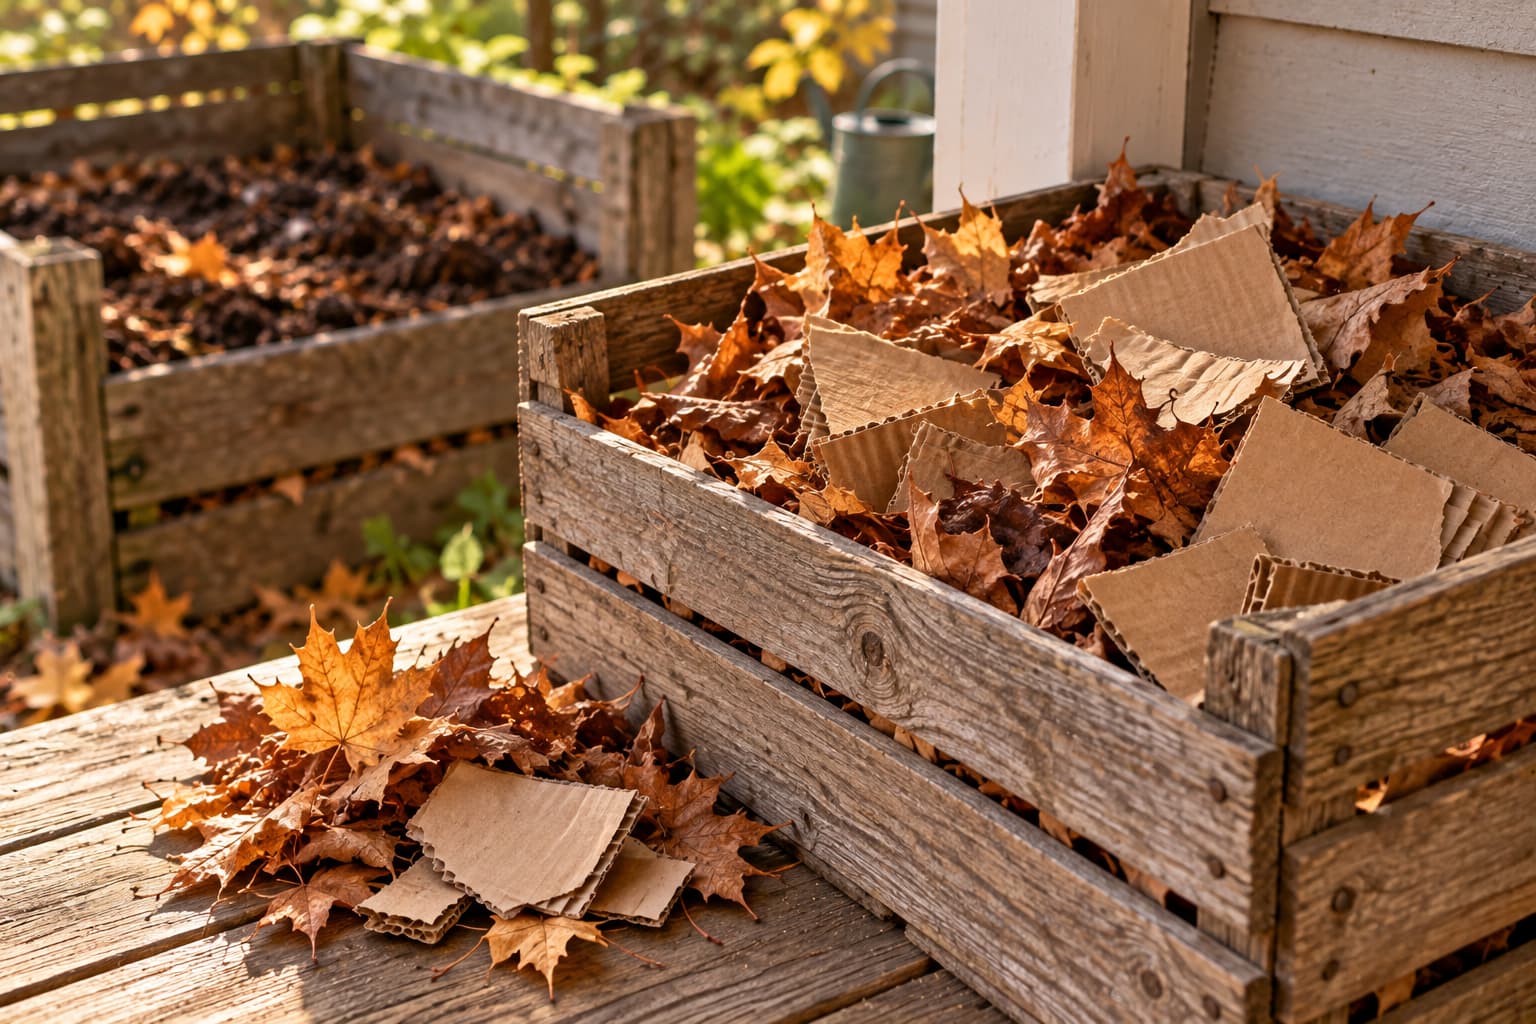
Browns provide carbon and often absorb excess water. Coarse pieces also create air spaces, while fine sawdust or wet paper can compact if added in a thick layer. Keep several types on hand and break up or shred large pieces.
- Dry fallen leaves: shred them for faster decomposition.
- Straw: adds bulk and air spaces; hay may bring viable weed seeds.
- Plain shredded cardboard and non-glossy paper: moisten as you add them and avoid thick mats.
- Untreated wood chips and small twigs: useful for structure but slow to break down.
- Untreated sawdust: sprinkle and mix with other materials instead of adding a compact layer.
- Dried stalks and pine needles: chop or mix with quicker-decomposing ingredients; they can be slow to break down.
The Ambiguous Items: Where People Miscategorize
These are the materials most people sort wrong. When in doubt, use this table:
| Material | Green or Brown? | Why |
|---|---|---|
| Coffee grounds | Green | ~20:1 C:N, nitrogen-rich despite being brown in color |
| Eggshells | Neutral-ish | Mostly calcium carbonate; not a useful green/brown balancing ingredient. Crush if desired; pieces may remain visible. |
| Paper towels / napkins | Brown | Paper fiber supplies carbon; use only uncoated, uncontaminated paper. |
| Fresh green grass clippings | Green | High nitrogen, high moisture |
| Dry, brown fall leaves | Brown | Fallen leaves are generally a carbon-rich brown; drying alone is not the chemical switch. |
| Sawdust | Brown | Very high carbon (untreated wood only) |
| Banana peels | Green | Moist, nitrogen-rich kitchen scrap |
The Golden Ratio: How Much Brown to Green
Two different ratios describe different things. The first is a bucket-by-bucket starting point for your backyard pile; the second is the carbon-to-nitrogen ratio of the combined ingredients by weight. They are not interchangeable or an exact conversion.
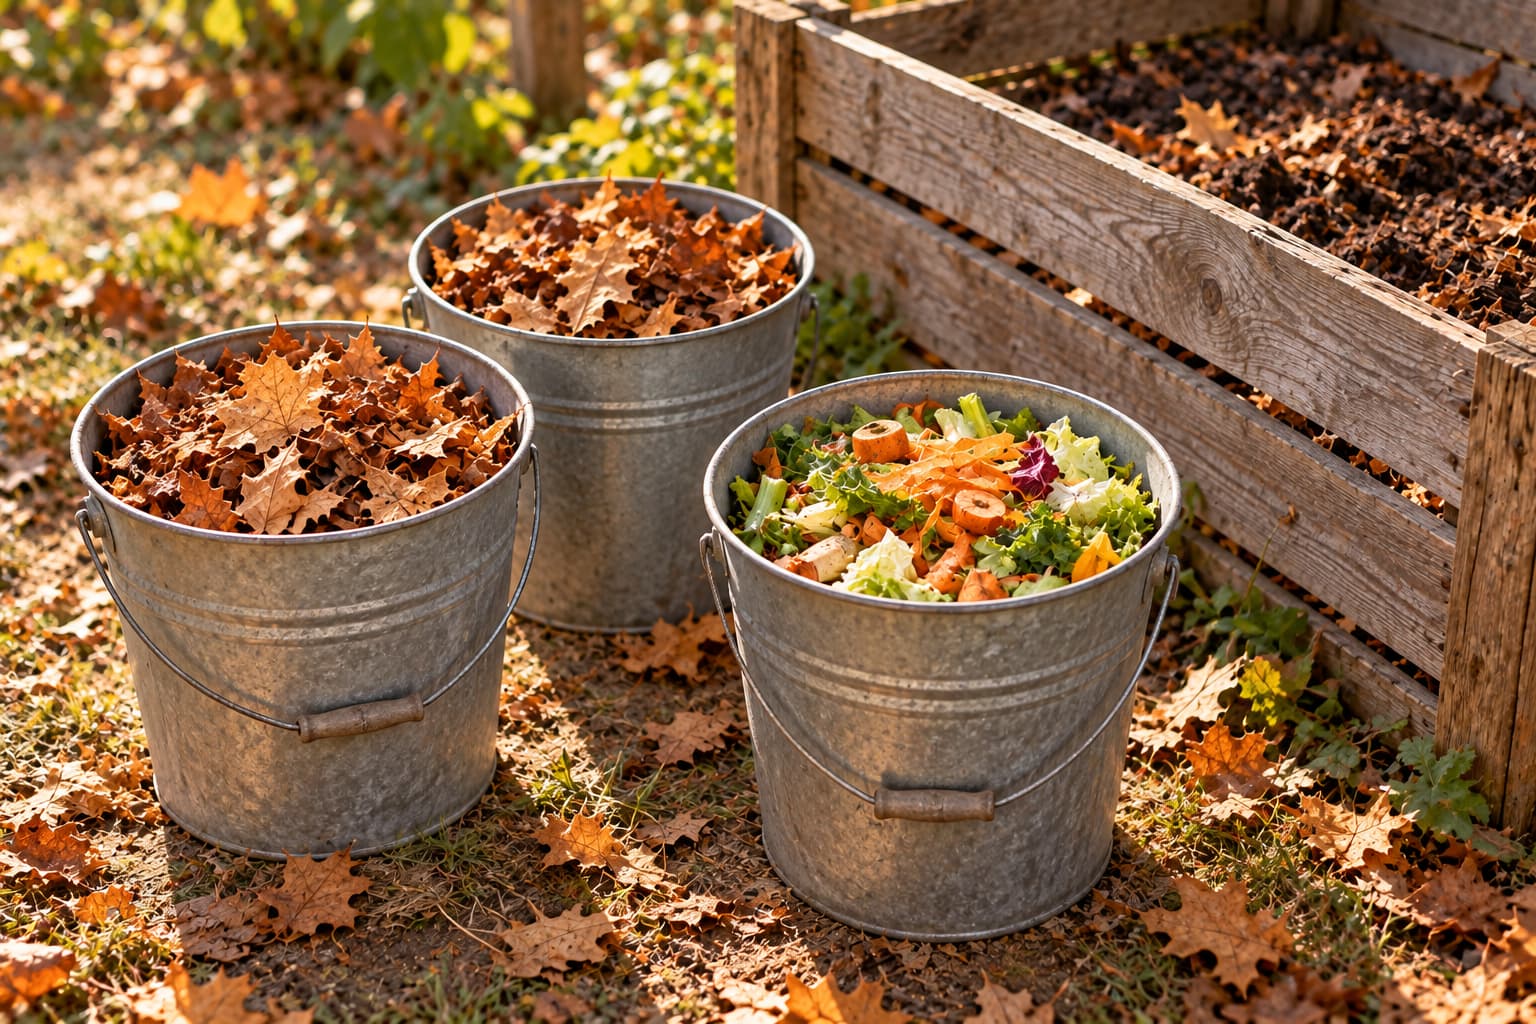
- By volume: begin with about 2–3 parts browns to 1 part greens. The EPA recommends at least two to three times as much brown material by volume, and extension guidance varies with ingredients.
- By chemistry: roughly 30:1 carbon to nitrogen by weight is a common target for a well-managed starting mix. A bucket of dry leaves and a bucket of wet food scraps do not have the same weight or chemistry.
How to Layer a Compost Pile (The Lasagna Method)
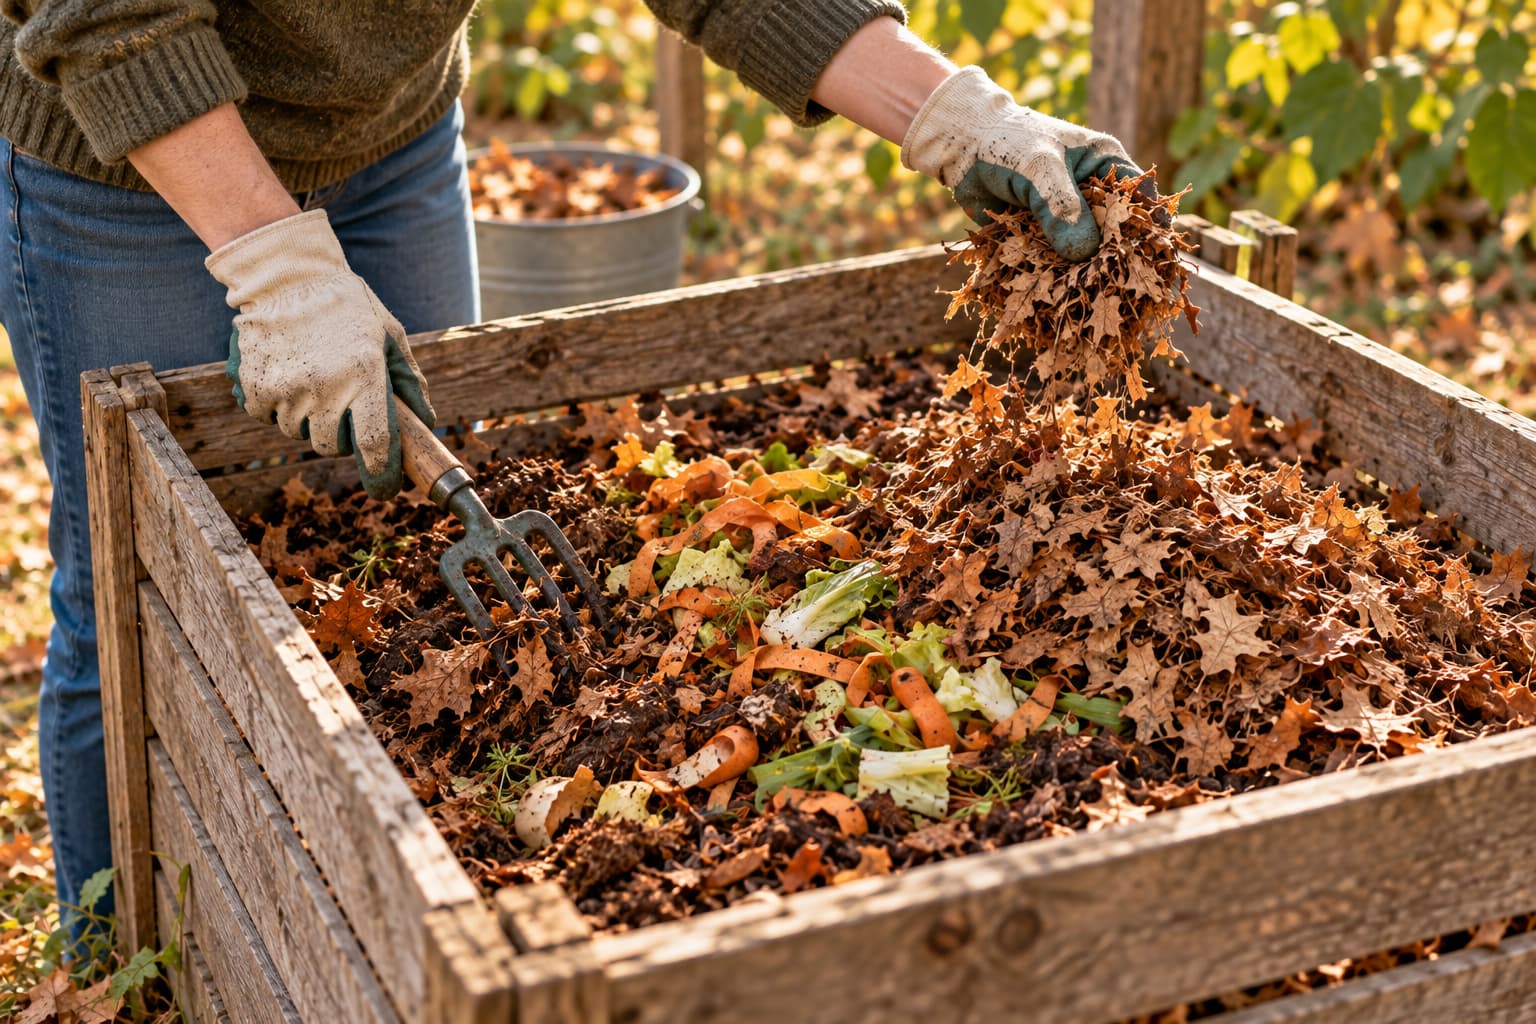
Layering helps you start a pile, but it is fine to mix the materials as you build. The goal is contact between greens and browns, enough open space for air, and moisture like a wrung-out sponge.
- Make a loose base: place a small amount of coarse, untreated twigs or wood chips under an open pile; skip oversized branches that you cannot turn.
- Add a thin layer of greens: spread food scraps or fresh clippings rather than piling them into a mat.
- Add two to three times that volume of browns: use dry leaves, straw, or shredded cardboard; mix some into the greens.
- Cover exposed food scraps: bury them in the center and cover with 4–8 inches of browns to discourage flies and rodents.
- Check moisture and air: moisten dry layers lightly; turn or mix when the pile becomes compacted or smells unpleasant.
When you add fresh kitchen scraps between turnings, bury them in the middle of the pile and cover with browns rather than dumping them on top. Covering exposed food scraps helps reduce odors and fruit-fly problems in a well-maintained pile.
Diagnose Your Pile: Smelly vs Stalled
| Symptom | Likely Cause | Fix |
|---|---|---|
| Ammonia or rotten smell | Excess nitrogen may cause ammonia; rotten odors often indicate poor airflow or excess water. | Mix in dry, coarse browns; turn for air and check drainage. |
| Slimy, wet, compacted | Excess water and compaction limit oxygen. | Add dry browns, turn to add air, cover if it rains |
| Cold, dry, nothing happening | Too little moisture, low nitrogen, or cool weather. | Moisten, mix, and add some greens if the pile is mostly dry browns. |
| Flies / fruit flies | Food scraps exposed on top | Bury scraps under 4+ inches of browns |
| Pile won't get hot | Pile size, moisture, oxygen, season, and ingredient mix all matter. | Check moisture and airflow first; build more volume if you want a hot pile. |
Hot vs Cold Composting: How the Ratio Changes
A hot pile can reach about 130–160°F (54–71°C) when its size, ingredients, water, and oxygen are suitable. Temperature varies across the pile, so heat alone does not guarantee all weed seeds or pathogens have been destroyed. A cool pile is normal for a small or slowly fed bin; avoid suspect plant material in either system.
| Hot Composting | Cold Composting | |
|---|---|---|
| How it works | You actively manage heat, moisture, and airflow; sustained high temperatures can reduce some weed seeds and pathogens | Materials break down gradually without deliberately maintaining high heat. |
| Ratio precision | Matters more — the pile won't heat up without enough greens | A range of mixtures can break down, but balance still affects speed, odors, and pests. |
| Turning | Turn as needed to maintain oxygen and manage temperature. | Rarely or never |
| Finished in | Often a few months with suitable ingredients and active management. | Several months to over a year, depending on season and materials. |
| Best for | Gardeners who want compost fast and have lots of material | Low-effort households adding scraps a little at a time |
For a hot pile, more volume helps retain heat; around a 3-foot cube is a useful target, not a requirement for composting. If the pile stays cool, check its size, moisture, airflow, season, and ingredient mix before adding more greens. A passive pile still benefits from a balanced mix, even though it does not need to reach a high temperature.
What to Never Put in a Home Compost Pile
- Meat, fish, bones, and dairy — they stink, attract rodents and raccoons, and break down poorly in a small pile.
- Oils, grease, and fat — coat materials, block air, attract pests.
- Dog or cat waste — can carry parasites and pathogens; keep it out of home compost used on edible crops.
- Diseased plants — the pile may not get hot enough to kill the pathogen, and you'll spread it back onto the garden.
- Weeds that have gone to seed — seeds can survive and sprout everywhere you spread the finished compost.
- Treated or painted wood, glossy paper — chemicals you don't want in garden soil.
Stockpiling Browns in Fall (and Greens in Spring)
In many temperate gardens, autumn leaves are an easy brown to save for later. Keep a dry supply of shredded leaves or plain cardboard near the bin so kitchen scraps can be covered whenever you add them. Where leaves are scarce, straw or untreated shredded paper can fill the same role.
A bag or covered container keeps stored leaves convenient. In a rainy climate, protect the supply from becoming a soggy mass; in a dry climate, lightly wet the leaves once they go into the active pile.
During warm months, fresh clippings and soft prunings may increase the share of greens. Add them in thin layers with stored browns and check that the pile stays airy.
How to Tell When Your Compost Is Ready
Finished compost is easy to recognize, and there's no need to overthink it. It should be:
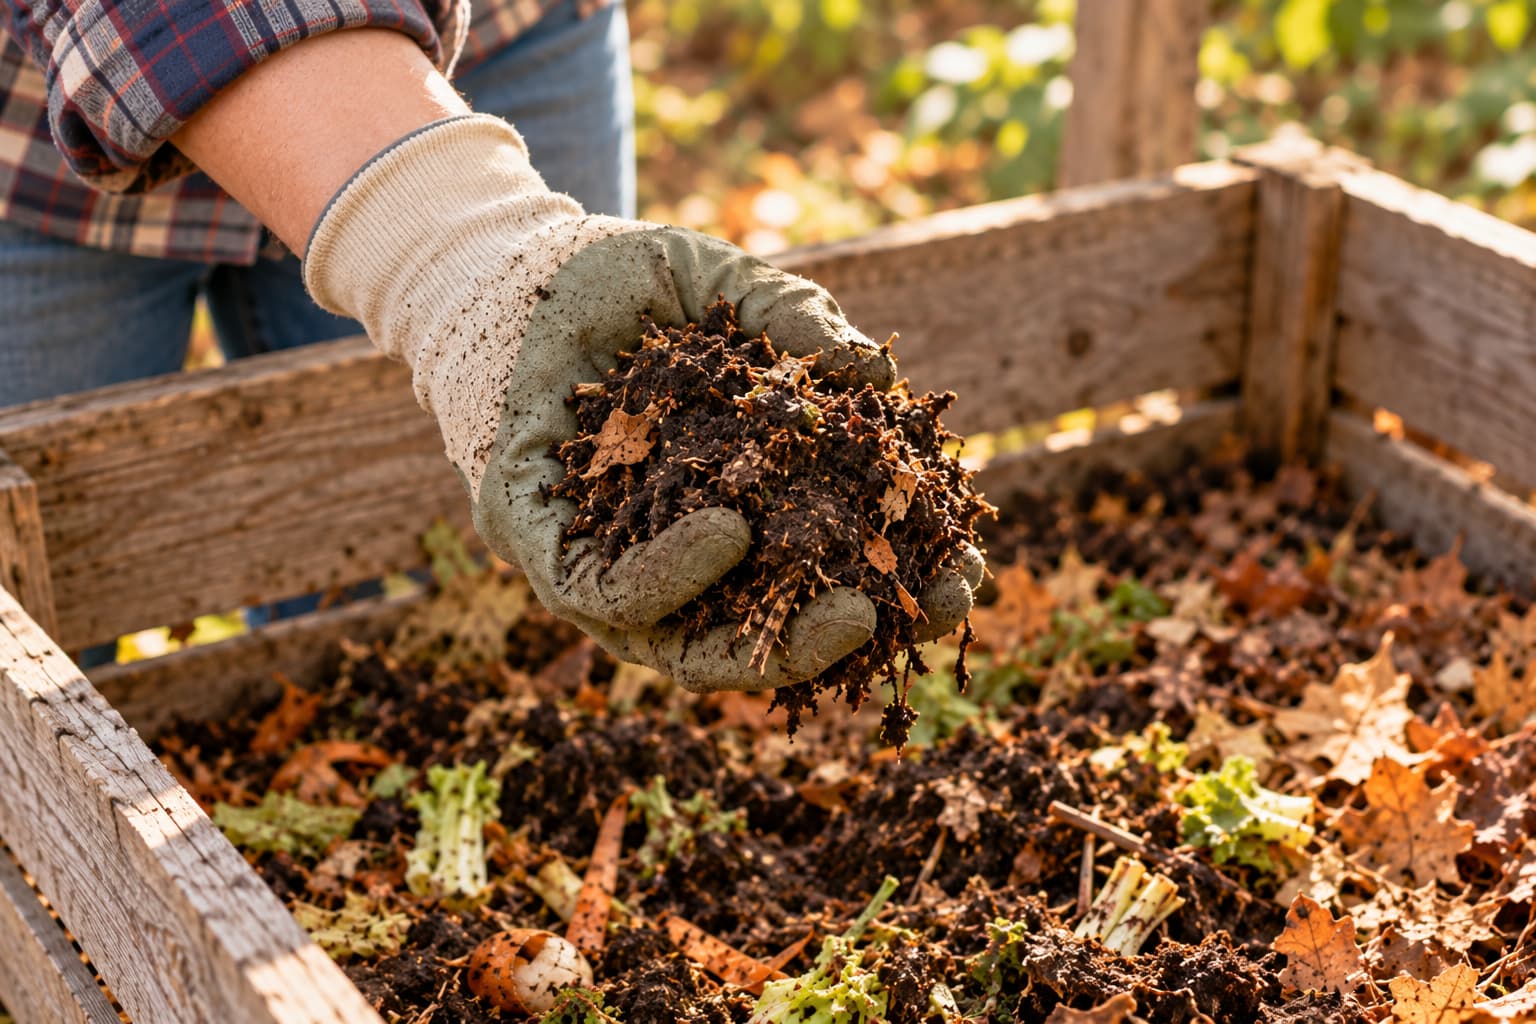
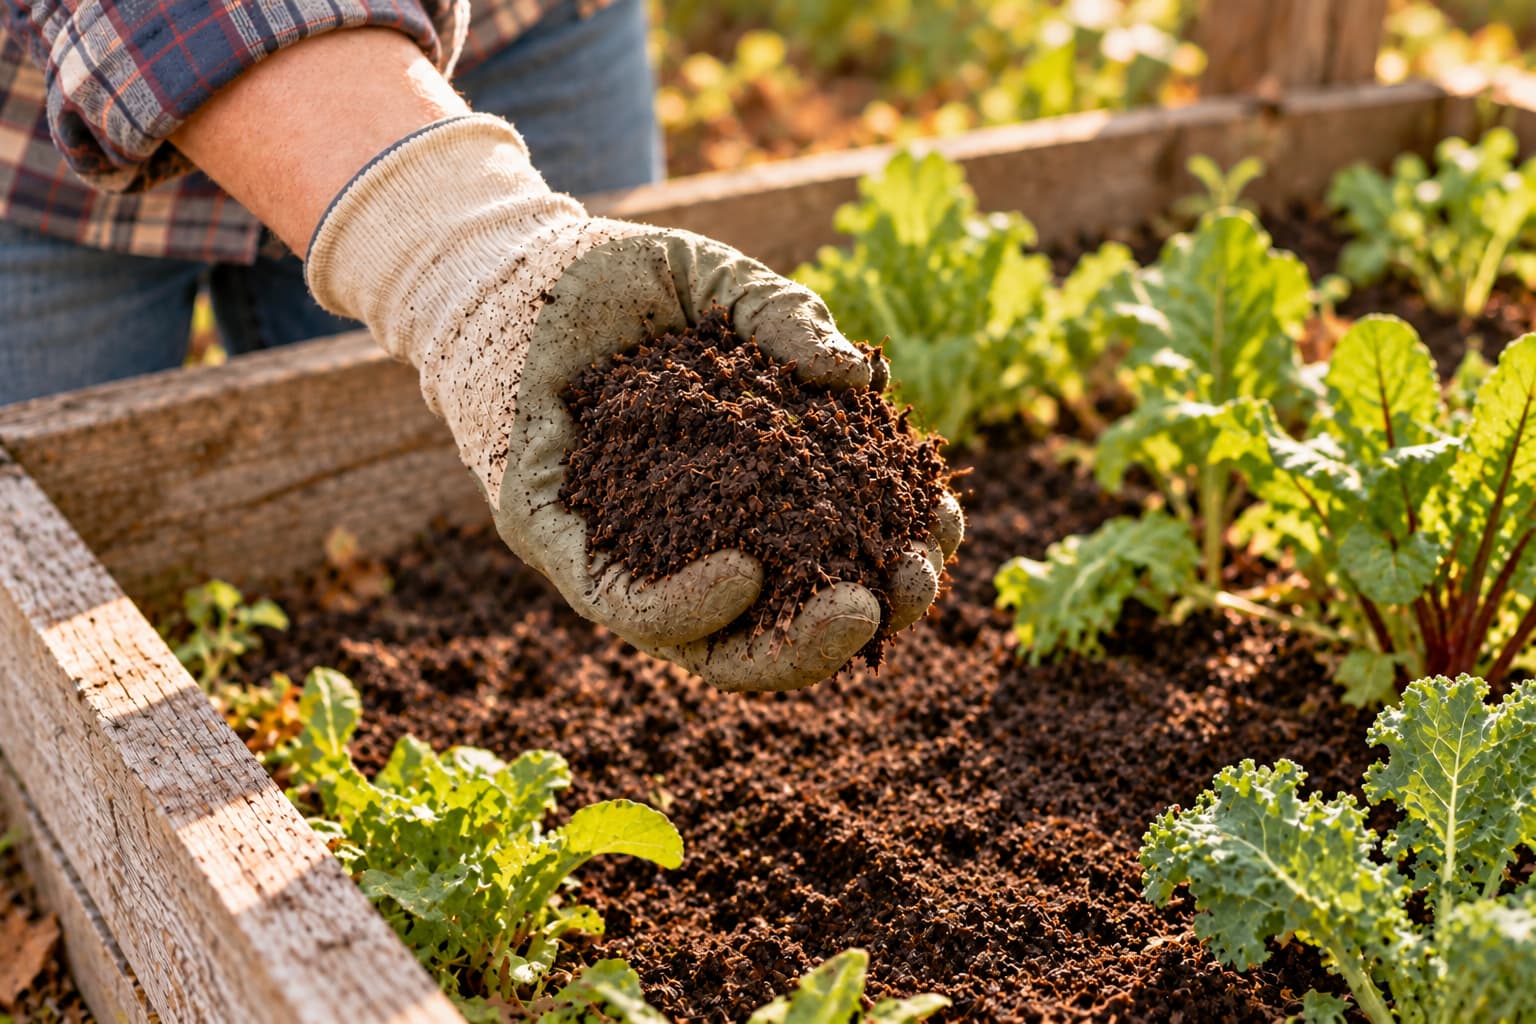
- Dark brown and crumbly, like rich soil or coffee grounds, with few or no recognizable pieces of the original materials (a stray eggshell or twig is fine).
- Earthy-smelling — like a forest floor after rain — never sour, ammonia-like, or rotten.
- Cool to the touch and no longer actively heating up in the middle.
- Reduced and settled in volume; the exact reduction varies by materials and method.
Let a recently hot pile cool and cure before using it. If you still see many identifiable food scraps, or it smells sour, mix it and give it more time. Sift out slow wood pieces and return them to the next batch. Finished compost can top-dress garden beds or be mixed into garden soil; use an appropriate potting mix for containers and houseplants. For a seasonal example, see the fall garlic planting guide.
Don't Overthink the Ratio (Composting Is Forgiving)
You do not need a perfect measurement to begin. A pile that is too wet can be mixed with dry browns; one that is too dry can be moistened. As you learn how your ingredients behave, adjust the mix using its smell, feel, and rate of breakdown.
Start near two to three parts browns for each part greens by volume. Keep food scraps covered, allow air into the pile, and aim for the feel of a wrung-out sponge. What material do you have most often—leaves, kitchen scraps, or grass clippings? Share the challenge you are seeing so other gardeners can compare notes.
Frequently Asked Questions
01What is the ratio of green to brown in compost?
For a backyard pile, begin with one part greens to two or three parts browns by volume. Observe smell, moisture, and breakdown, then adjust. The roughly 30:1 carbon-to-nitrogen target describes the chemistry of the mix by weight, not a bucket count.
02Are coffee grounds green or brown in compost?
Green. Used coffee grounds are relatively nitrogen-rich even though they are brown in color. Their paper filters count as a separate carbon-rich addition.
03Are eggshells green or brown?
Neither is a useful balancing category. Eggshells are mostly calcium carbonate and break down slowly. Crush them if you want smaller pieces in the finished compost.
04Why does my compost pile smell bad?
A sharp ammonia odor can signal excess nitrogen; rotten or sour odors often indicate a wet, compacted pile without enough oxygen. Mix in dry, coarse browns and turn the pile.
05Can I compost if I don't have a yard?
Yes. Worm bins, community collection, and other small-space systems are options. See the apartment composting guide for setup ideas.
06How long does compost take?
It varies widely with temperature, pile size, material size, moisture, and turning. An actively managed pile can finish in a few months; a passive pile often takes much longer. Use a dark, crumbly texture and earthy smell to judge readiness.
Related Reading
- Apartment Composting: 5 Methods That Actually Work in Small Spaces — if you don't have a backyard bin
- How to Plant Garlic in Fall — a fall garden task that loves a dose of finished compost
- What to Do in the Garden in December — using your fall leaf stockpile through winter
- Containers vs In-Ground Planting — where finished compost belongs (and where it doesn't)
- Aroid Soil Mix Recipe — why finished compost belongs in garden beds, not houseplant pots
Sources
- U.S. EPA — Composting at Home (ingredients, volume guide, moisture, and food-scrap cover).
- Cornell Composting — Compost Chemistry (carbon-to-nitrogen ratios and material examples).
- University of Illinois Extension — Put Fall Leaves to Work as Compost (materials, layering, and troubleshooting).