A gentle, practical guide to keeping your daylilies strong, tidy, and blooming beautifully all year.
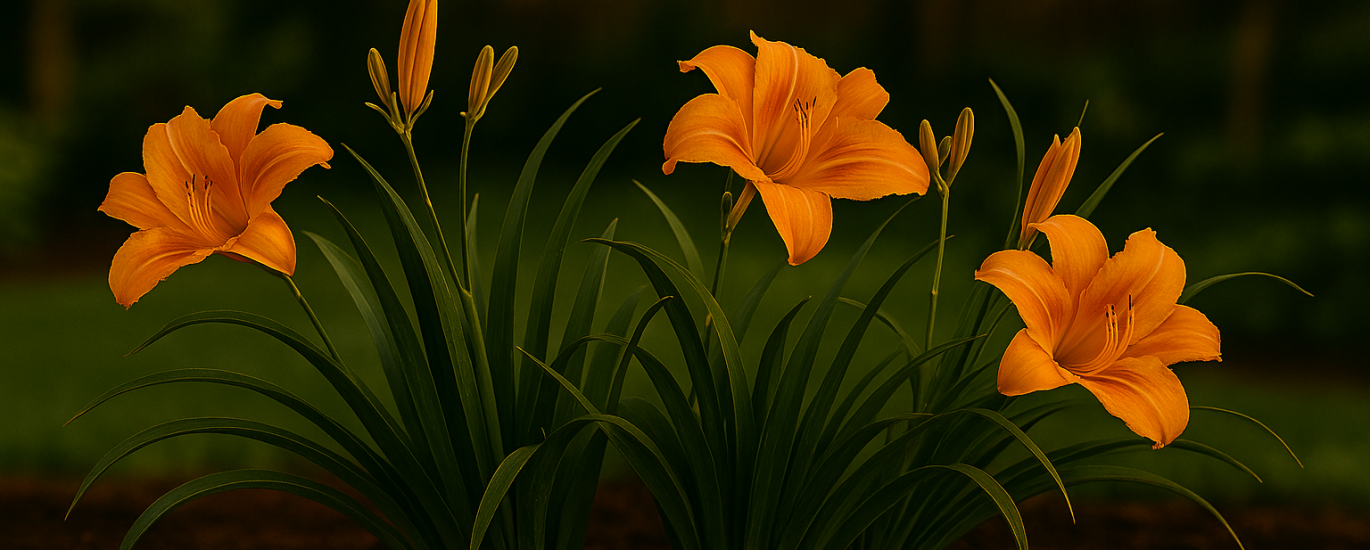
Daylilies (Hemerocallis) are among the most forgiving and rewarding perennials you can grow. They return year after year, tolerate heat and drought, and produce waves of colorful blooms from early summer through fall. But to keep them at their best, seasonal care—especially timely cutting back—makes all the difference.
This guide walks you through what to do in spring, summer, fall, and winter, so your daylilies stay healthy, tidy, and ready to bloom stronger with each passing season.
Table of Contents
- Spring: Wake-Up Care
- Summer: Bloom Support & Light Grooming
- Fall: The Right Time to Cut Back
- Winter: Dormancy Protection
- Signs Your Daylilies Need Cutting Back
- Common Mistakes to Avoid
- Final Thoughts
Spring: Wake-Up Care
As temperatures rise and new shoots begin to emerge, spring is the season to “reset” your daylily beds.
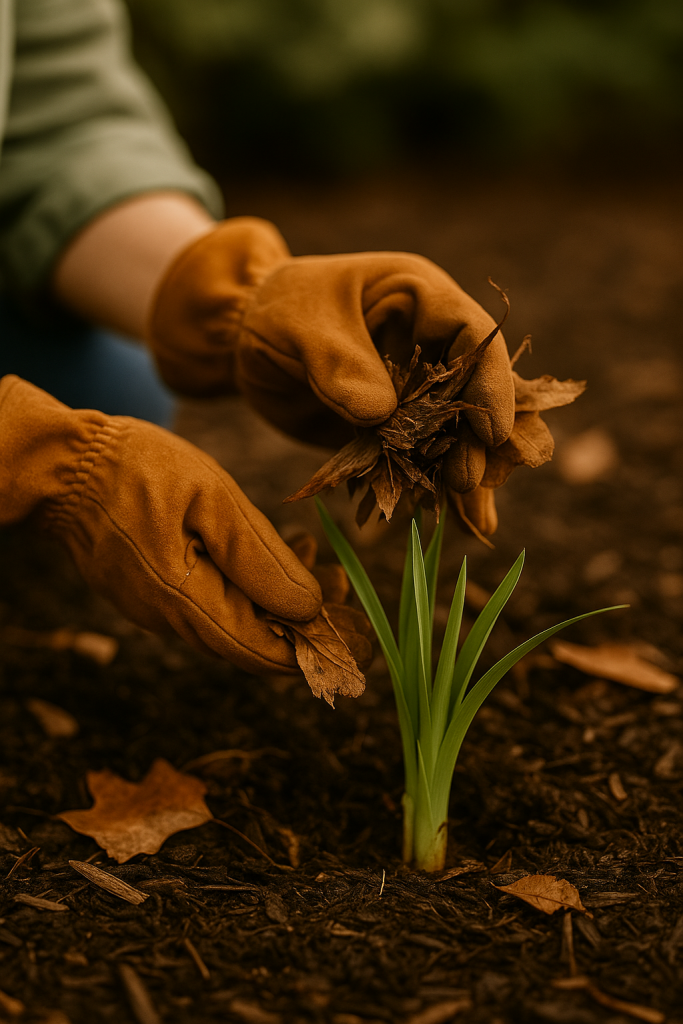
1. Clean up winter dieback
Remove any collapsed, mushy, or dried leaves left from winter. These can harbor pests like aphids or thrips.
2. Divide overcrowded clumps
If your daylilies have stopped blooming vigorously or formed dense mounds, divide them before they fully leaf out.
- Lift the clump
- Separate into 2–4 sections
- Replant at the same depth with fresh compost
Division every 3–5 years keeps plants vigorous.
3. Add early-season nutrition
Work a thin layer of compost around the base—just enough to refresh the soil without smothering emerging shoots.
Avoid high-nitrogen fertilizers; daylilies respond better to balanced organic blends.
Summer: Bloom Support & Light Grooming
Daylilies are at their peak in summer. This is also when your care helps shape next year’s bloom performance.
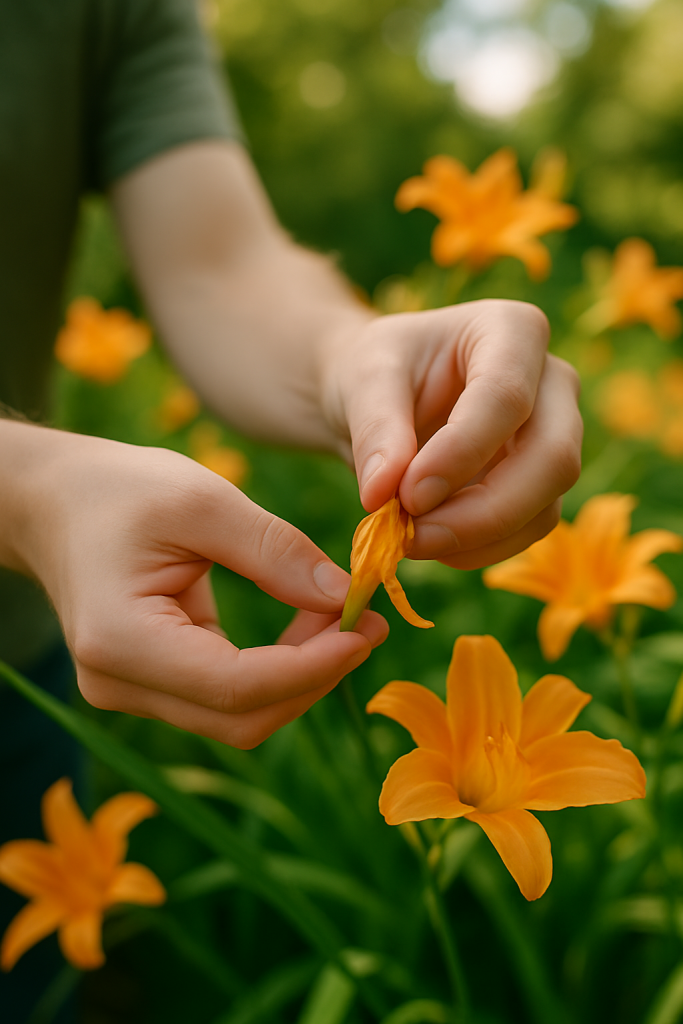
Deadheading spent blooms
Each flower lasts a single day. Removing spent blooms prevents seed formation and encourages the plant to channel its energy back into root and leaf strength.
Remove the bloom by gently snapping or cutting the soft stem at its base.
Trim yellowing foliage
Hot weather can stress leaves. Any yellow, limp, or folded leaves can be snipped at the base to reduce pest hiding spots and keep the clump looking neat.
Watering guidance
- Water deeply but infrequently
- Allow the soil surface to dry slightly between watering
- Mulch lightly to retain moisture
Avoid soaking the crown—daylilies dislike persistent wetness.
Fall: The Right Time to Cut Back
This is the season when most of the essential cutting-back happens.
When to cut back
Cut back in fall after the first frost or when foliage has fully yellowed and collapsed.
Cutting too early (when leaves are still green) robs the plant of nutrients being stored for winter.
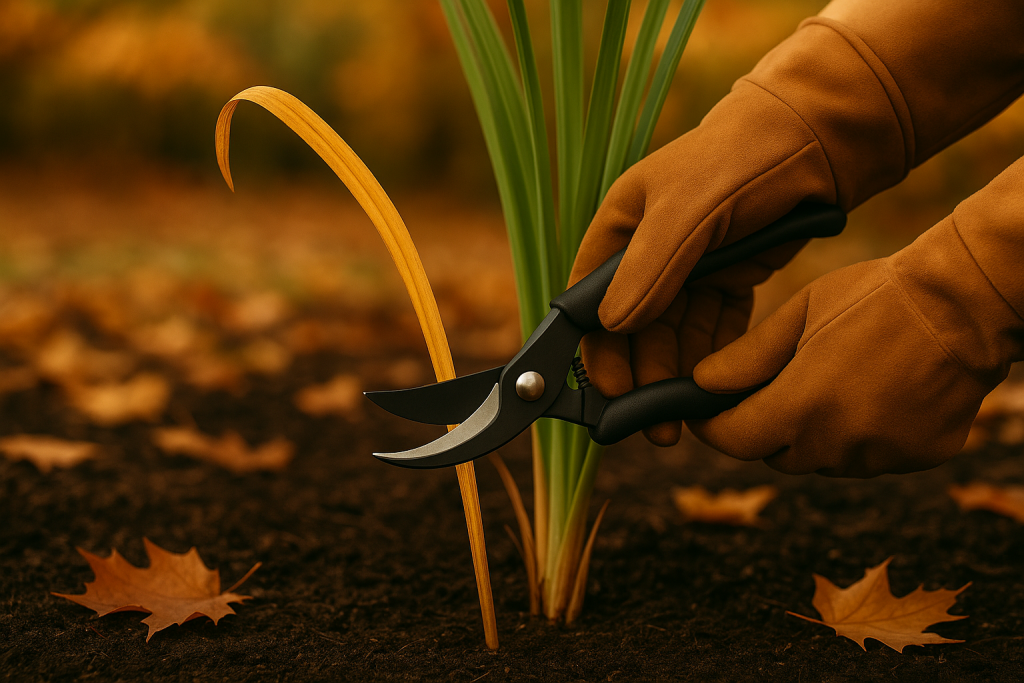
How to cut back
- Use clean, sharp pruners
- Cut leaves back to 4–6 inches above the ground
- Remove any brown or mushy foliage completely
- Clear away surrounding debris
This reduces disease pressure and sets the plant up for clean regrowth in spring.
Optional: Divide in early fall
Cooler soil and lower temperatures give roots time to settle before winter. This is the second best time—after early spring—to divide daylilies.
Winter: Dormancy Protection
In cold climates, daylilies need simple but effective winter preparation.
Mulch after the ground freezes
Apply 2–3 inches of leaf mold, pine straw, or shredded bark after the soil has frozen. This prevents freeze–thaw cycles from pushing crowns upward.
Avoid winter watering
Snow offers enough moisture for dormant plants. Excess watering can cause rot in colder regions.
Leave trimmed crowns undisturbed
Daylilies rest quietly through winter. Disturbing the crown—or applying compost too early—invites rot.
Signs Your Daylilies Need Cutting Back
Look for these cues throughout the year:
- Leaves turning yellow or brown
- Foliage collapsing or matting
- Stems becoming mushy after frost
- Crowded clumps producing fewer flowers
- Pests hiding between old leaves
Regular trimming keeps plants clean and reduces fungal issues like leaf streak and rust.
Common Mistakes to Avoid
1. Cutting back too early in fall
Green leaves still perform photosynthesis. Remove them only once they’re naturally fading.
2. Cutting back to ground level
Leaving 4–6 inches helps protect the crown from winter damage.
3. Overwatering
Especially risky in container-grown daylilies. Allow soil to dry slightly.
4. Using high-nitrogen fertilizers
This encourages floppy leaves over strong roots.
5. Ignoring overcrowded clumps
This is one of the most common reasons daylilies stop blooming.
FAQ for Daylily Seasonal Care
1. When should daylilies be cut back?
Cut back daylilies in fall after the foliage has yellowed or collapsed from frost. This timing allows the plant to finish storing energy for next year’s growth.
2. How short should daylilies be trimmed?
Trim the leaves to about 4–6 inches above the soil. Cutting too close to the crown increases the risk of winter damage.
3. Do daylilies need to be cut back every year?
Not always, but yearly fall cleanup helps reduce pests, improves airflow, and keeps the clump healthy.
4. Should I cut daylilies back in spring instead of fall?
You can remove dead foliage in early spring if you missed the fall cleanup, but avoid cutting green leaves—those are still active.
5. Do daylilies grow back after cutting?
Yes. Daylilies are tough perennials. They will regrow fresh shoots in spring even after a hard cutback in fall.
6. How do I keep daylilies blooming longer?
Deadhead spent flowers daily and remove entire spent stalks. Consistent watering and full sun also extend bloom time.
7. Why are the leaves on my daylilies turning yellow?
Heat stress, overwatering, poor drainage, or natural aging of older leaves can cause yellowing. Trim them at the base and check soil moisture.
8. Can daylilies be divided in fall?
Yes—early fall is an excellent time to divide overcrowded clumps. The cooler weather allows roots to establish before winter.
9. What fertilizer is best for daylilies?
A balanced, slow-release fertilizer (such as 5-10-10 or 10-10-10) works well. Avoid high-nitrogen formulas.
10. Should daylilies be mulched for winter?
Yes. Add 2–3 inches of mulch after the ground freezes to protect the crown from freeze–thaw cycles.
11. Do daylilies need full sun?
They bloom best in full sun (6+ hours), though they tolerate partial shade in hotter climates.
12. Can daylilies survive drought?
They’re drought-tolerant once established, but consistent deep watering encourages better blooms.
13. How do I treat daylily rust?
Remove infected leaves, improve airflow, and apply a sulfur- or copper-based fungicide if needed.
14. Why did my daylilies stop blooming?
Common reasons include overcrowding, too much shade, poor soil, or lack of deadheading.
15. Are daylilies good for beginner gardeners?
Absolutely. They are hardy, low-maintenance, and forgiving—perfect for gardeners of all experience levels.
Final Thoughts
Daylilies reward gardeners who follow the rhythm of the seasons. A few thoughtful cuts, timely cleanup, and seasonal adjustments help these resilient perennials bloom more fully year after year.
Whether you’re growing a simple border or a sweeping cottage-style display, seasonal daylily care ensures your plants stay vibrant, tidy, and ready for their next flush of color.