How to Root Carnations from a Bouquet in Water
Quick Summary
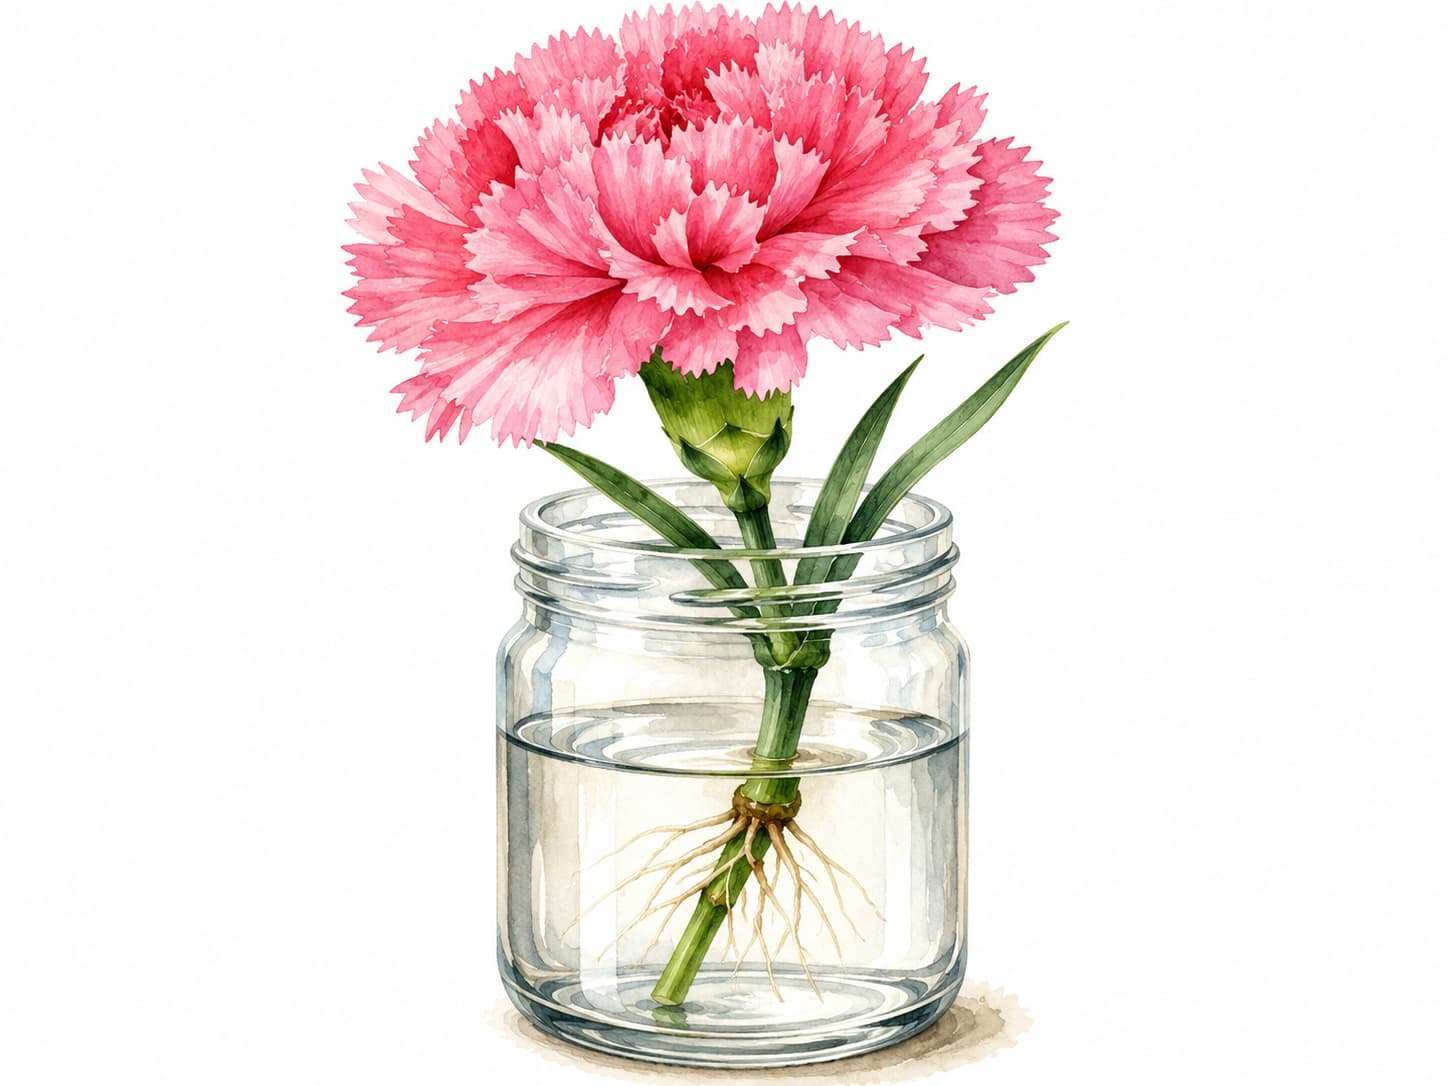
You can root carnations from a fresh bouquet by cutting firm 4–6 inch stems, removing the lower leaves, and placing the cuttings in clean water. Keep them in bright indirect light and change the water every few days. Once roots are long enough to handle, move the cuttings into soil. Fresh stems matter most — old, slimy, or badly wilted stems rarely root well.
The first time I tried this, I did not really believe it would work. The bouquet was already a few days old, and the carnations were starting to droop. I felt guilty throwing them out, so I cut a few stems and placed them in a mason jar of water — mostly as a small experiment.
A few weeks later, two of those stems had thin white roots winding through the water. One of them became a small plant on my kitchen windowsill.
That is the quiet magic of carnations: many cut flowers cannot be rooted easily, but fresh carnation stems are one of the friendlier exceptions. Below is the simple process that works, plus the mistakes that usually cause stems to rot before they root.
Quick Care First: Keep Your Bouquet Alive Longer
Short answer: The fresher your bouquet stays, the better your cuttings will be. Before you start propagation, give the carnations clean water, fresh cuts, and a cool spot away from stress.
A healthy bouquet gives you stronger stems to choose from. If the carnations are already wilted, slimy, or sitting in dirty water, the cuttings are much more likely to rot before they root.
Do these first
- Unwrap the bouquet. Remove plastic sleeves, rubber bands, and any tight wrapping around the stems.
- Recut stems at a 45-degree angle. Use clean, sharp scissors or pruners so the stems can take up water more easily.
- Remove leaves below the water line. Any submerged leaves will rot quickly and make the vase water dirty.
- Keep the vase away from heat, direct sun, and ripening fruit. A cooler, bright spot helps the flowers last longer while you choose the best stems.
Propagation tip: Do not wait until every flower has faded. The best cuttings usually come from stems that are still green, firm, and fresh.
Why Rooting Carnations in Water Actually Works
Short answer: Carnations can root from stem nodes when the cutting is still fresh and firm. Water keeps the stem hydrated while new roots begin to form near the nodes.
Most florist flowers do not root reliably from a bouquet because the stems are too woody, too old, or already stressed from shipping. Carnations are more forgiving. Their stems are softer, and the nodes along the stem can produce roots when the cutting is still alive.
The node is the small bump where a leaf joins the stem. When that area sits in clean water, the cutting can slowly shift its energy from keeping the flower alive to forming new roots. This is why a plain flower stem with no nodes usually fails, while a fresh node-bearing cutting has a real chance.
For best results, start early. Do not wait until the bouquet is fully wilted. A fresh, firm stem has a much better chance than a soft, yellowing, or sour-smelling one.
Reality check: Not every bouquet stem will root. Try several cuttings at once, keep the water clean, and treat success as a small bonus from a bouquet that would otherwise fade.
How to Choose the Right Stems from a Bouquet
Short answer: Choose the firmest green stems with healthy leaves and visible nodes. Avoid stems that feel slimy, smell sour, or have yellowing lower sections.
Good stems usually have:
- Firm green stems that do not collapse when gently squeezed.
- Healthy leaves near the top of the cutting.
- Visible leaf nodes where roots can form.
- No blackened, mushy, or sour-smelling base.
Reject stems that are:
- Soft, slimy, or brown near the cut end.
- Already wilted beyond recovery.
- Yellowing heavily from the base upward.
- Very woody or old-looking.
Best timing: Take cuttings while the bouquet still looks fresh. Day 2 or day 3 usually gives you a better chance than waiting until the flowers have fully collapsed.
What You Need
This is a beginner-friendly project because you do not need special equipment. Most of what you need is already in a kitchen drawer or on a windowsill.
Supplies
- Fresh carnation bouquet stems.
- Clean scissors or pruning shears.
- A clean glass jar or vase.
- Room-temperature water.
- Rubbing alcohol or hot soapy water for cleaning your scissors.
- A small pot with drainage holes for later.
- Fresh, light potting soil for transplanting.
Simple setup: A clear jar is helpful because you can see the roots as they form. Choose a jar tall enough to hold the cutting upright without submerging the leaves.
The 6-Step Rooting Process
Short answer: Cut below a node, remove lower leaves, place the stem in clean water, keep it in bright indirect light, and refresh the water every few days.
01. Sterilize your scissors.
Clean blades help prevent bacteria from entering the fresh cut. Wipe the scissors with rubbing alcohol or wash them with hot soapy water before cutting.
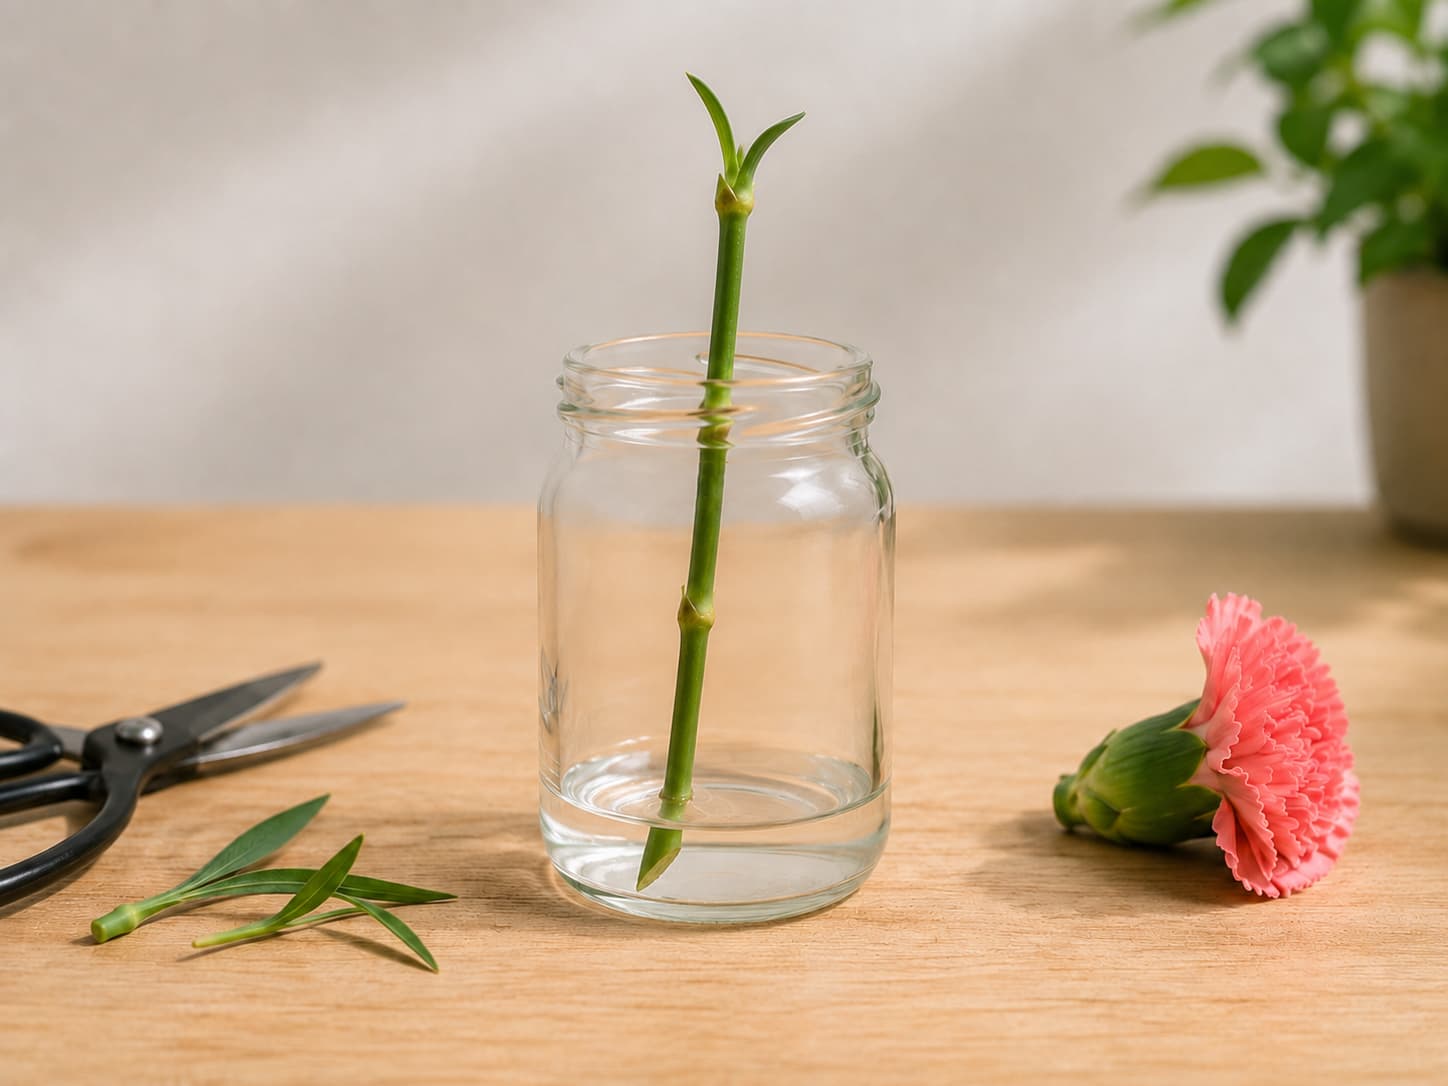
02. Cut a 4–6 inch stem section.
Cut just below a leaf node. This is where roots are most likely to form. Choose a firm green section rather than a woody or wilted one.
03. Remove the flower and lower leaves.
No leaves should sit below the water line because they rot quickly. Keep a few healthy leaves near the top so the cutting can still gather light.
04. Place the cutting in clean water.
Submerge only the bottom 2–3cm of the stem, making sure at least one node is in water. Keep all leaves above the water line and use a clean glass jar so you can watch for root growth.
05. Use bright indirect light.
A bright windowsill with soft light is better than hot direct afternoon sun. Too much heat can stress the cutting and warm the water too quickly.
06. Change the water every few days.
Clean water is the difference between rooting and rotting. If the water smells bad or turns cloudy, change it and rinse the stem gently.
Water Maintenance
Clean water matters more than most beginners realize. A carnation cutting can look fine at first, then rot quickly if the jar water turns stale.
- Change the water every 3–4 days, or sooner if it turns cloudy.
- Do not just top up old water. Dump it out and replace it with fresh water.
- Rinse the base of the cutting gently if it feels slimy.
- Clean the jar if algae appears on the glass.
The most common mistake: leaving the same water for too long. Stale water encourages rot before roots have time to form.
What to Expect Week by Week
Short answer: Most carnation cuttings take 2–3 weeks to show visible roots. Some root faster, while slower stems may need up to 4 weeks if they stay green and firm.
Water propagation can feel slow at first. For the first week, the cutting may look almost unchanged. That does not always mean it has failed. As long as the stem stays firm and the water stays clean, give it time.
| Time | What may happen | What to do |
|---|---|---|
| Week 1 | The cutting rehydrates and seals the wound. You may not see roots yet. | Keep water clean and light gentle. Do not place the jar in hot direct sun. |
| Week 2 | Small bumps or early white root tips may appear near the nodes. | Do not tug the cutting to check it. Just refresh the water and watch. |
| Week 3 | Healthy stems may show visible white roots long enough to handle. | Prepare a small pot if the roots are about 1–2 inches long. |
| Week 4 | Slow stems may still be catching up, but failed stems often turn soft or brown. | Keep firm green stems. Discard soft, brown, slimy, or sour-smelling ones. |
Patience tip: Do not give up too early. Many cuttings look quiet for the first 10 days, then begin showing tiny roots soon after.
When and How to Transplant to Soil
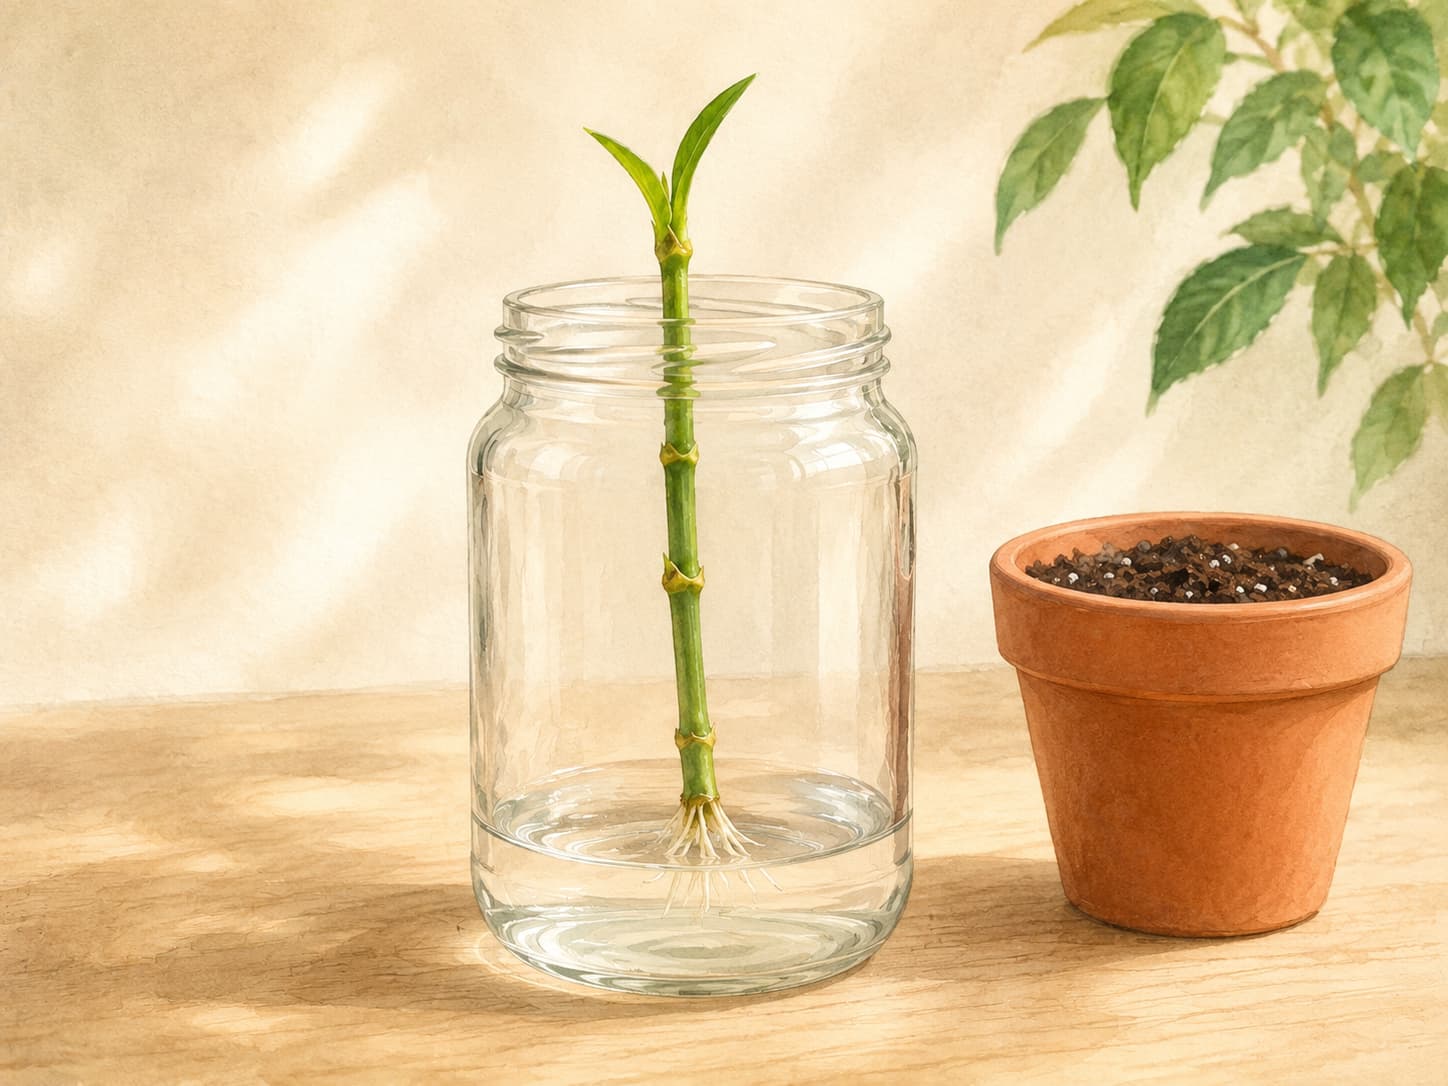
Short answer: Move the cutting to soil when the roots are long enough to handle without breaking. Use a small pot, light soil, and gentle moisture while it adjusts.
Do not rush the transplant. A cutting with tiny root bumps is still fragile. Wait until you can see several small white roots, ideally long enough to settle into soil without being bent or crushed.
Transplant steps
- Fill a small pot with fresh, well-draining potting mix.
- Make a hole deep enough for the roots.
- Place the cutting gently without bending the roots upward.
- Firm the soil lightly around the stem.
- Water lightly, then keep the pot in bright indirect light.
Optional humidity help: After transplanting, you can cover the pot loosely with a clear plastic bag for the first few days to hold humidity. Open it once a day for airflow, and remove it when the cutting looks steady and no longer wilts.
The first two weeks in soil are the adjustment period. Water roots are delicate, so the cutting may pause before new growth appears. Keep the soil lightly moist, not soggy, and avoid strong direct sun until the plant looks settled.
Transplant tip: Use a small pot first. A large pot holds too much extra moisture around young roots and can make the cutting easier to rot.
Common Problems and Quick Fixes
Short answer: Most failed carnation cuttings rot before they root. Clean water, fresh stems, and no submerged leaves solve most problems.
If a cutting fails, it usually tells you why. A firm green stem is still worth keeping. A soft, brown, slimy, or sour-smelling stem should be discarded before it spoils the water for the others.
| Problem | Likely cause | Fix |
|---|---|---|
| Stem turns brown or mushy | Rot or an old stem | Discard it and restart with a fresher cutting. |
| Water smells bad | Bacteria or submerged leaves | Change the water and remove any leaves below the water line. |
| No roots after a few weeks | Stem too old or light too low | Keep it only if the stem is still firm and green. |
| Leaves yellowing | Stress or too much direct sun | Move to bright indirect light and remove decaying leaves. |
Do not try to save every stem: one rotting cutting can contaminate the water and weaken the healthy ones. Remove failed stems quickly.
Aftercare: Helping Your New Carnation Thrive
Short answer: Once the cutting is in soil, keep it in bright light, water gently, and avoid soggy soil. New growth is the best sign that the plant has settled in.
A newly rooted carnation needs a little patience after transplanting. Water roots are delicate, and the plant may pause for a short time while it adjusts to soil. Keep the care simple and steady.
Light
Carnations prefer bright light. Once the new plant settles into soil, give it several hours of sun or the brightest window you have. If the leaves wilt after transplanting, keep it in bright indirect light for a few more days before increasing sun.
Water
Water when the top layer of soil begins to dry. Avoid keeping the pot soggy, especially while the cutting is still adjusting. The soil should feel lightly moist, not wet or heavy.
Will it flower again?
It can, if the cutting establishes well and gets enough light. Because this plant is grown from a stem cutting, the new flowers should match the original bouquet flower.
Aftercare tip: Do not fertilize immediately after transplanting. Wait until you see new growth, then feed lightly during the growing season.
FAQ
01 Can you really root carnations from a bouquet?
Yes, sometimes. Fresh carnation bouquet stems can root in water if they are still firm, green, and have visible nodes. The fresher the bouquet, the better your chances. Old, slimy, or badly wilted stems rarely root well.
02 How long does it take for carnation cuttings to root in water?
Most carnation cuttings take about 2 to 3 weeks to show visible roots. Some stems may root sooner, while slower but still firm green stems may need up to 4 weeks. Change the water every few days while you wait.
03 Why are my carnation cuttings turning brown in water?
Brown or mushy stems usually mean the cutting is rotting. This can happen when the stem was too old, the water stayed dirty too long, or leaves were sitting below the water line. Remove failed stems quickly and restart with a fresher cutting.
04 Do I need rooting hormone for carnations?
No. Rooting hormone is optional. Fresh carnation stems can root in plain clean water without it. For beginners, water propagation is easier because you can see whether roots are forming.
05 When should I transplant carnation cuttings to soil?
Transplant when the roots are long enough to handle gently, usually around 1 to 2 inches. Use a small pot with drainage holes and light potting mix. Keep the soil lightly moist while the cutting adjusts.
The Short Version
If you remember only three things:
- Start with fresh firm stems. Old stems rot before they root.
- Keep the water clean. Stale water is the fastest way to lose cuttings.
- Wait for real roots before transplanting. Rushing to soil can shock the cutting.
Tried this with a bouquet?
Leave a comment with what your stems look like, how long they have been in water, and whether the water is staying clear. Those details usually make the problem easy to spot.
What to Read Next
Sources: Royal Horticultural Society, The Old Farmer’s Almanac.